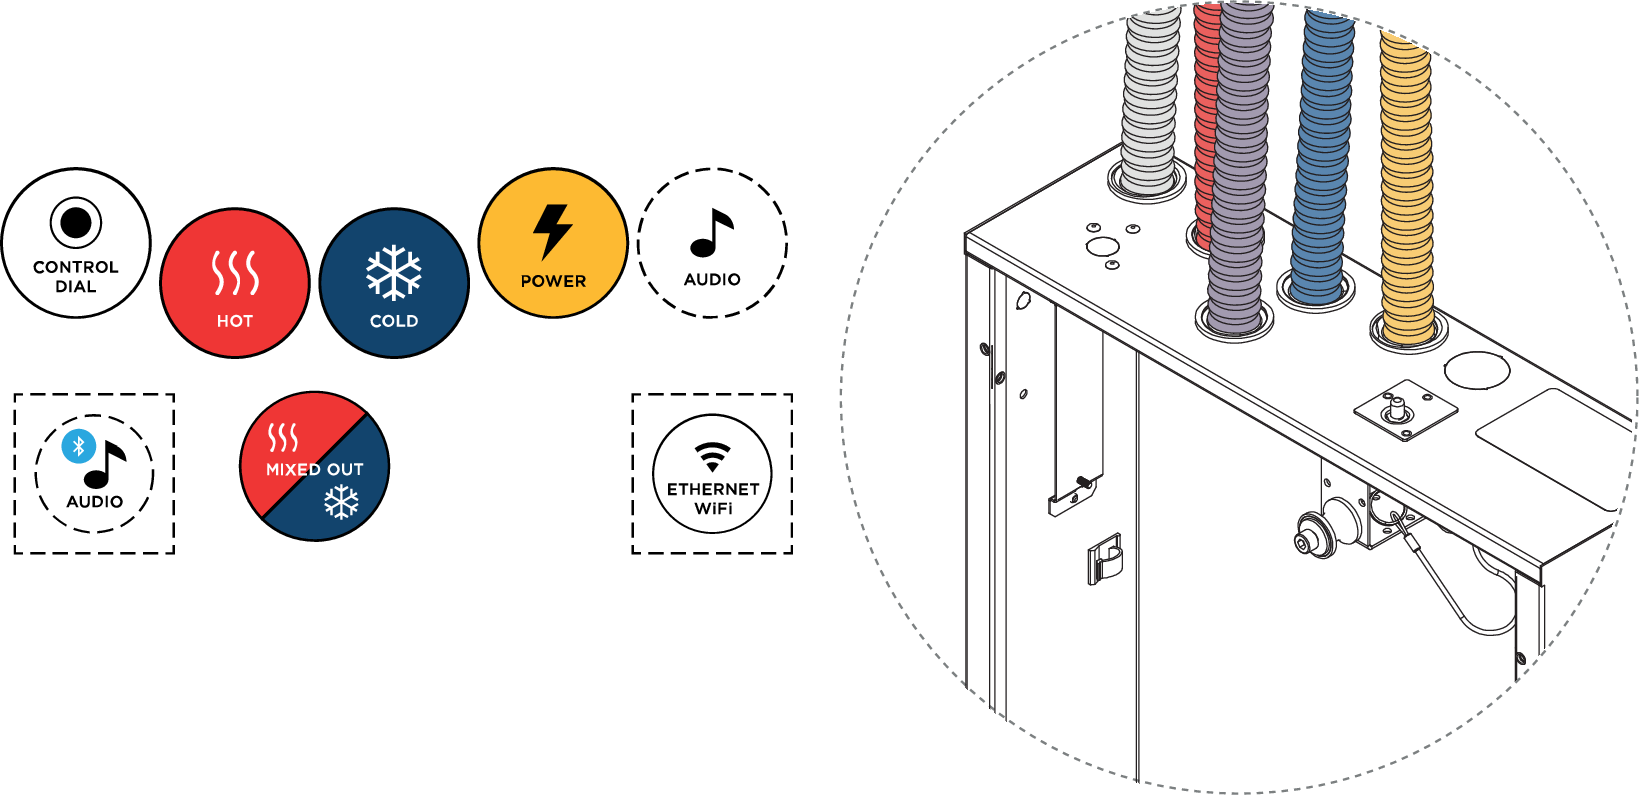
Pipes & connections
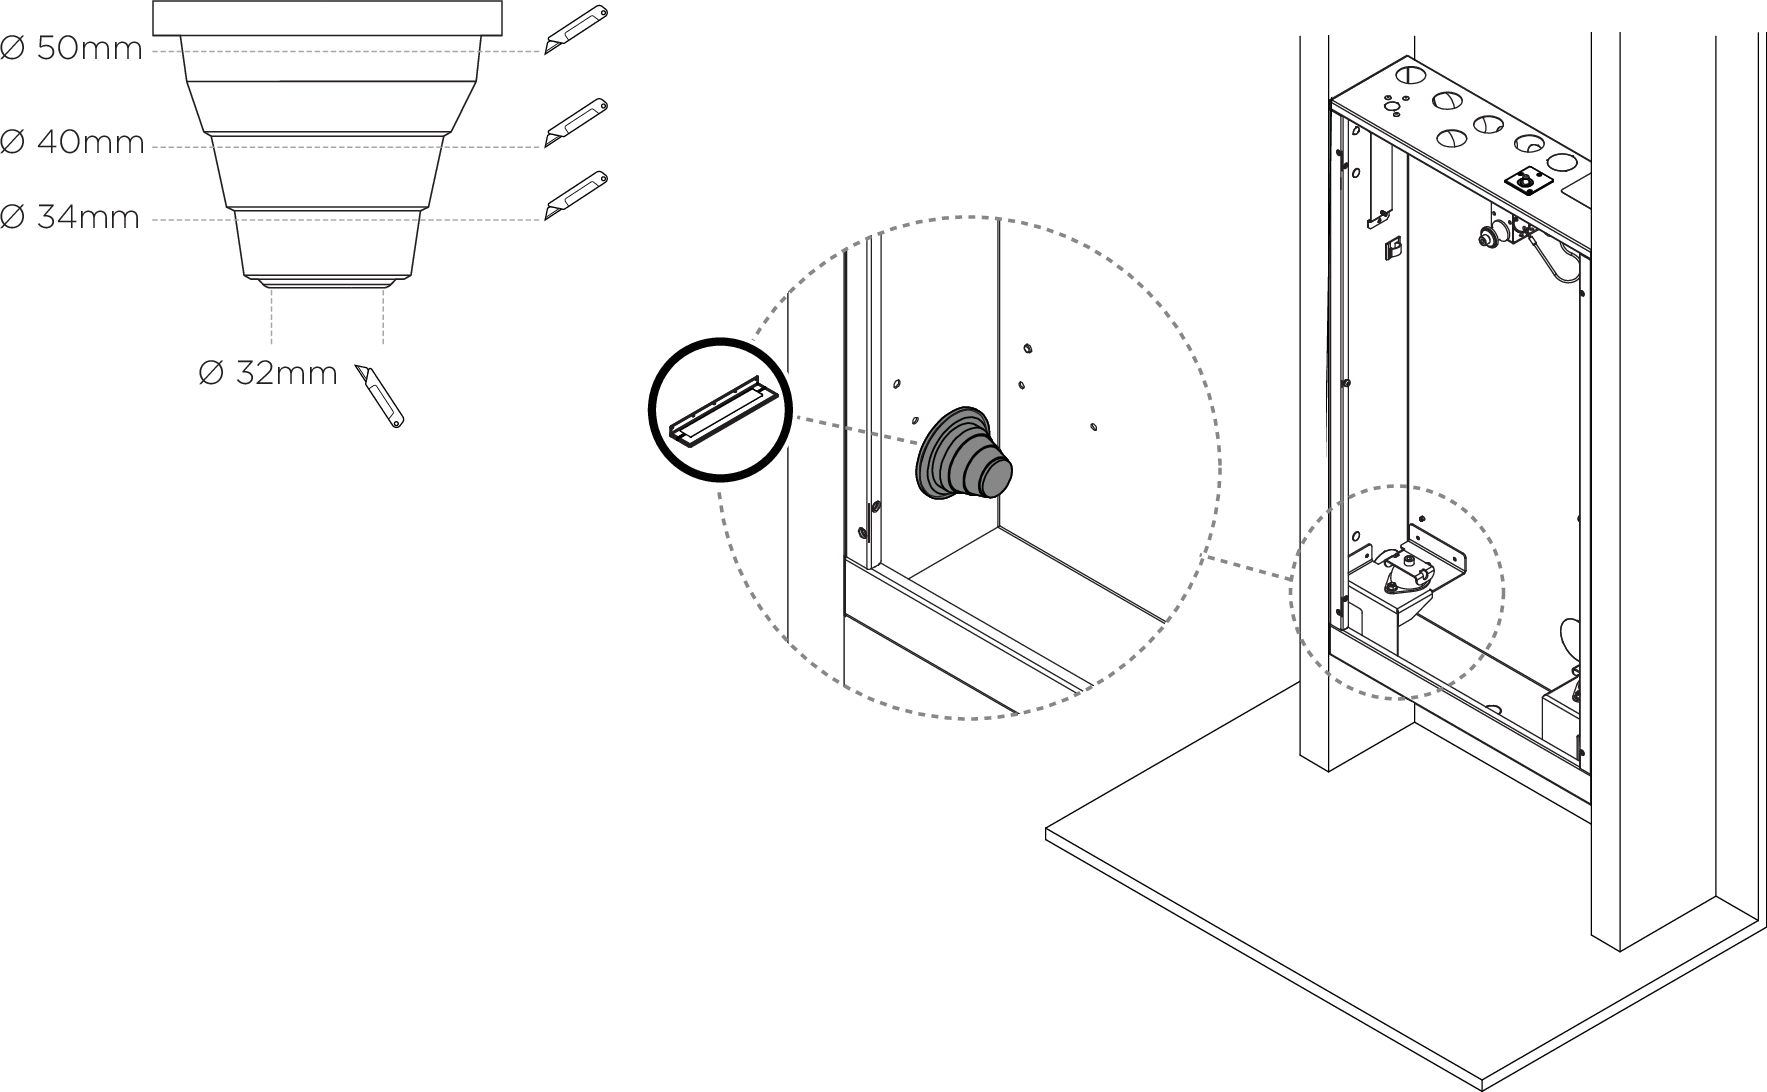
Cut the cone to fit the drain pipe (50 mm).
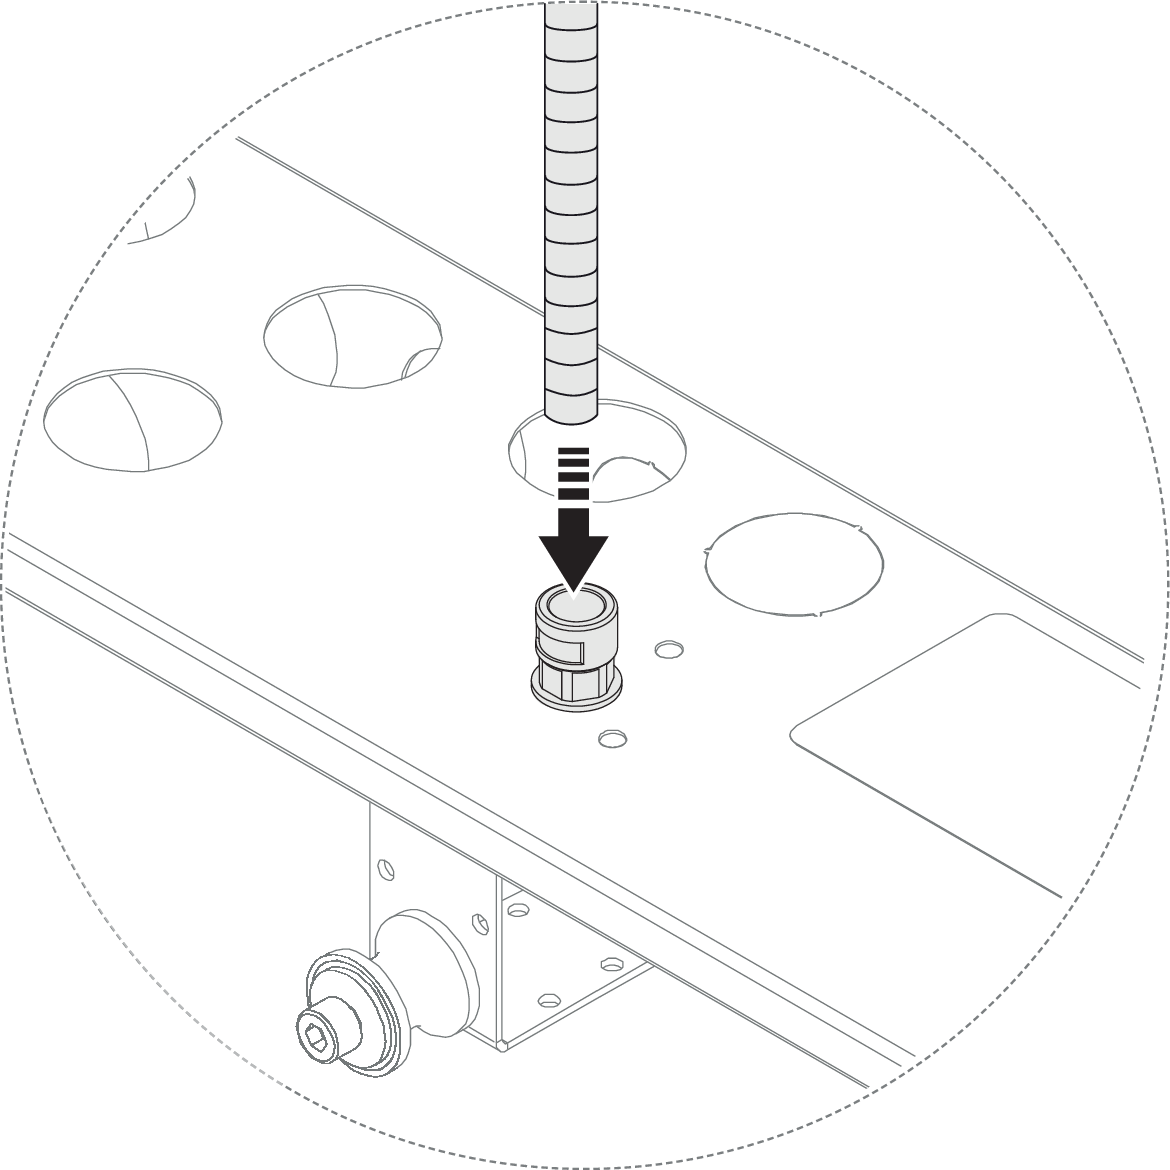
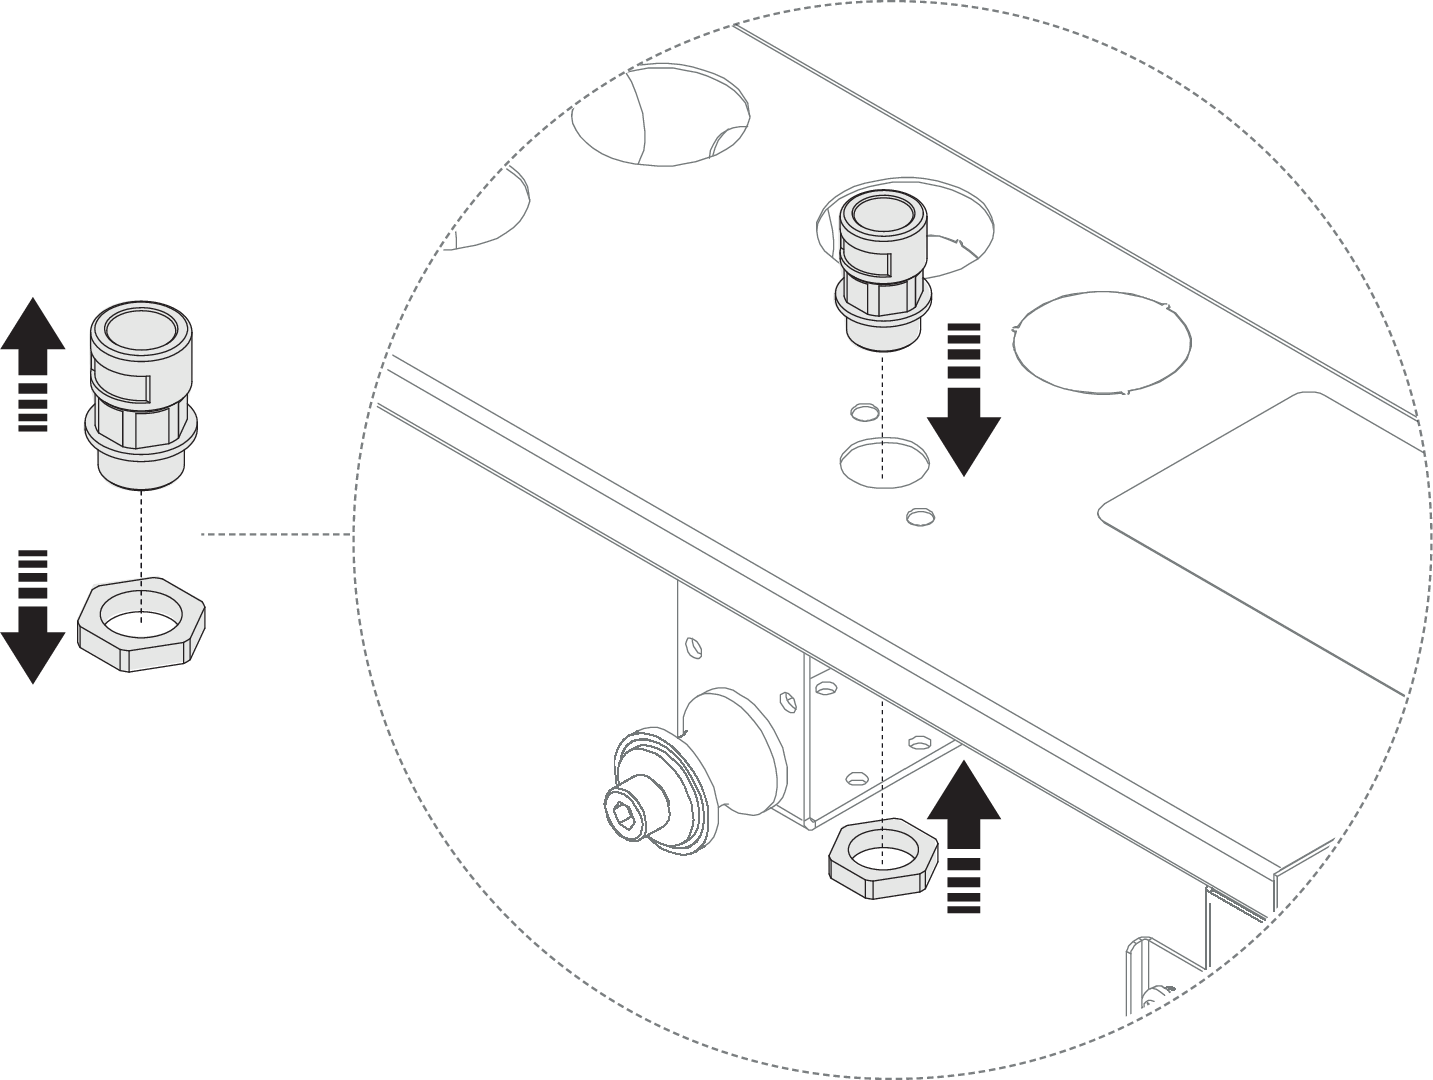
Insert the drain pipe into the cabinet.

Cut the cones depending on the diameter of the conduit.

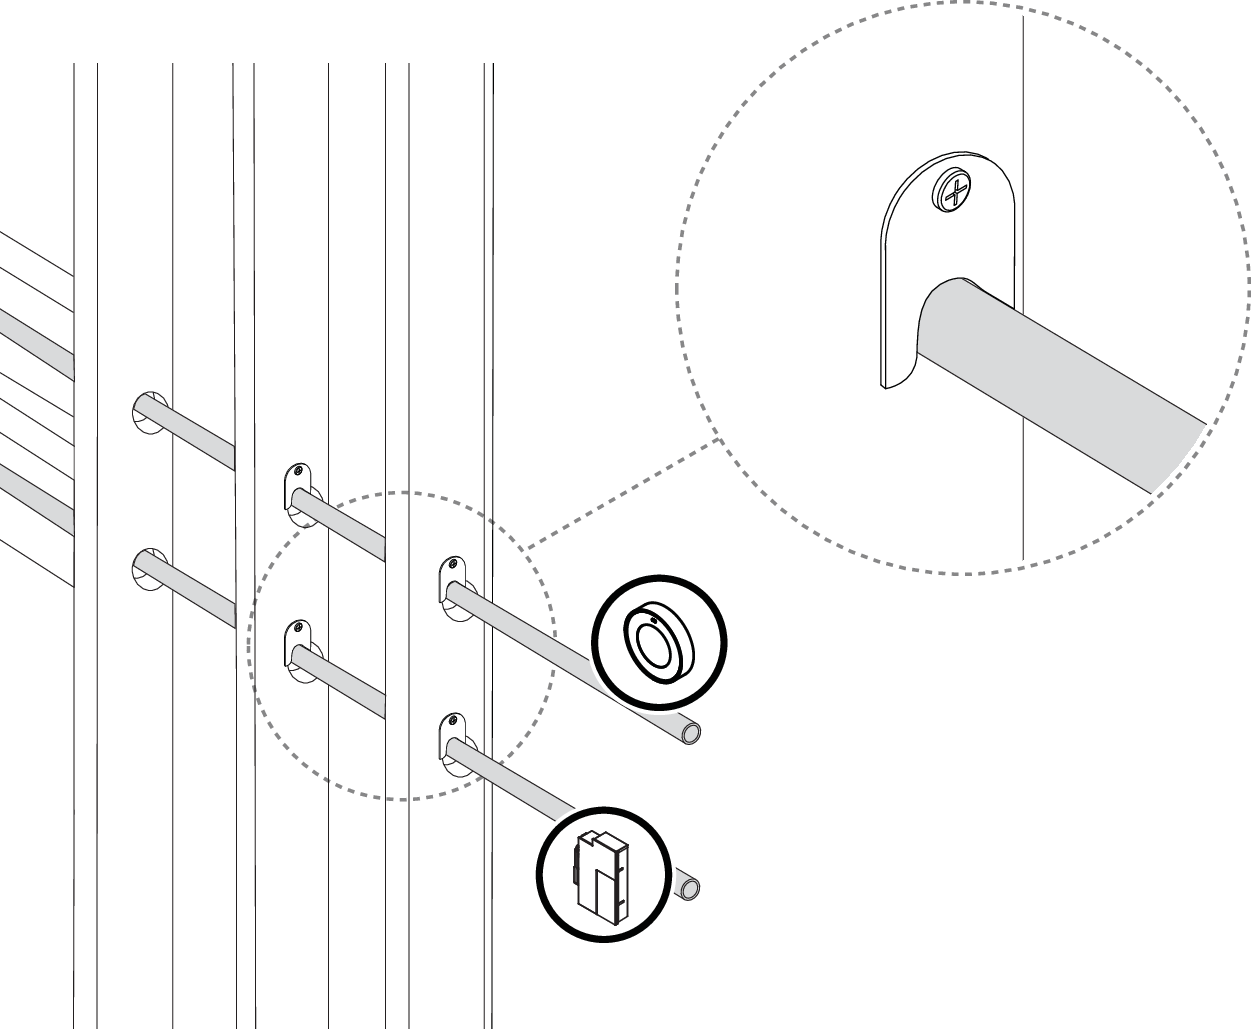
Prepare the incoming water and electricity. Draw cables and hoses and use pipe clamps for anchoring. Use the pipe clamps in the kit to anchor the piping for the shower head and hand shower.
Notice
Conduits for incoming water and electricity are supplied by the customer.
Anchor the Control Dial and diverter piping according to industry rules.
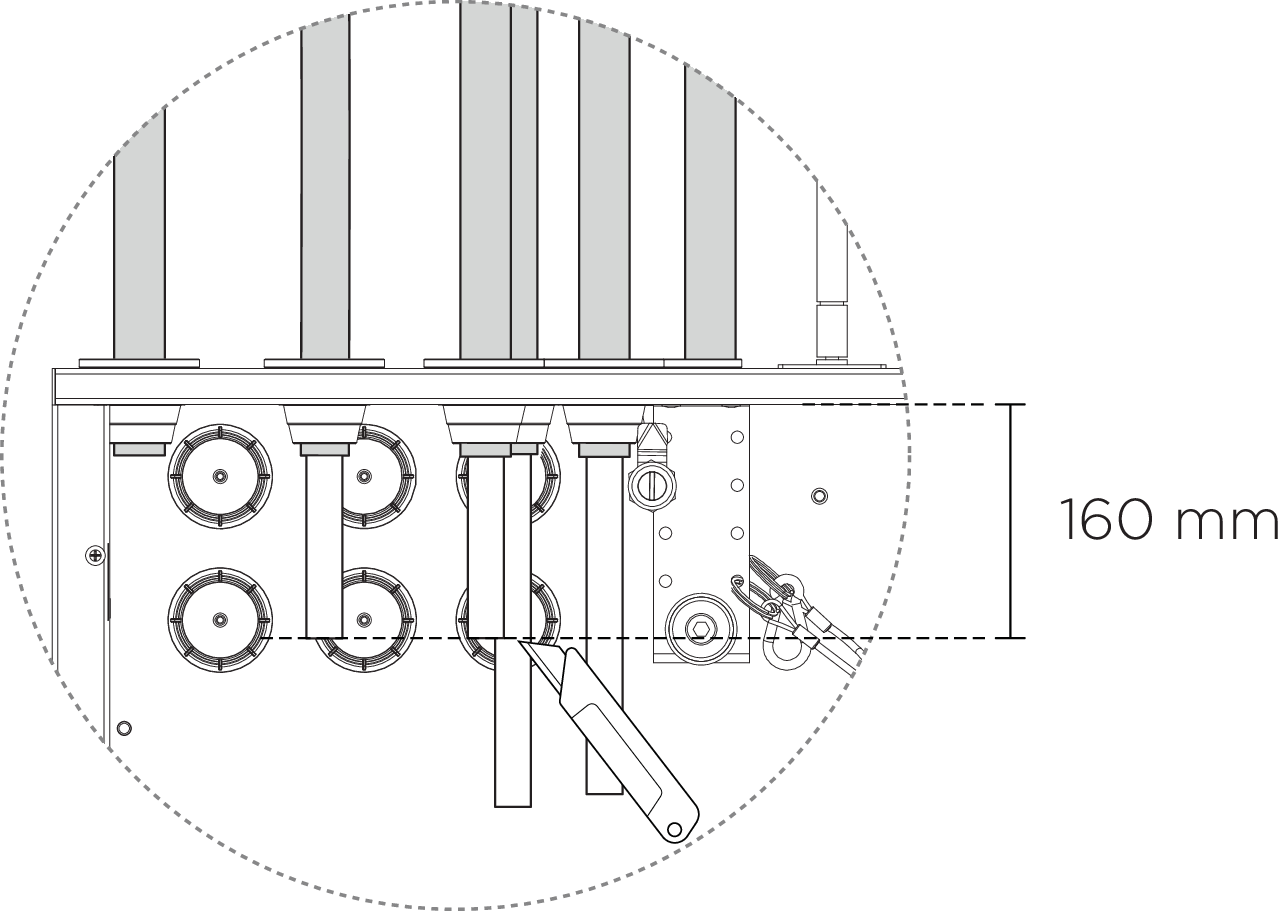
Cut the conduits at least 10 mm from the seal.
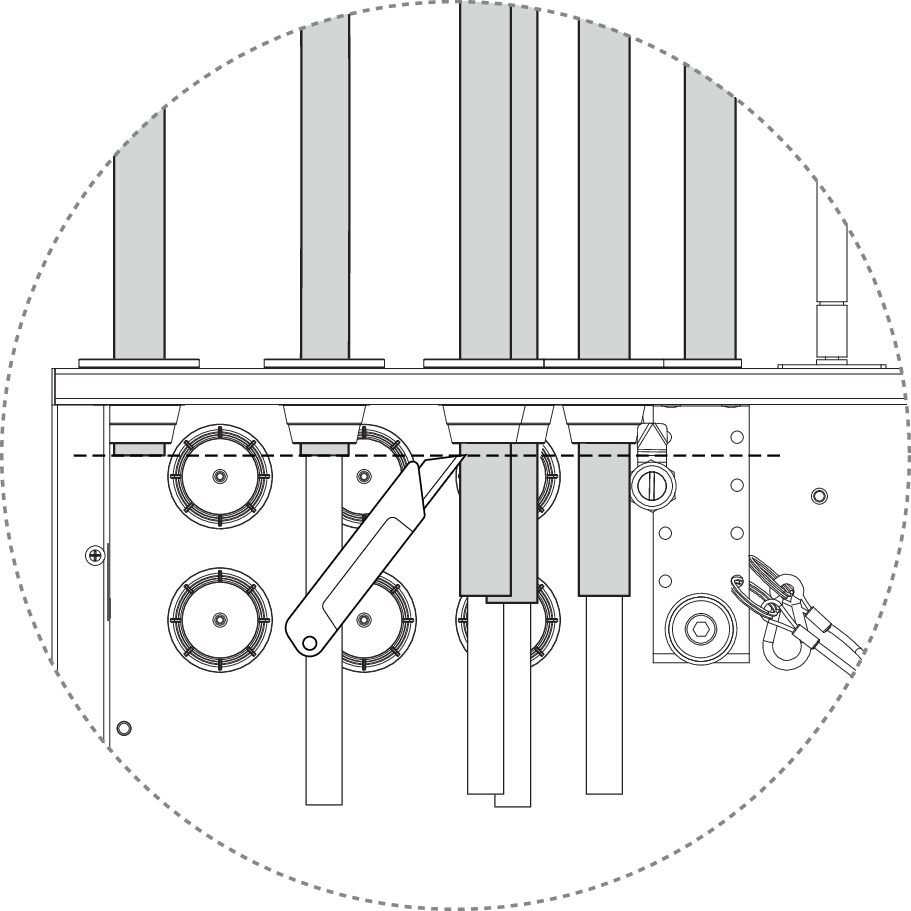
Cut the PEX.
Notice
Length might be adjusted depending on the chosen connector applied later.
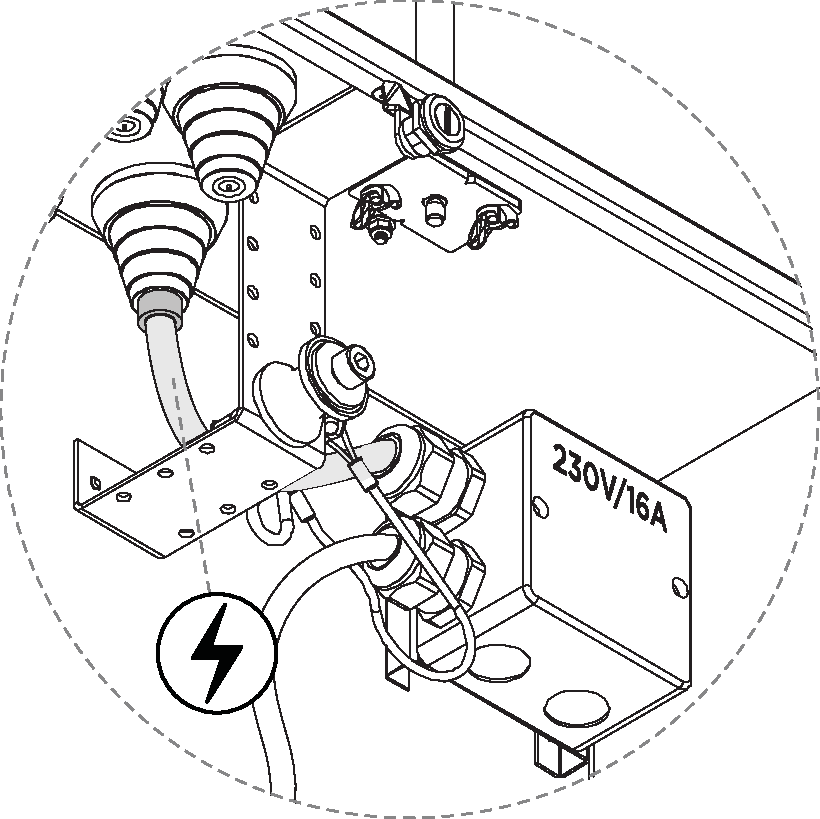
Connect the electrical cable to the junction box.
Warning
Electrical installation should be performed by a qualified electrician according to applicable industry standards and regulations.
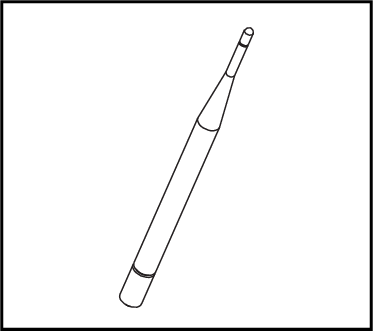
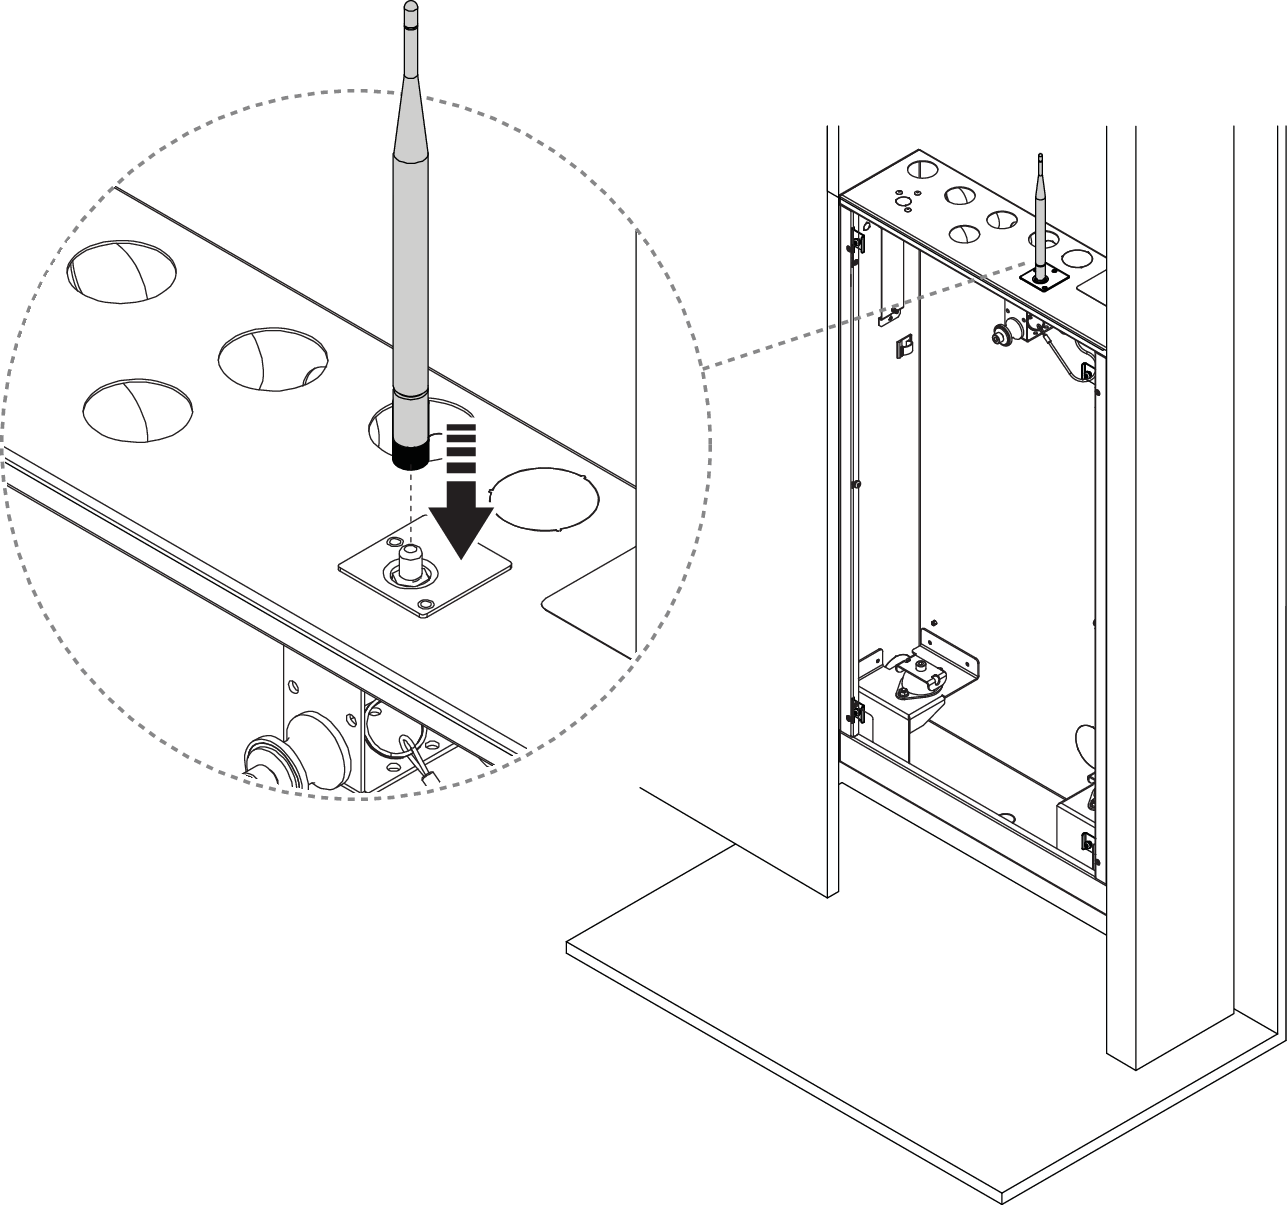
Install the Wi-Fi antenna.
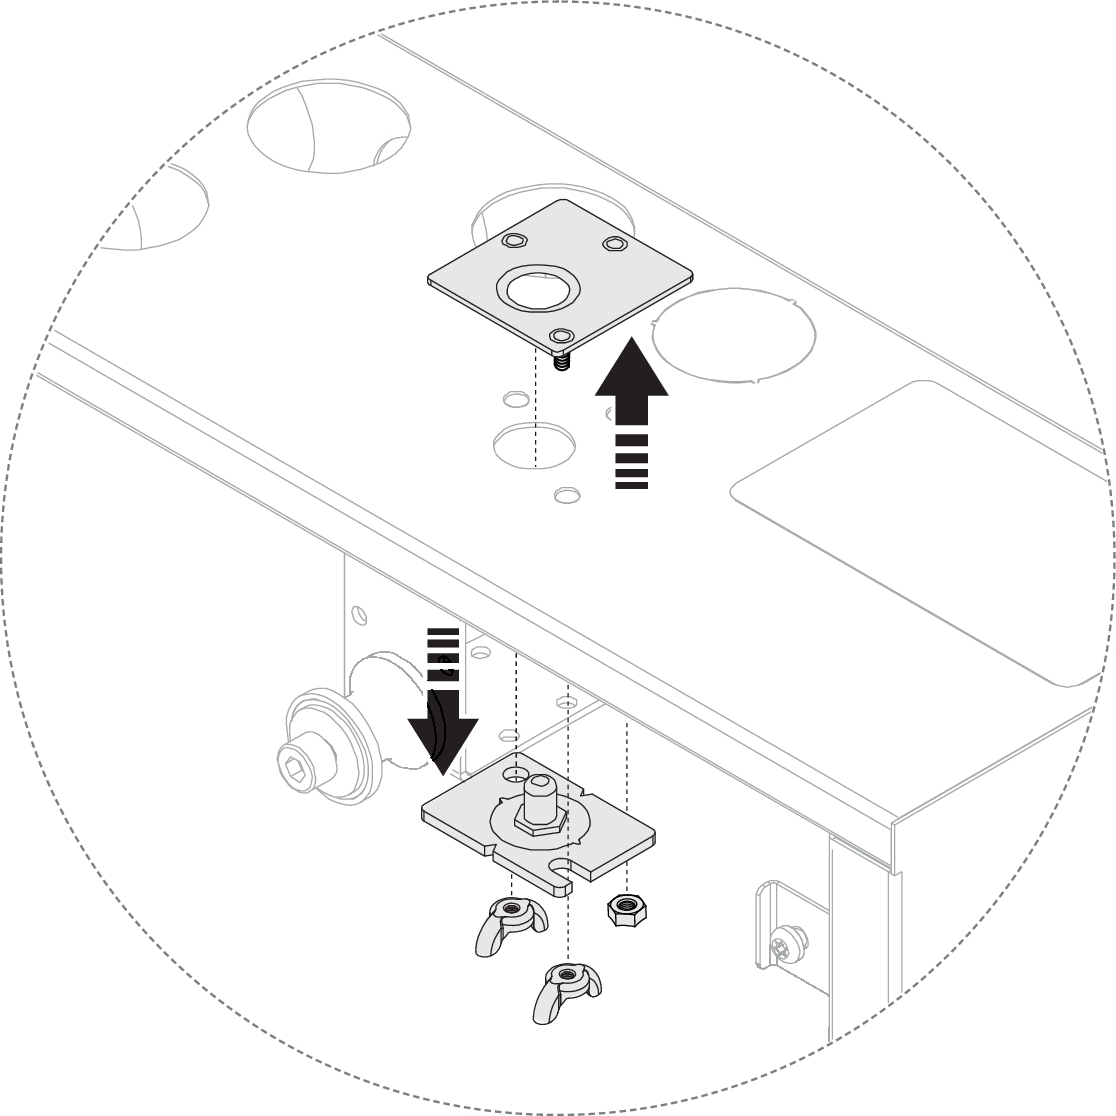
Only valid for Orbital ethernet installation
Unscrew the antenna bracket.
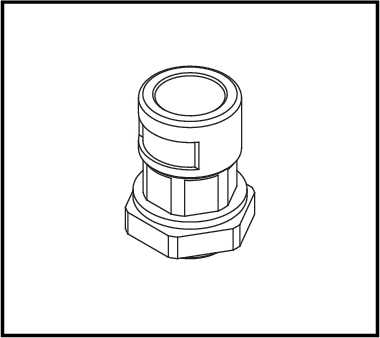
Install the ethernet connector.
Connect the pipe to the connector.