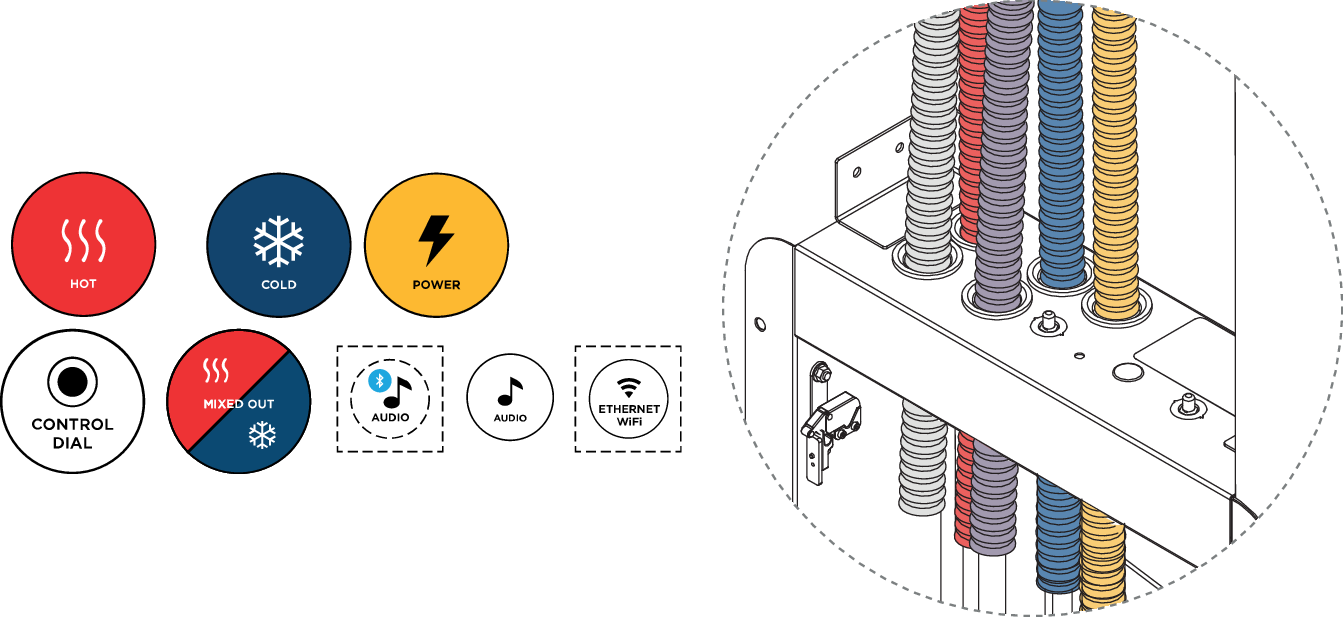
Pipes & connections
 |
PEX hose with conduit Ø25 mm, for incoming hot and cold water
Power cable with conduit Ø16 mm
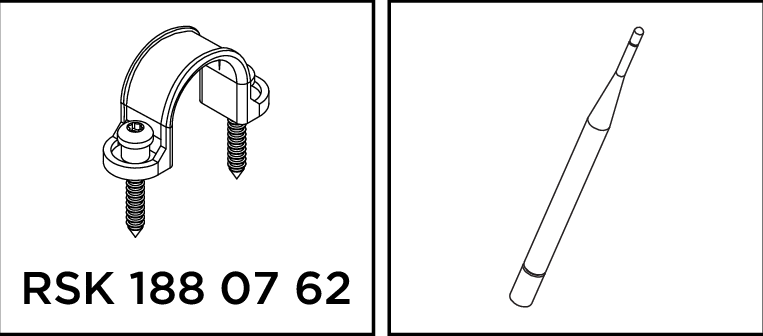
Anchors
Connect the drainage pipe to the Wall Box.
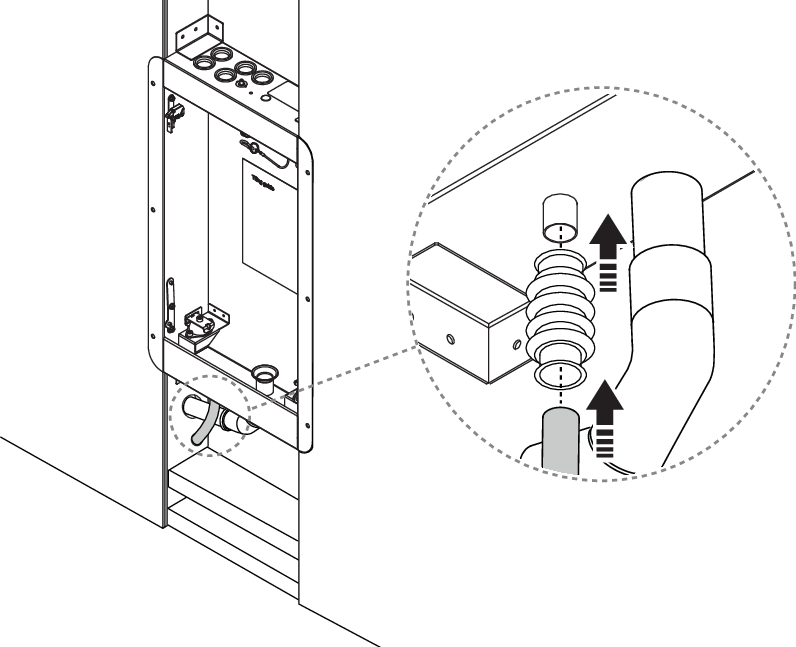
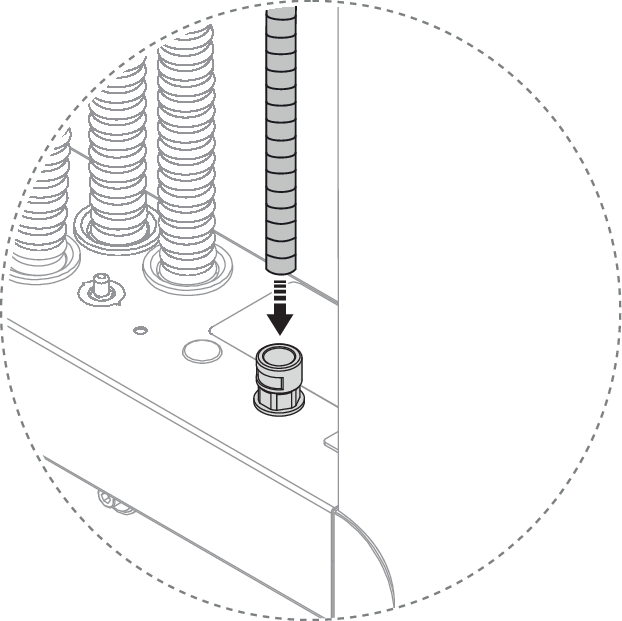
Cut the pipe penetration seal to fit the drain pipe (50 mm).
Insert the drain pipe into the Wall box.
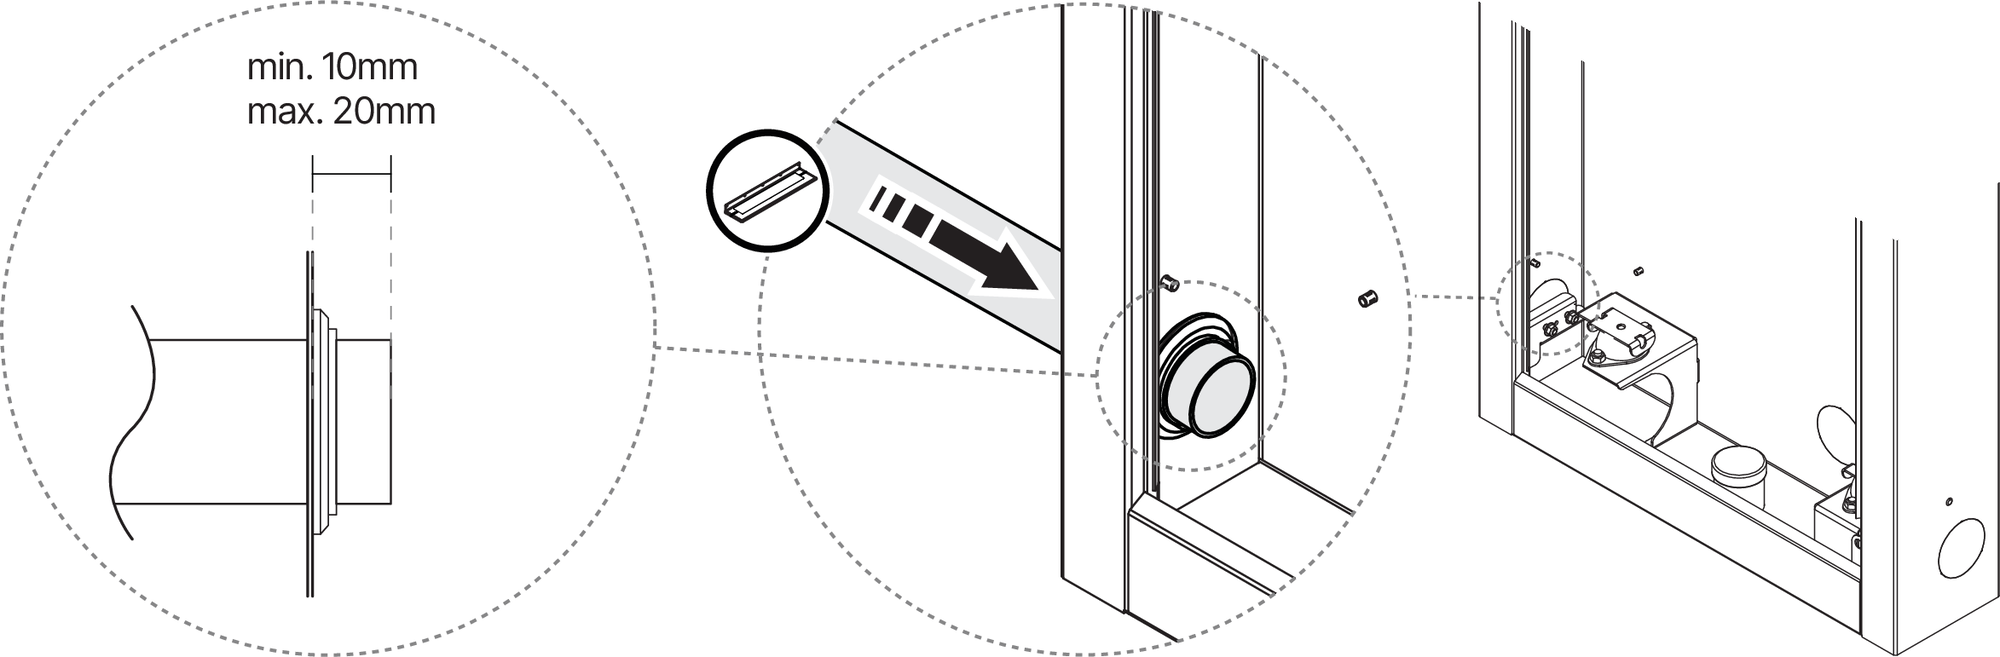
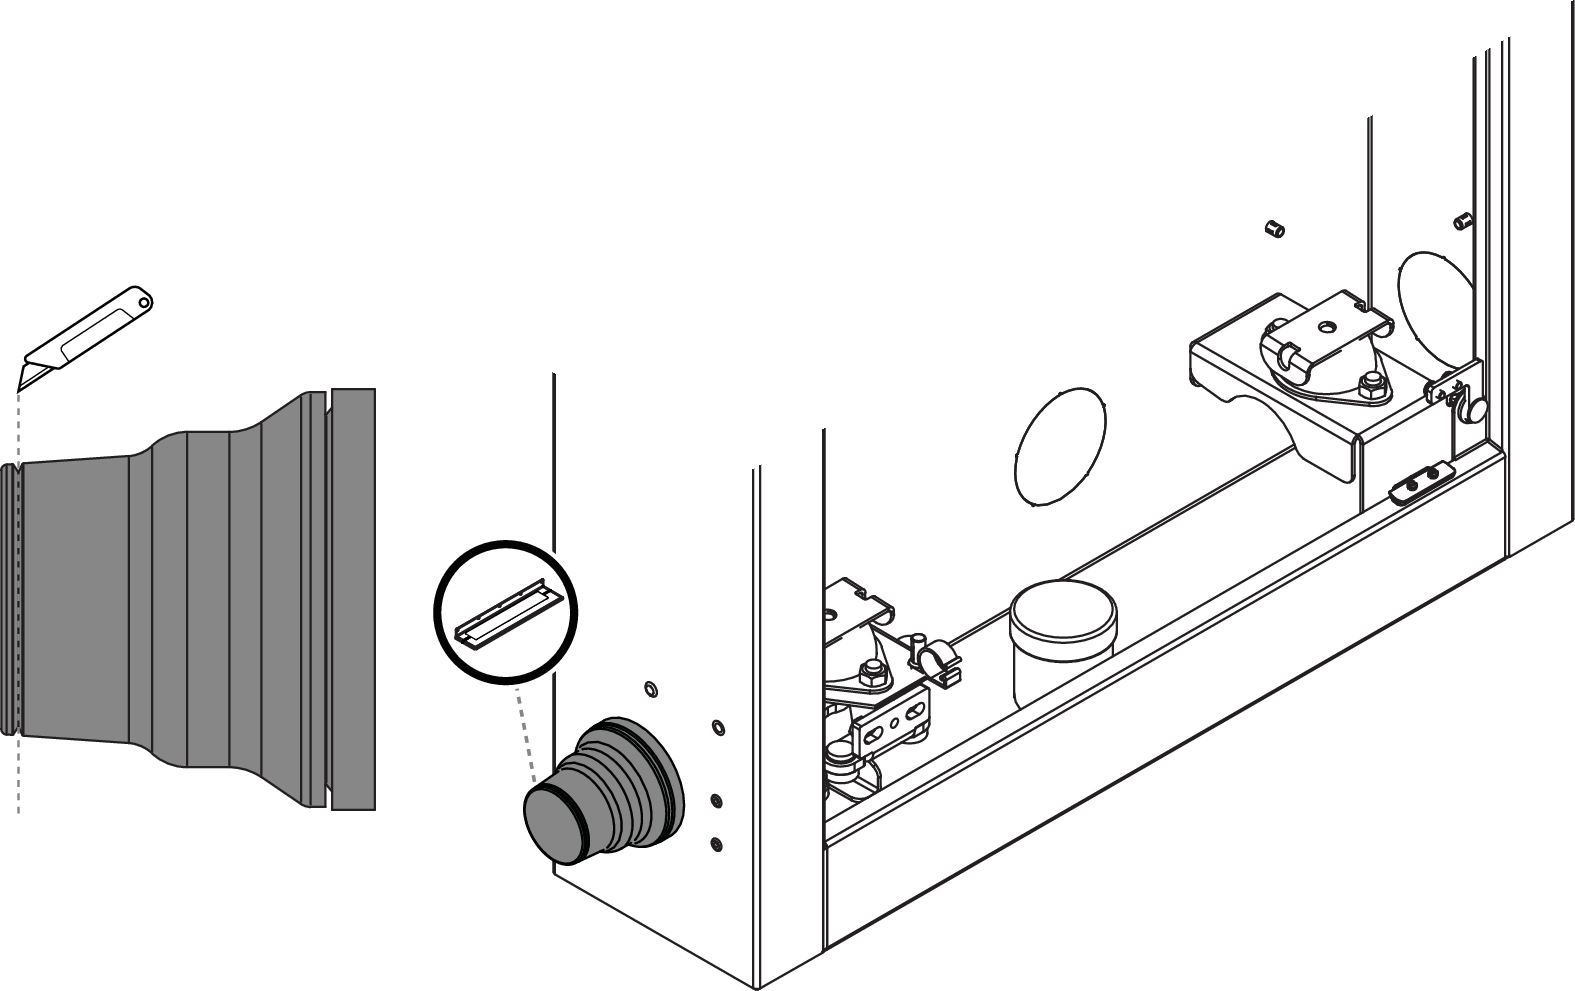
Cut the cones depending on the diameter of the conduit.

Draw the pipes to the correct position in the Wall Box.
Cut the conduits and PEX pipes.
Notice
PEX length might be adjusted depending on the chosen connector applied later.
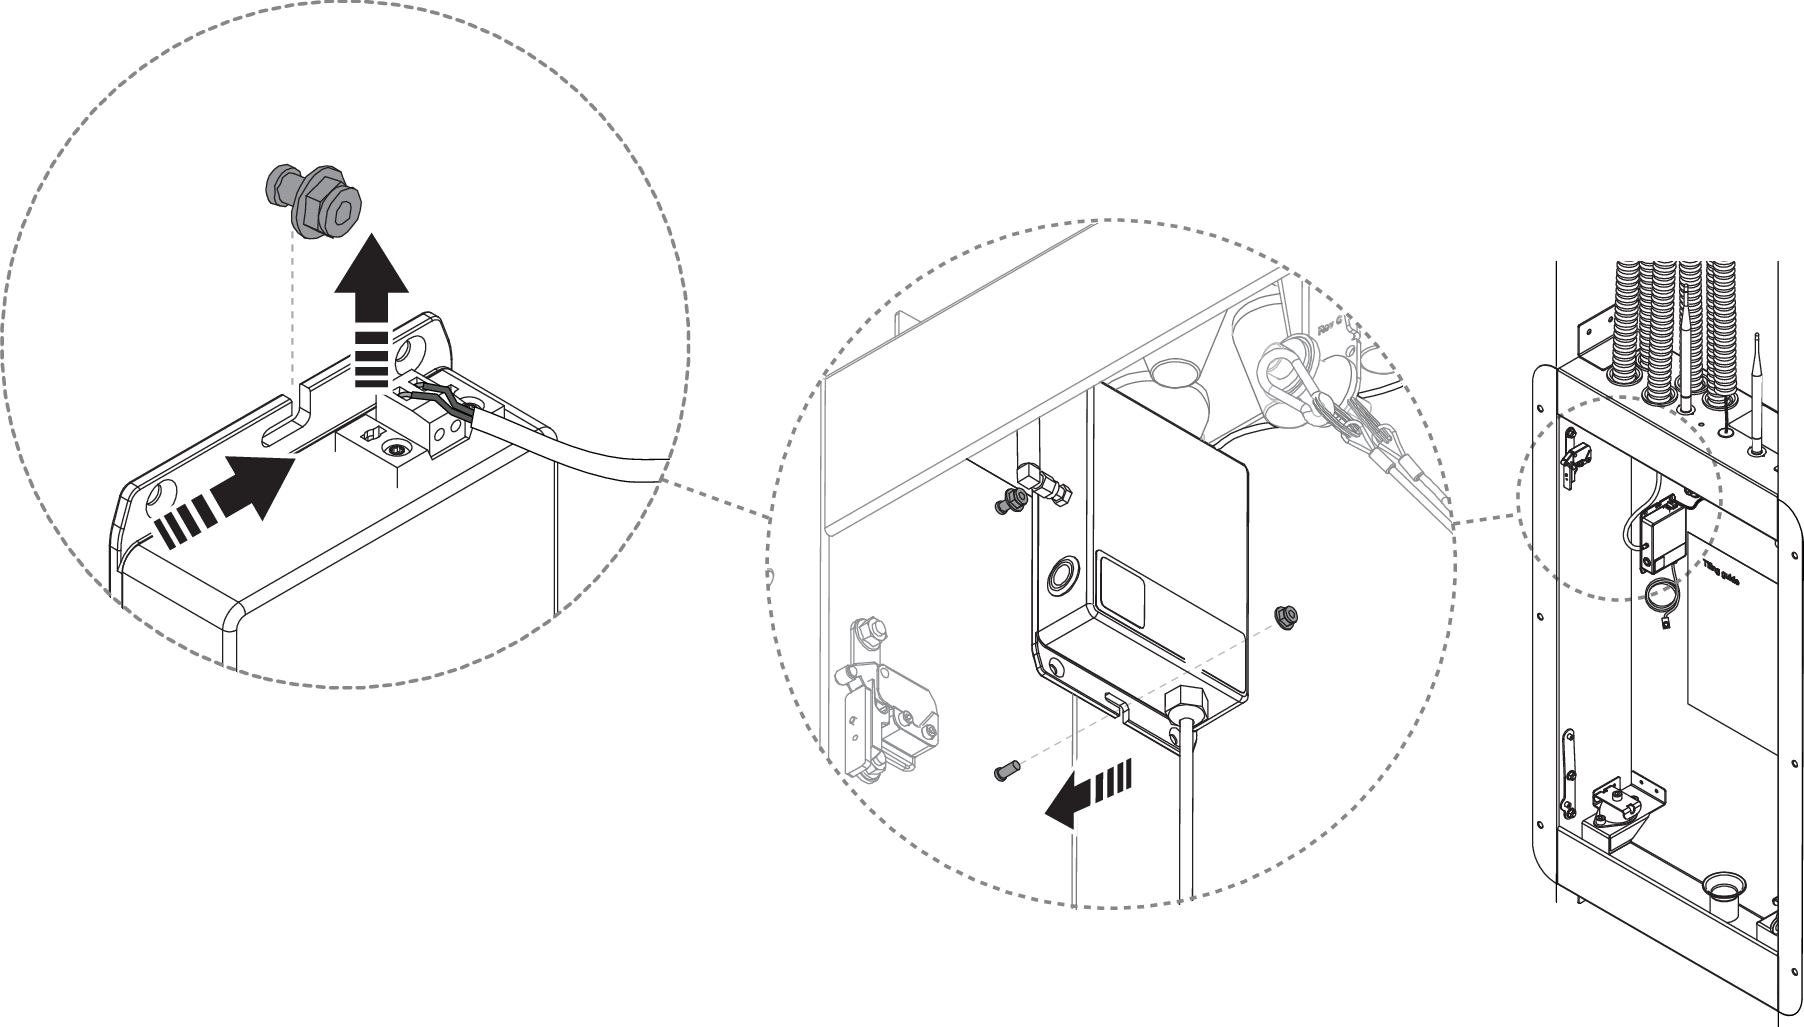
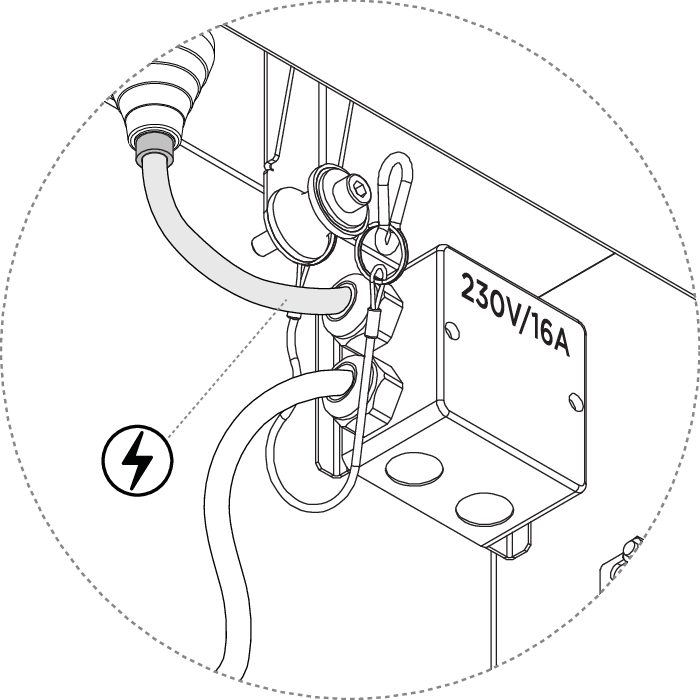
Connect the electrical cable to the junction box.
Warning
Electrical installation should be performed by a qualified electrician according to applicable industry standards and regulations.
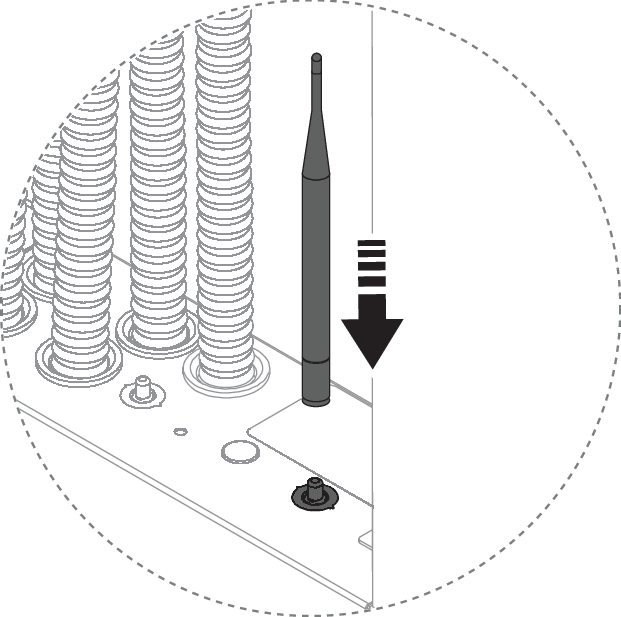
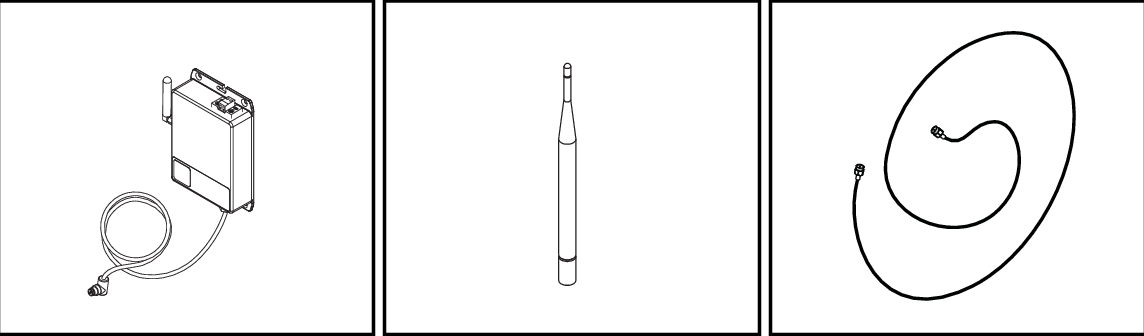
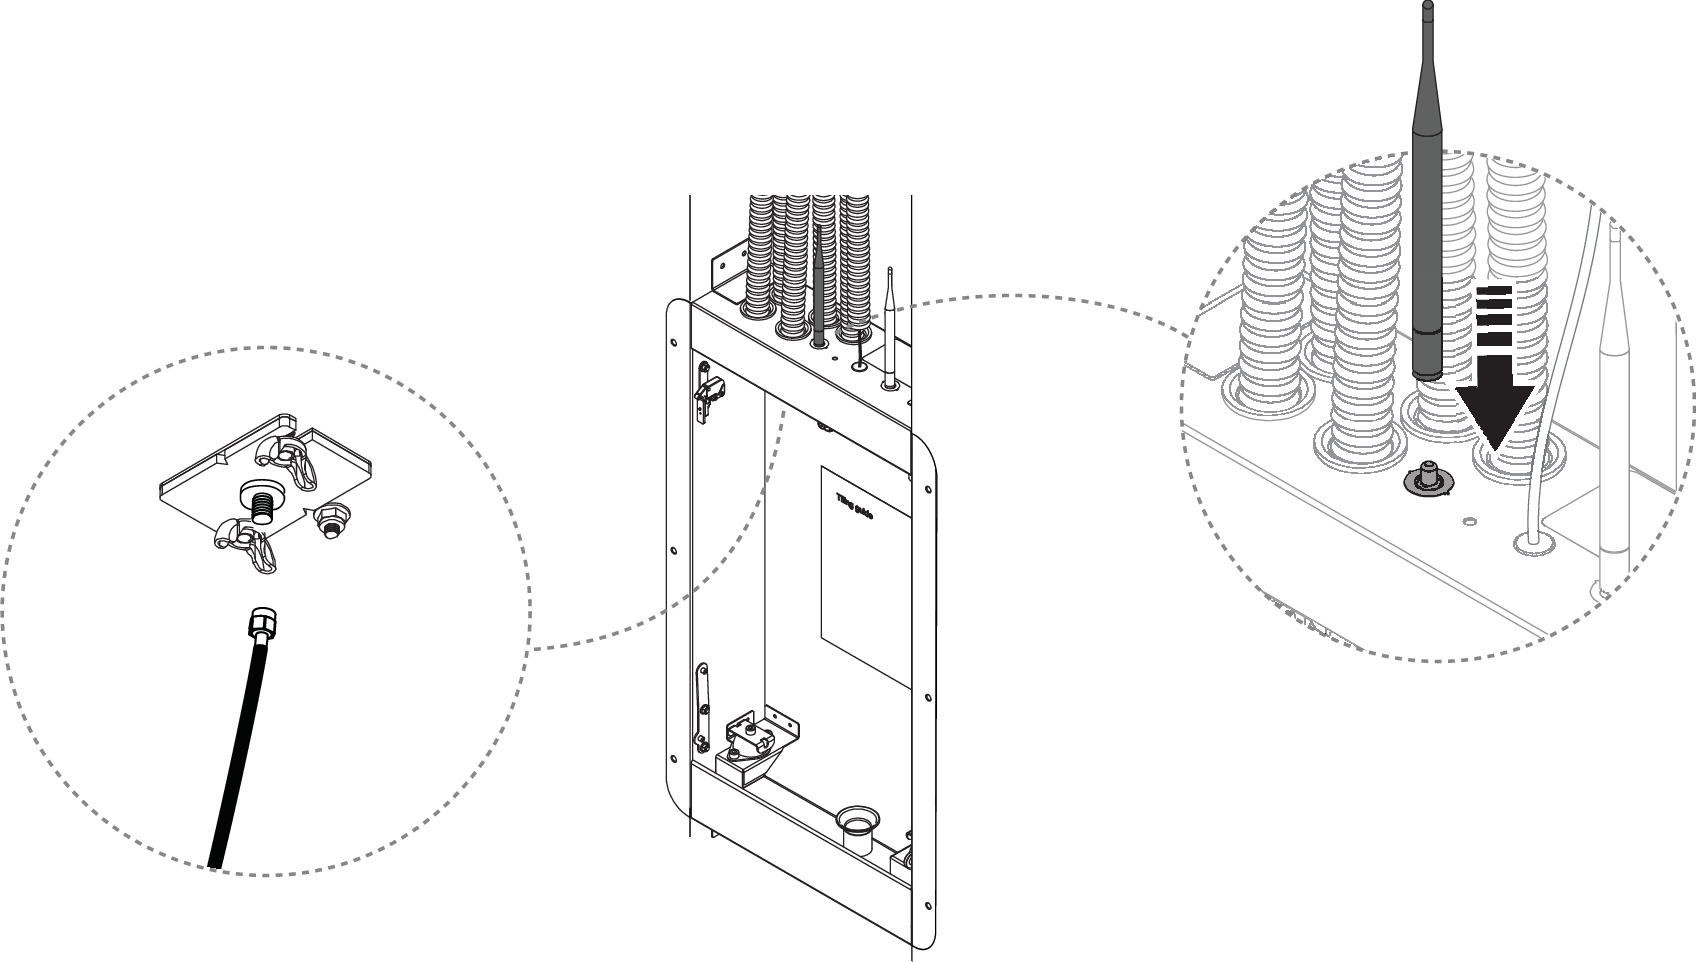
Install the Wi-Fi antenna. If using an ethernet connection, see the next step.
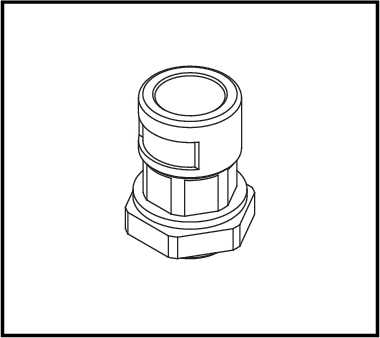
Only valid for Orbital ethernet installation
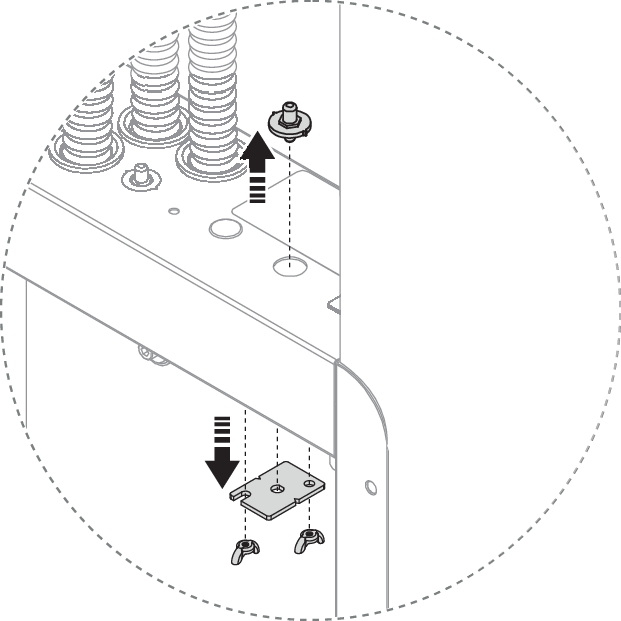
Unscrew the antenna bracket.
Install the ethernet pipe connector.
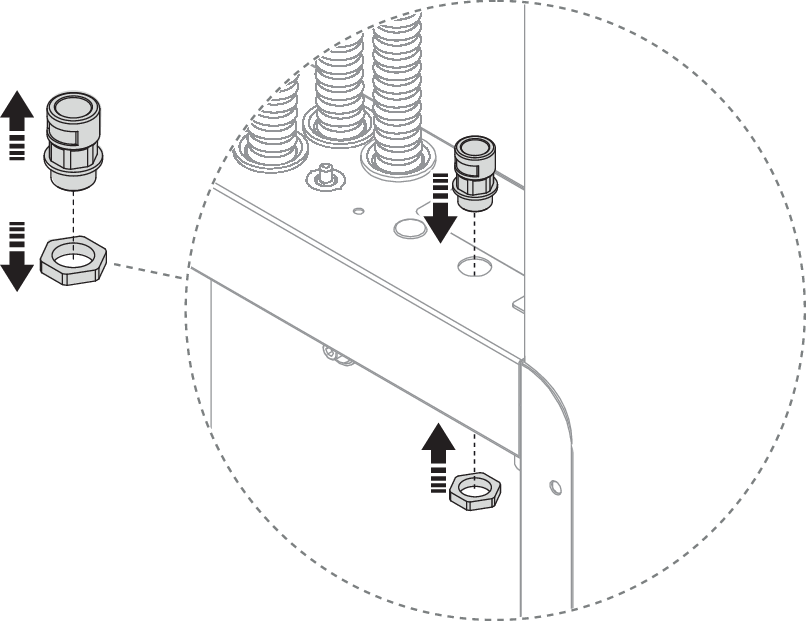
Connect the pipe to the connector.
 |
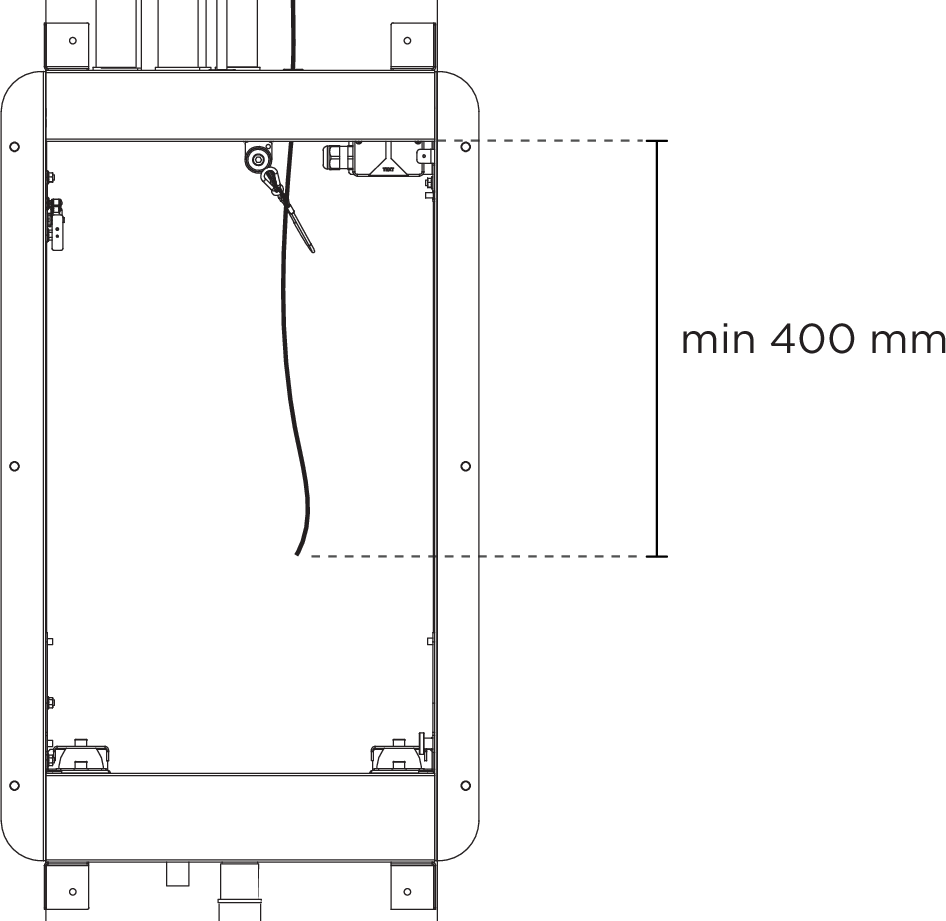
Cut the speaker cable to reach the amplifier, to a minimum of 400 mm.
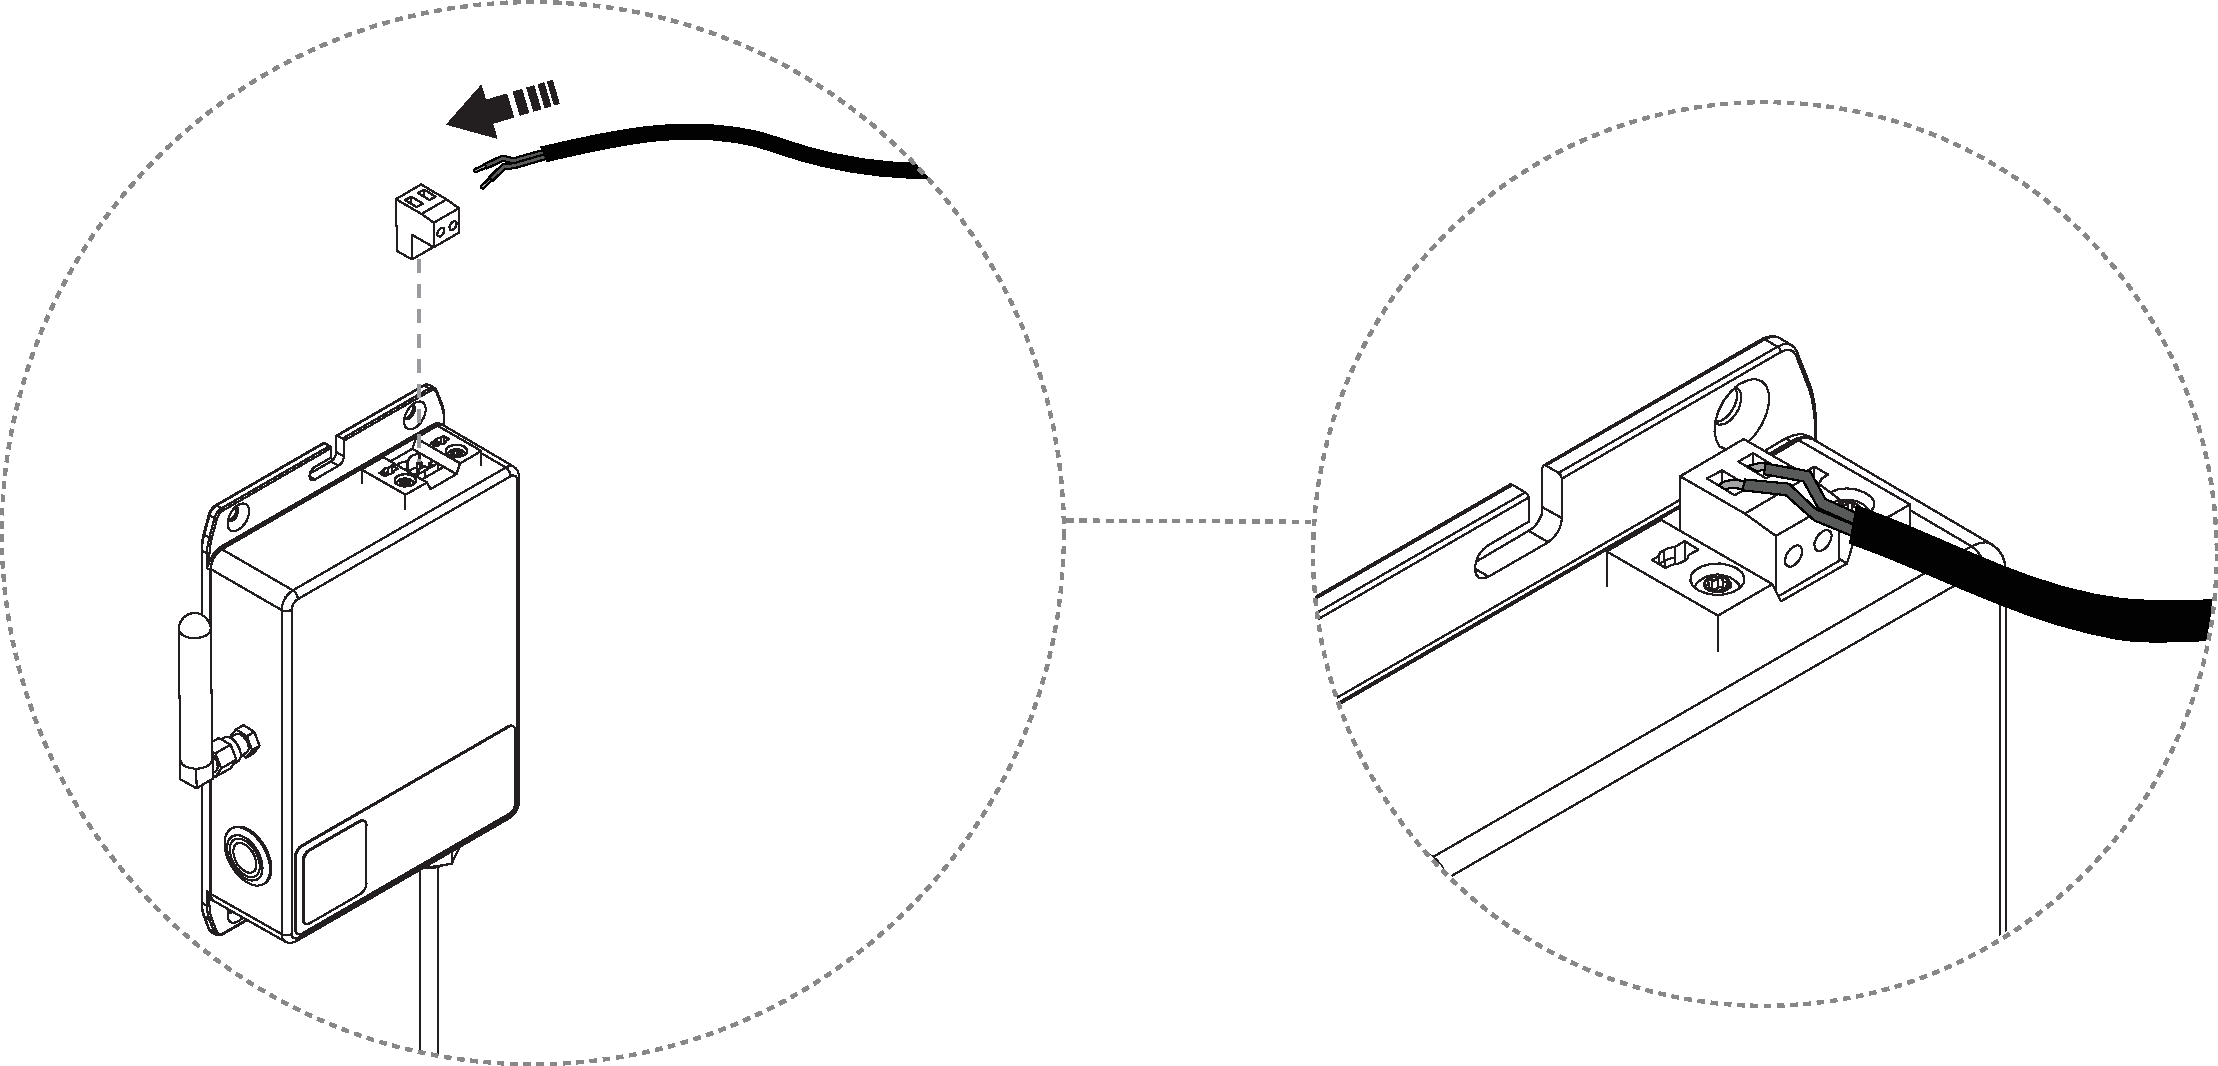
Strip the speaker cable and attach it to the amplifier.
Remove the stub antenna from the amplifier, and replace it with the antenna cable.

Connect the other part of the antenna cable to the rod antenna and attach the antenna to the top of the Wall Box.
Mount the amplifier in the Wall Box by loosening the nut from the lower bracket and threading the amplifier into the upper bracket. Attach the lower nut and tighten.