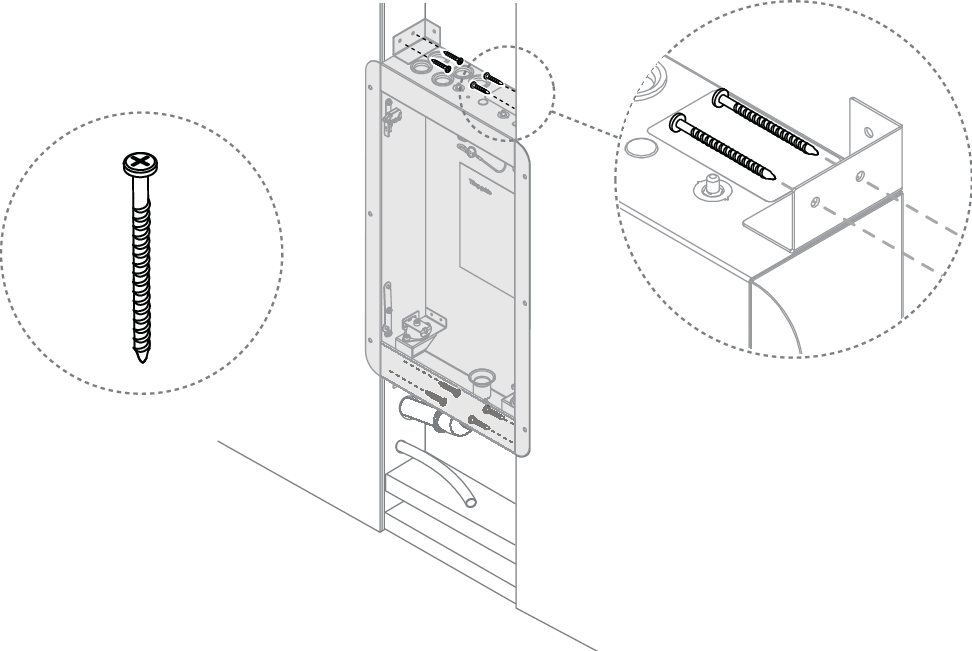
Install Wall Box
 |
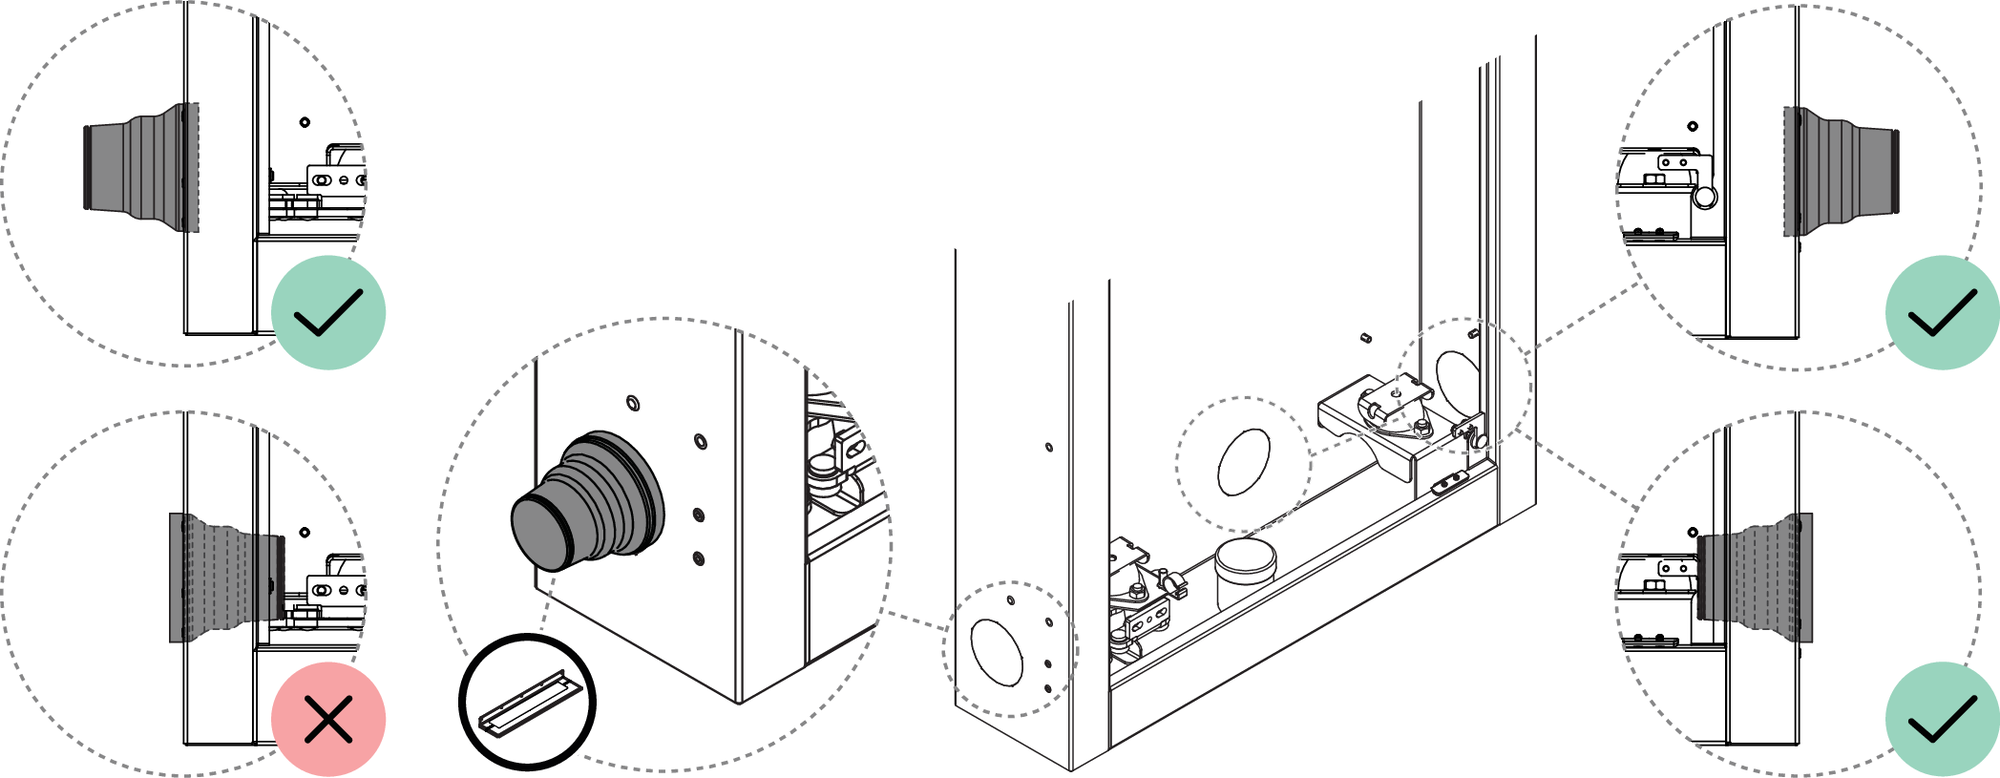
Identify which Drain pipe inlet hole is best suited for your installation scenario (bottom, back, left or right). If one of the side or back holes are used, leave the protective cap mounted on the bottom inlet hole. Punch out one hole in the sheet metal to create the side or back inlet.
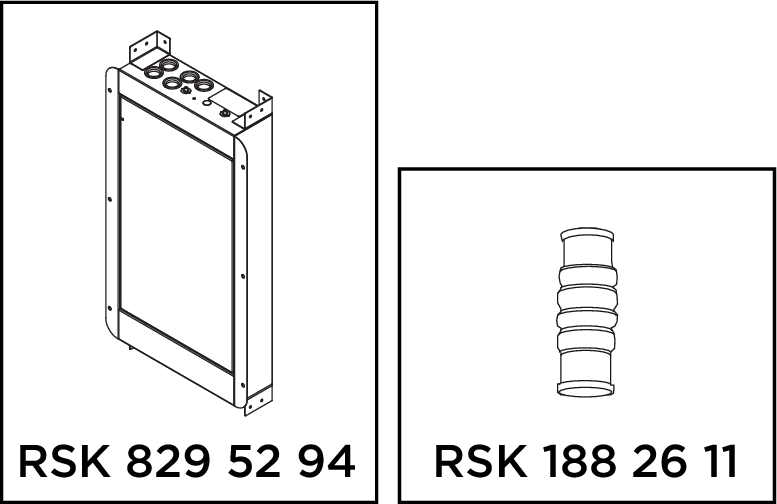
Mount the pipe penetration seal in the selected inlet hole (not applicable when using the bottom inlet).
- If the left-side inlet hole is used, the penetration seal must be installed facing outward.
- If the back or right-side inlet hole is used, the penetration seal may be installed facing either outward or inward.
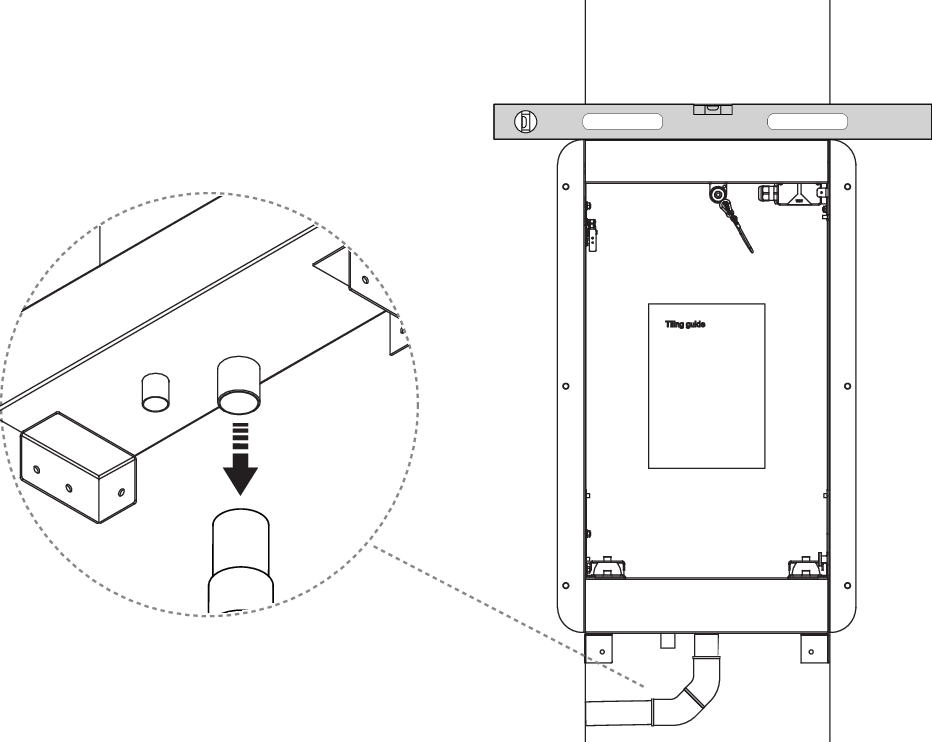
Mount the Wall Box in line with the front of the drywall.