14. Filter & UV
This instruction shows how to swap the Filter and UV in a Hatch Tiled installation. The Core and Filter can be placed either inside or outside of the shower area. Follow the instructions in detail, and don't hesitate to reach out if you have any questions - support@orbital-systems.com.
Use the kit below to swap the Filter and UV-kit.
Filter Capsule |
UV lamp |
Quartz jacket kit |
Dismantle Filter & UV
Turn off the power.

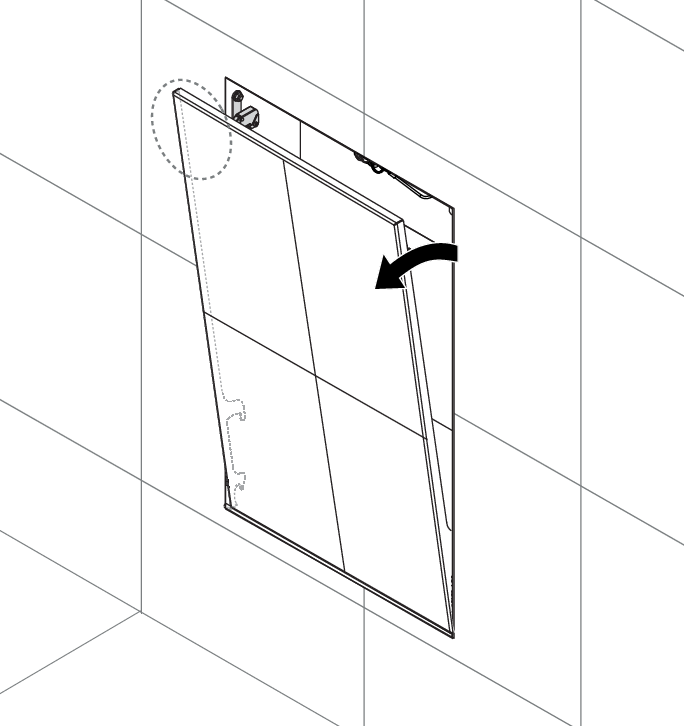
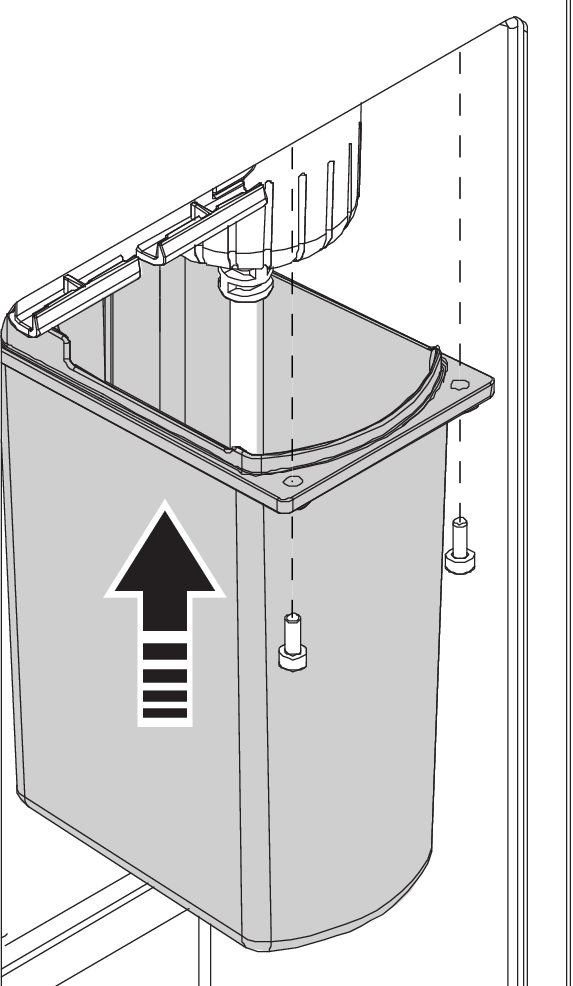
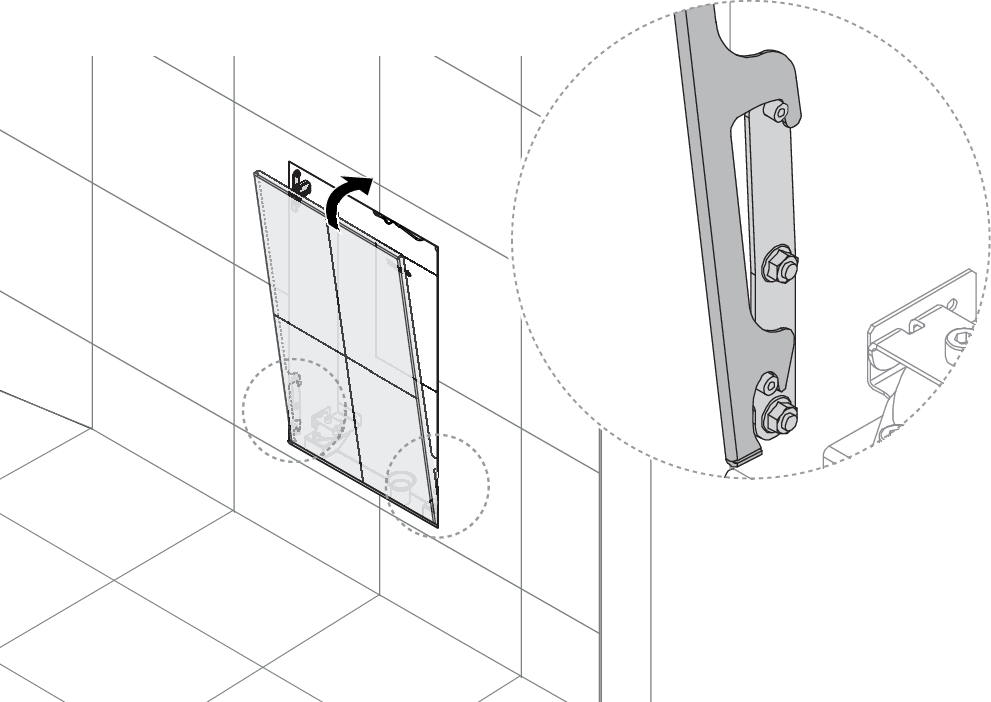
Push the top left corner to tilt the door open. Lift the door off the lower brackets. Be aware that the weight of the door is 8-12 kg, depending on the tile thickness.
Caution
The weight of the Hatch Tiled door is approximately 8-12 kg, depending on the tile thickness. Be careful when lifting.
Open the filter door and release the filter holder.
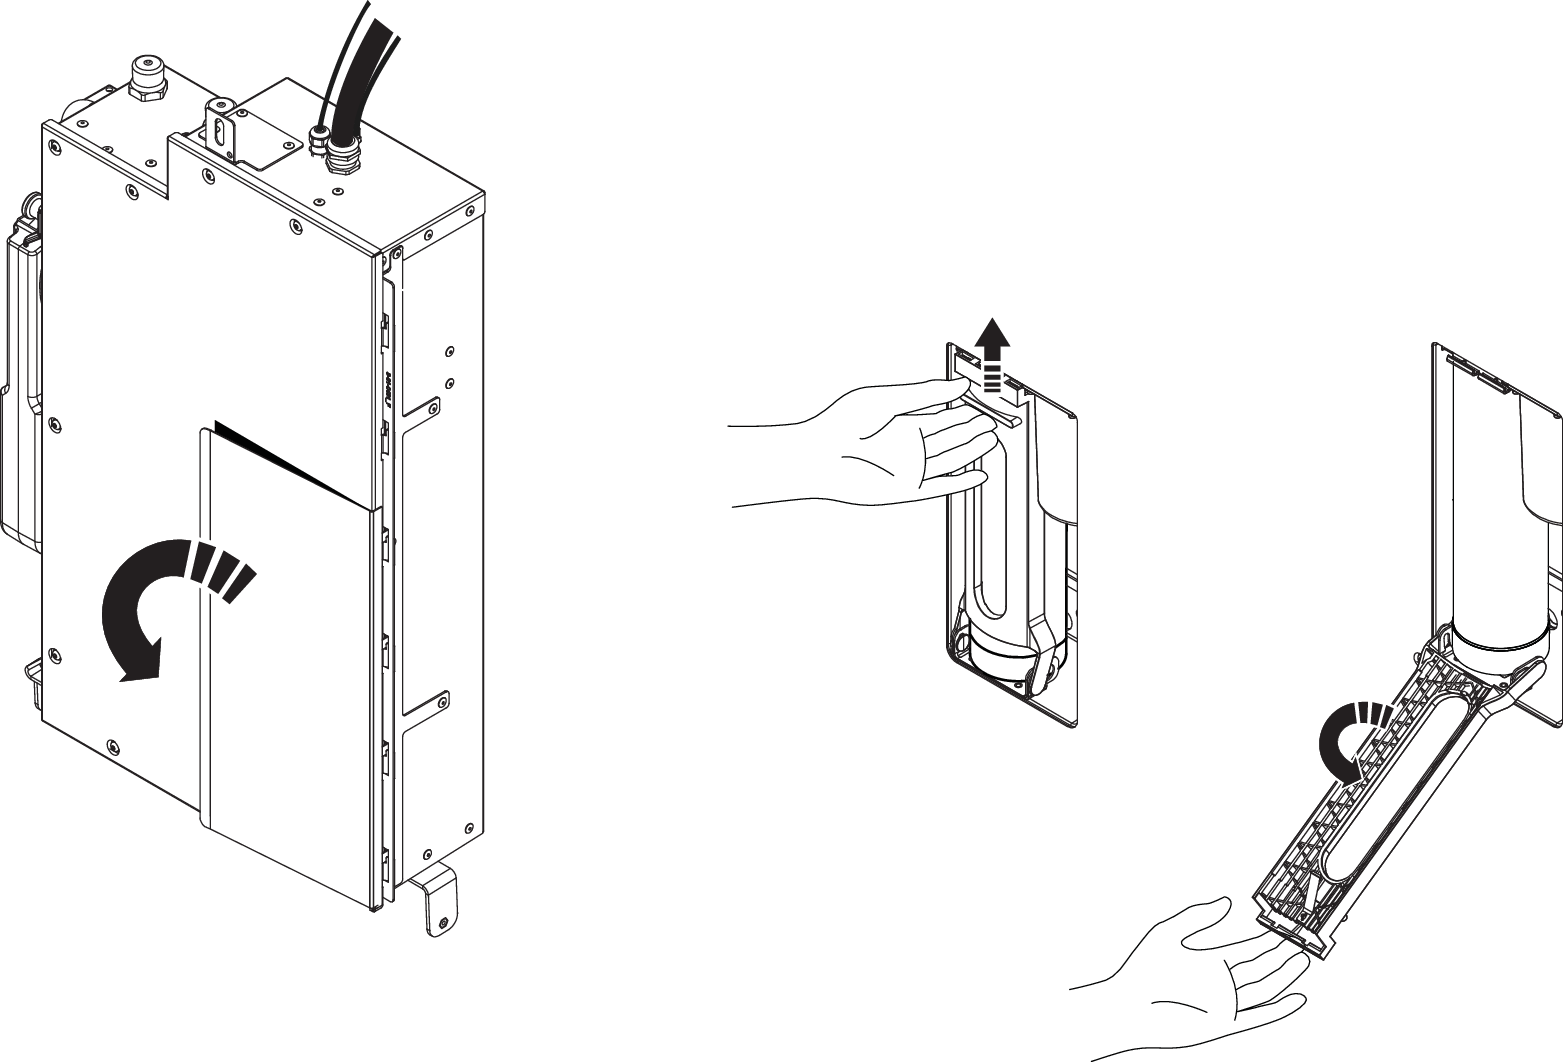
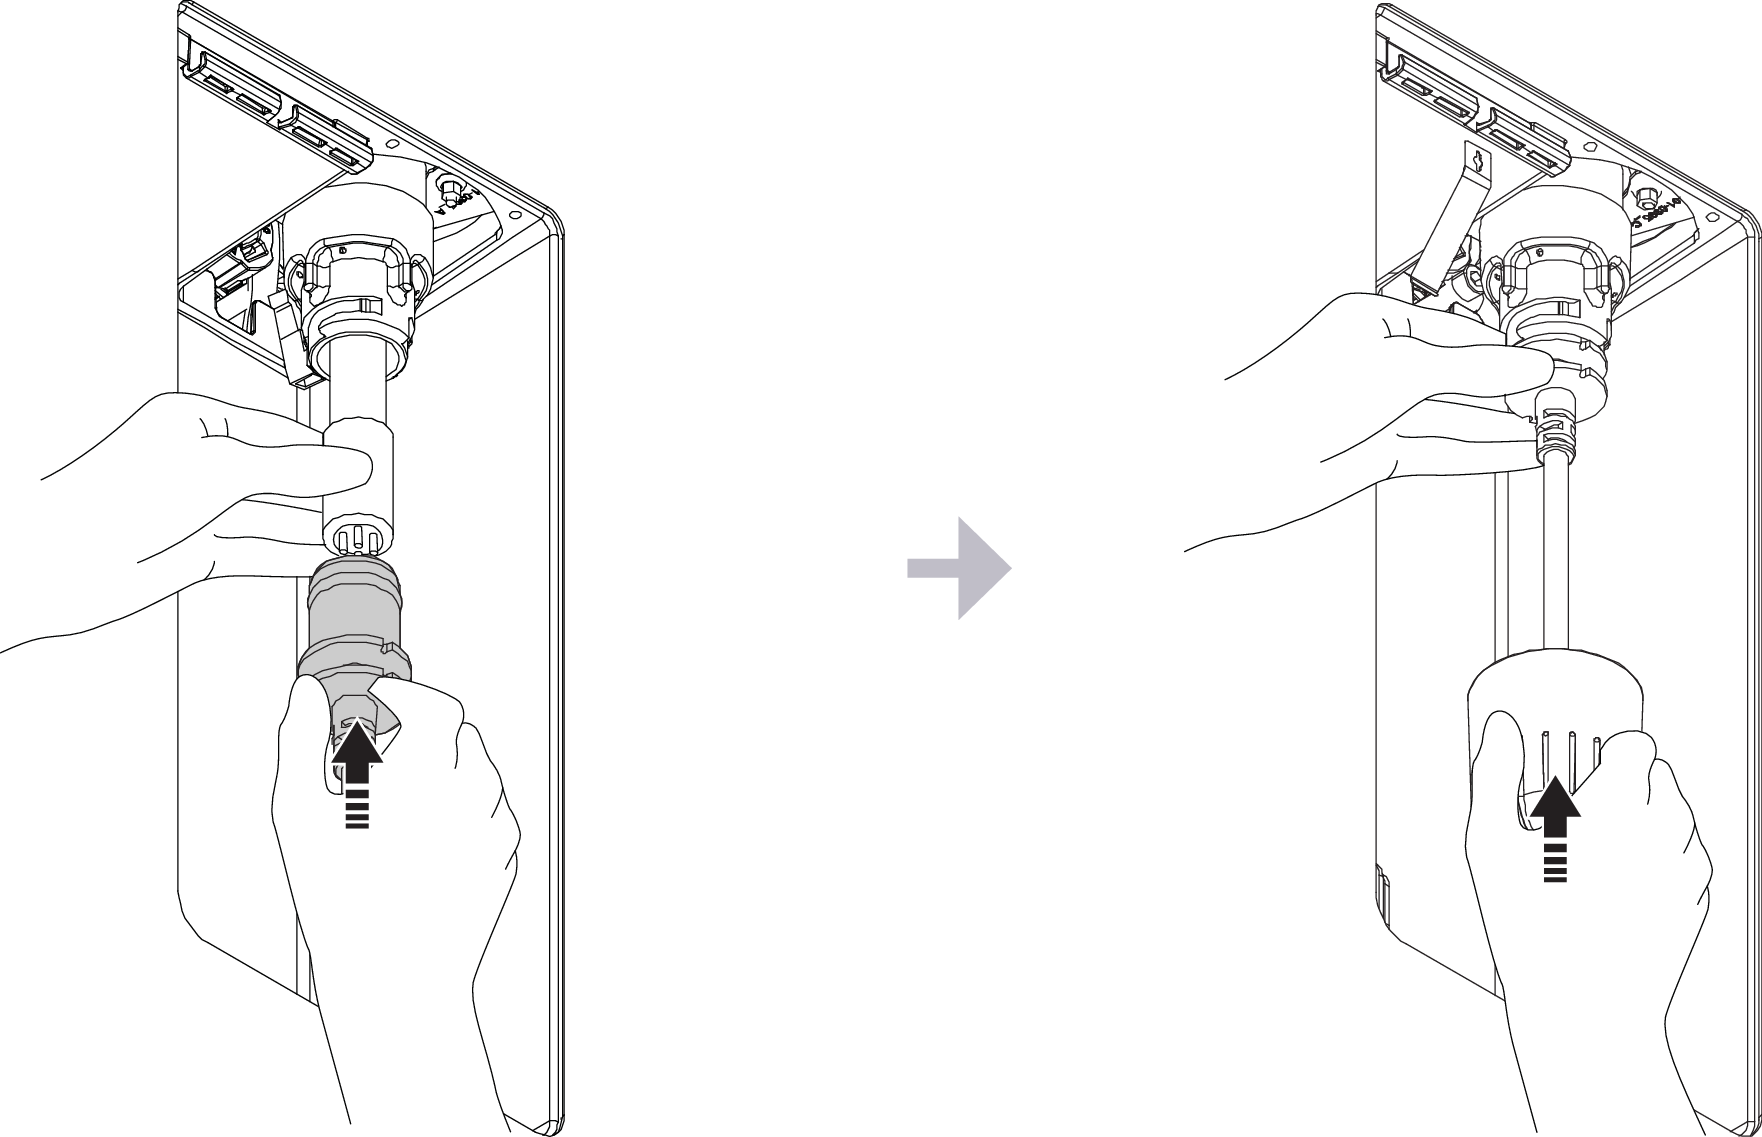
Remove the old Filter Capsule
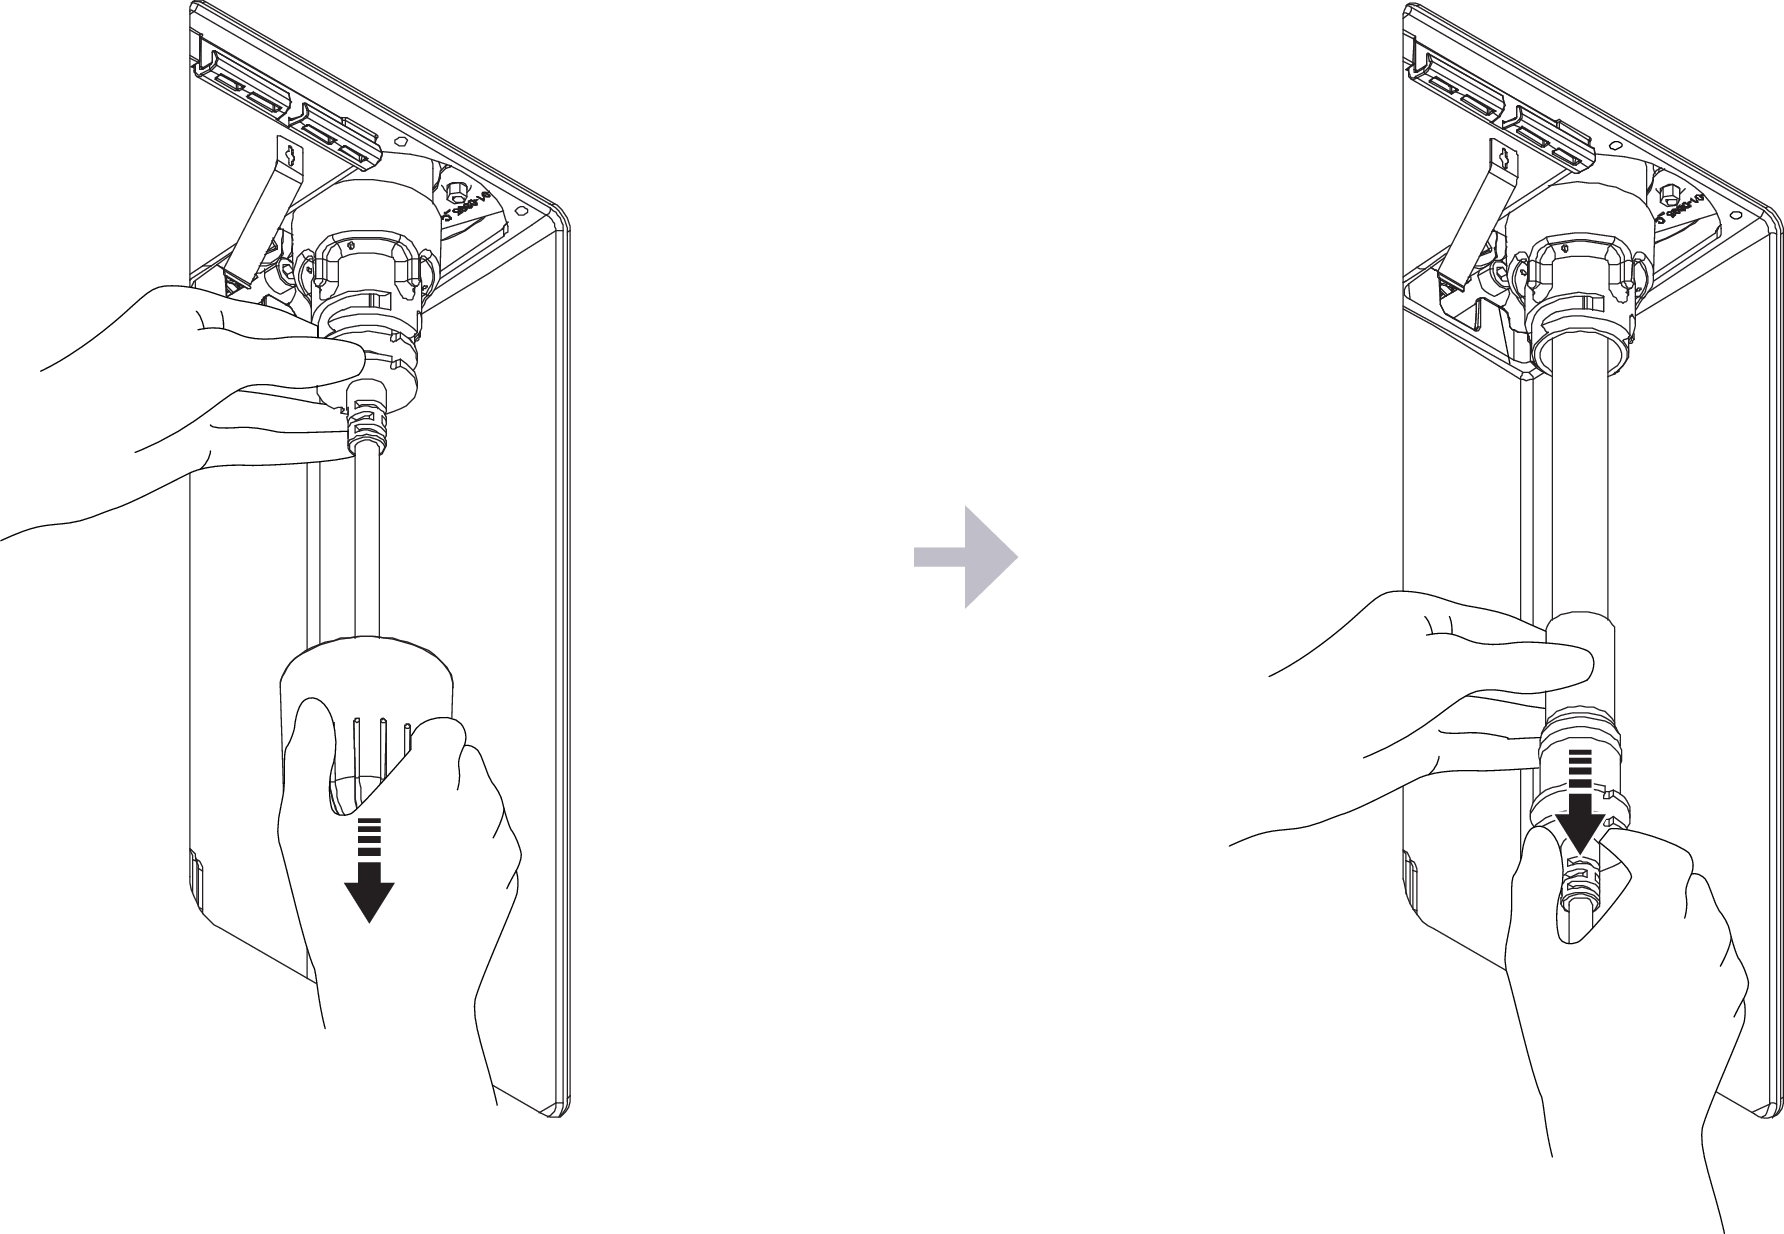
Unscrew the UV protection cover.
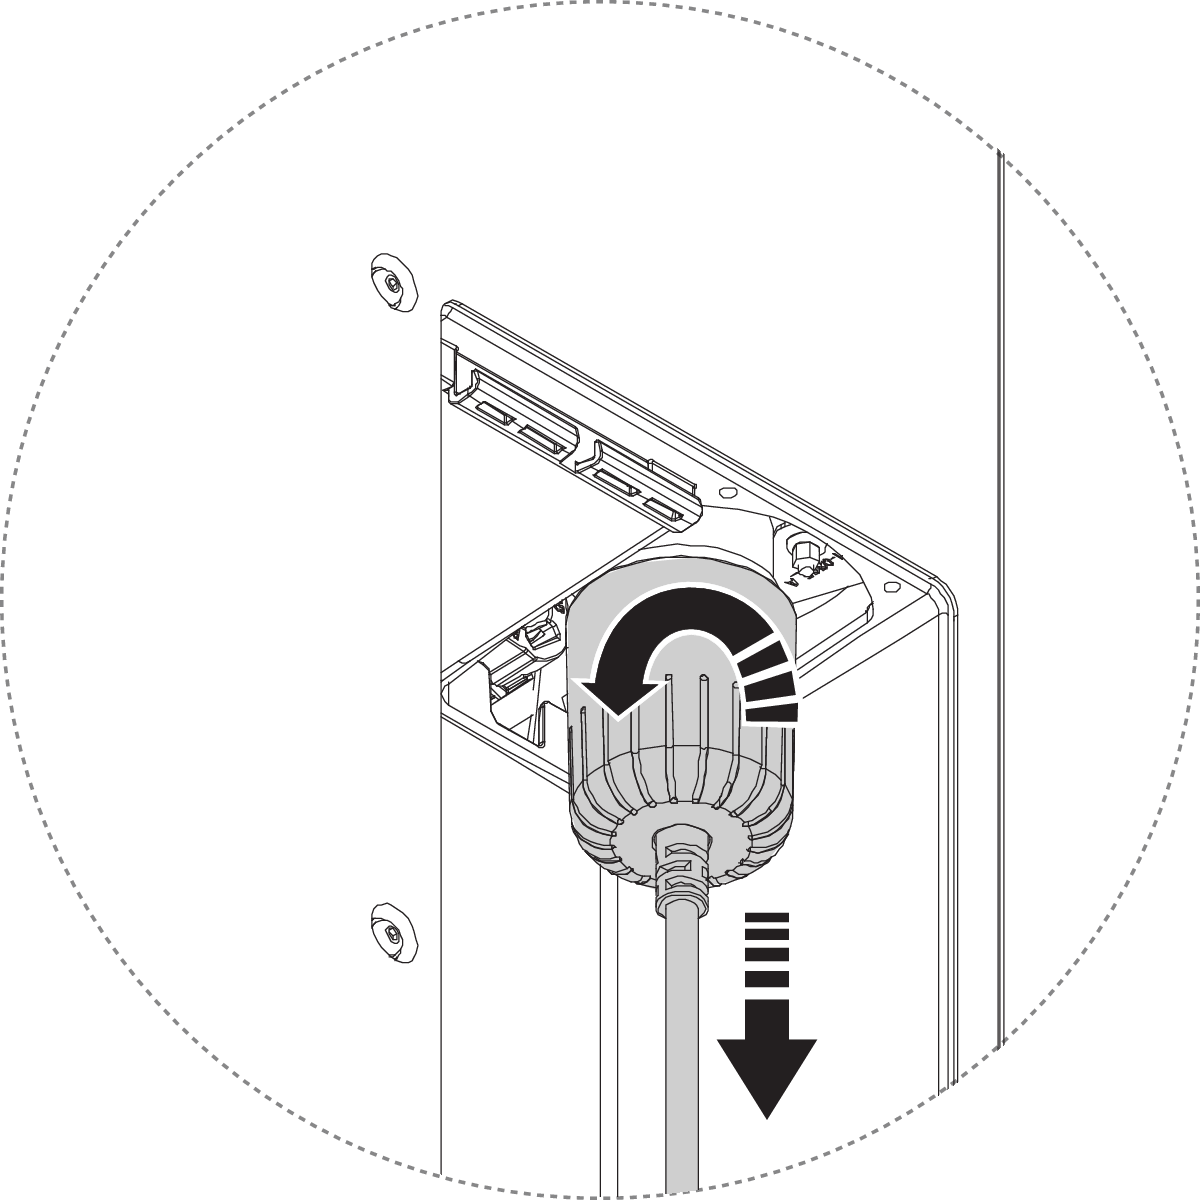
Turn the plug counterclockwise to release the UV lamp.
Disconnect the lamp and put it aside.
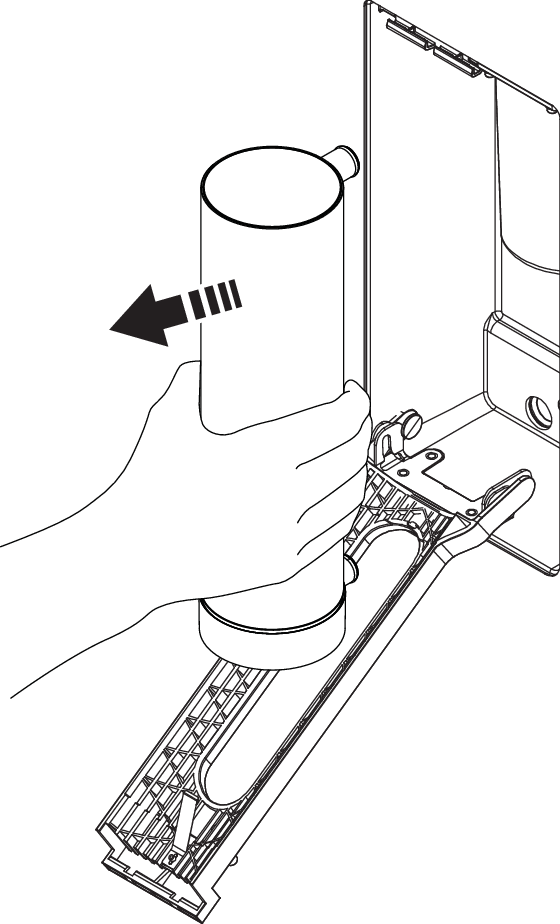
Turn the bayonet lock counterclockwise to release the quartz glass.
Install Filter & UV-kit
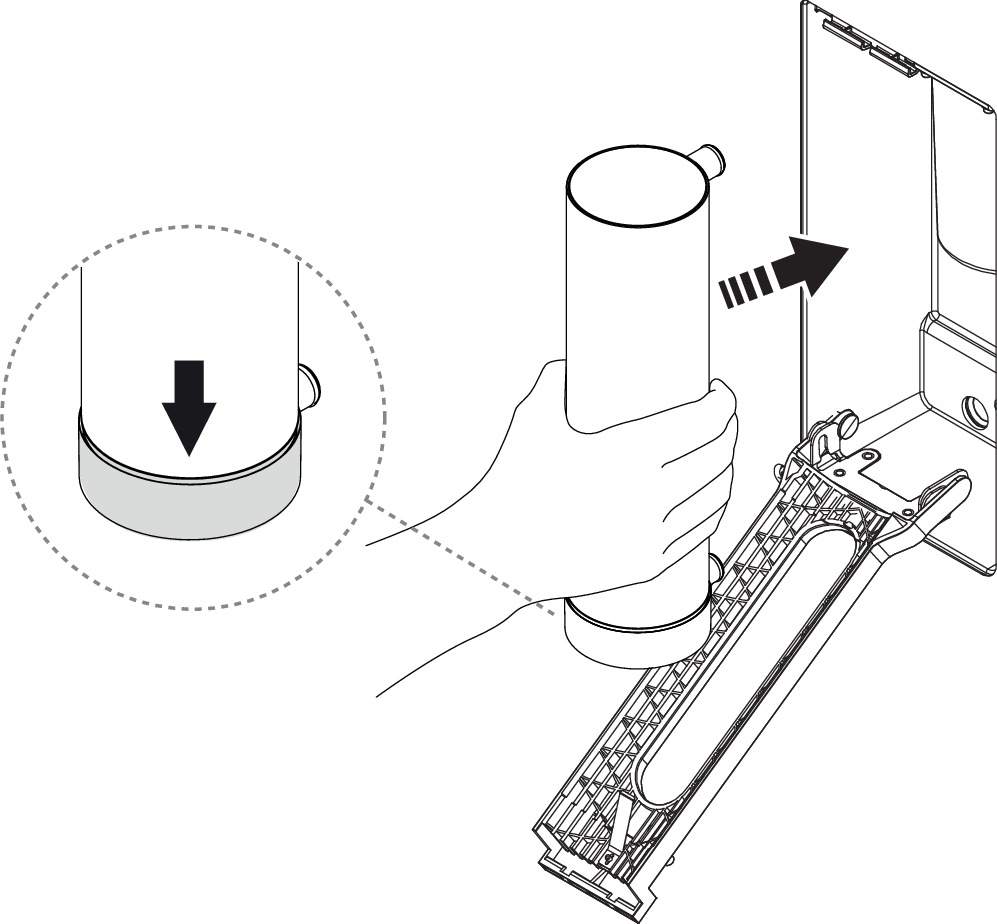
Change the quartz glass and tighten the bayonet lock.
Caution
Make sure the o-ring is undamaged and in good condition.
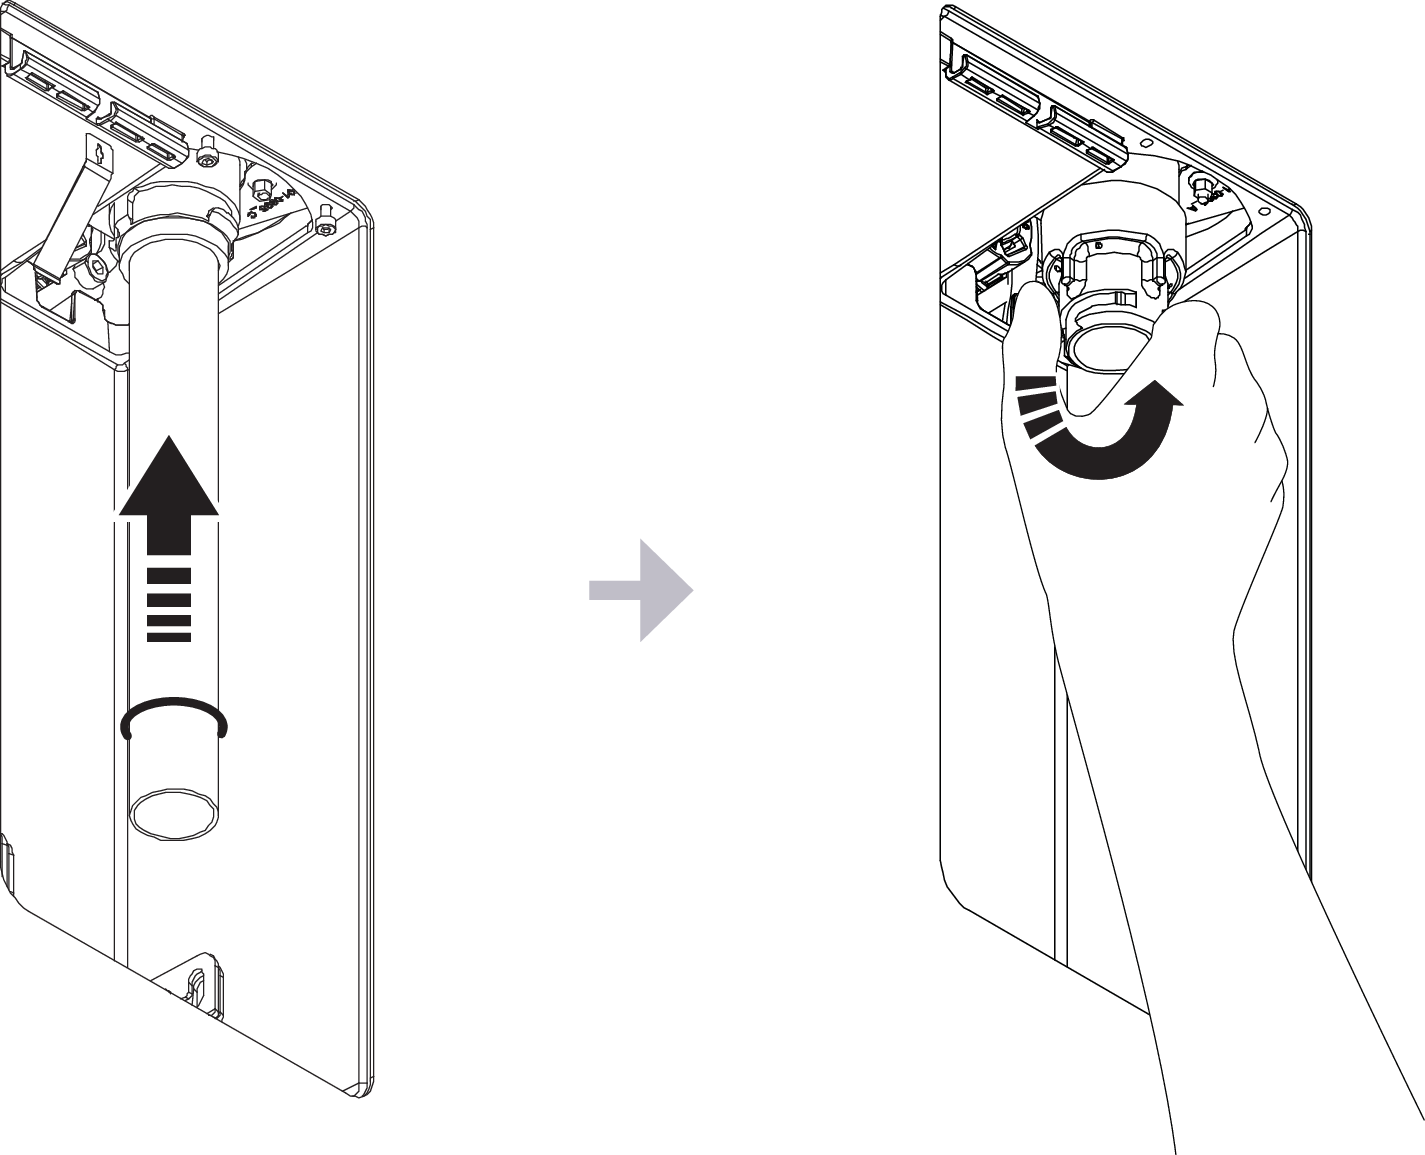
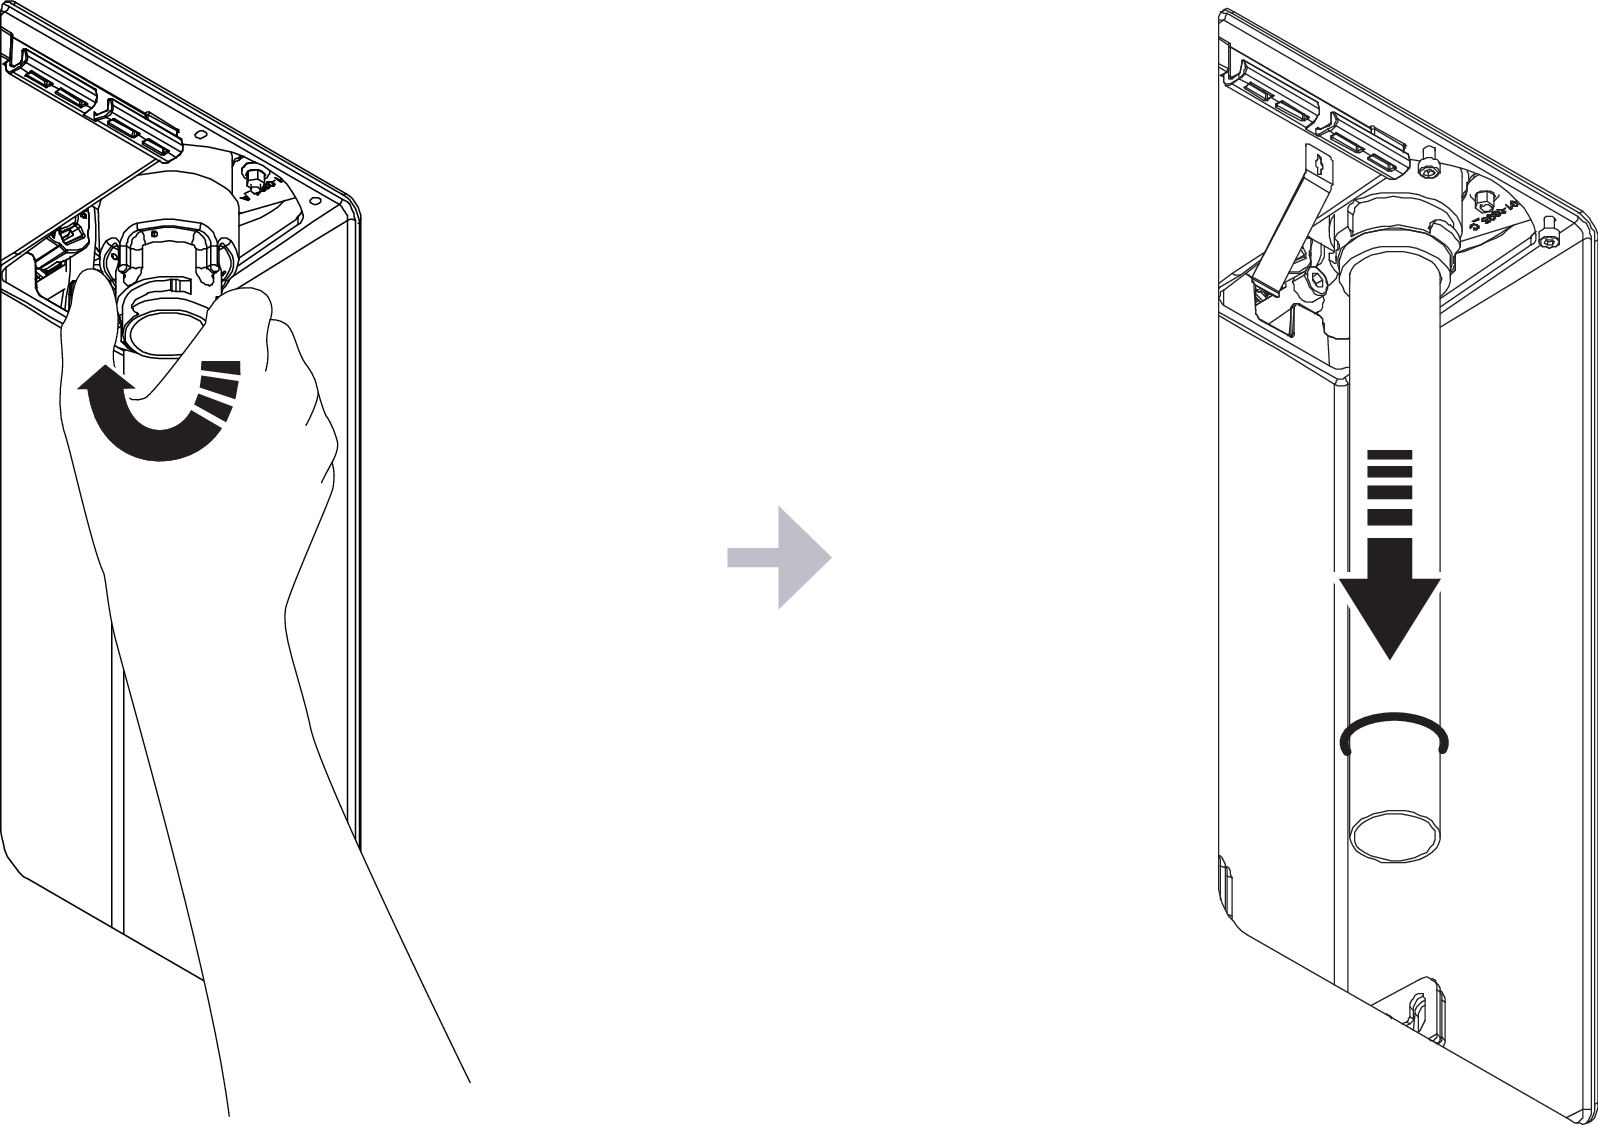
Connect the new UV lamp, turn the plug clockwise to lock.
Caution
Make sure that the lamp goes all the way into the socket.
Reinstall the UV protection cover.
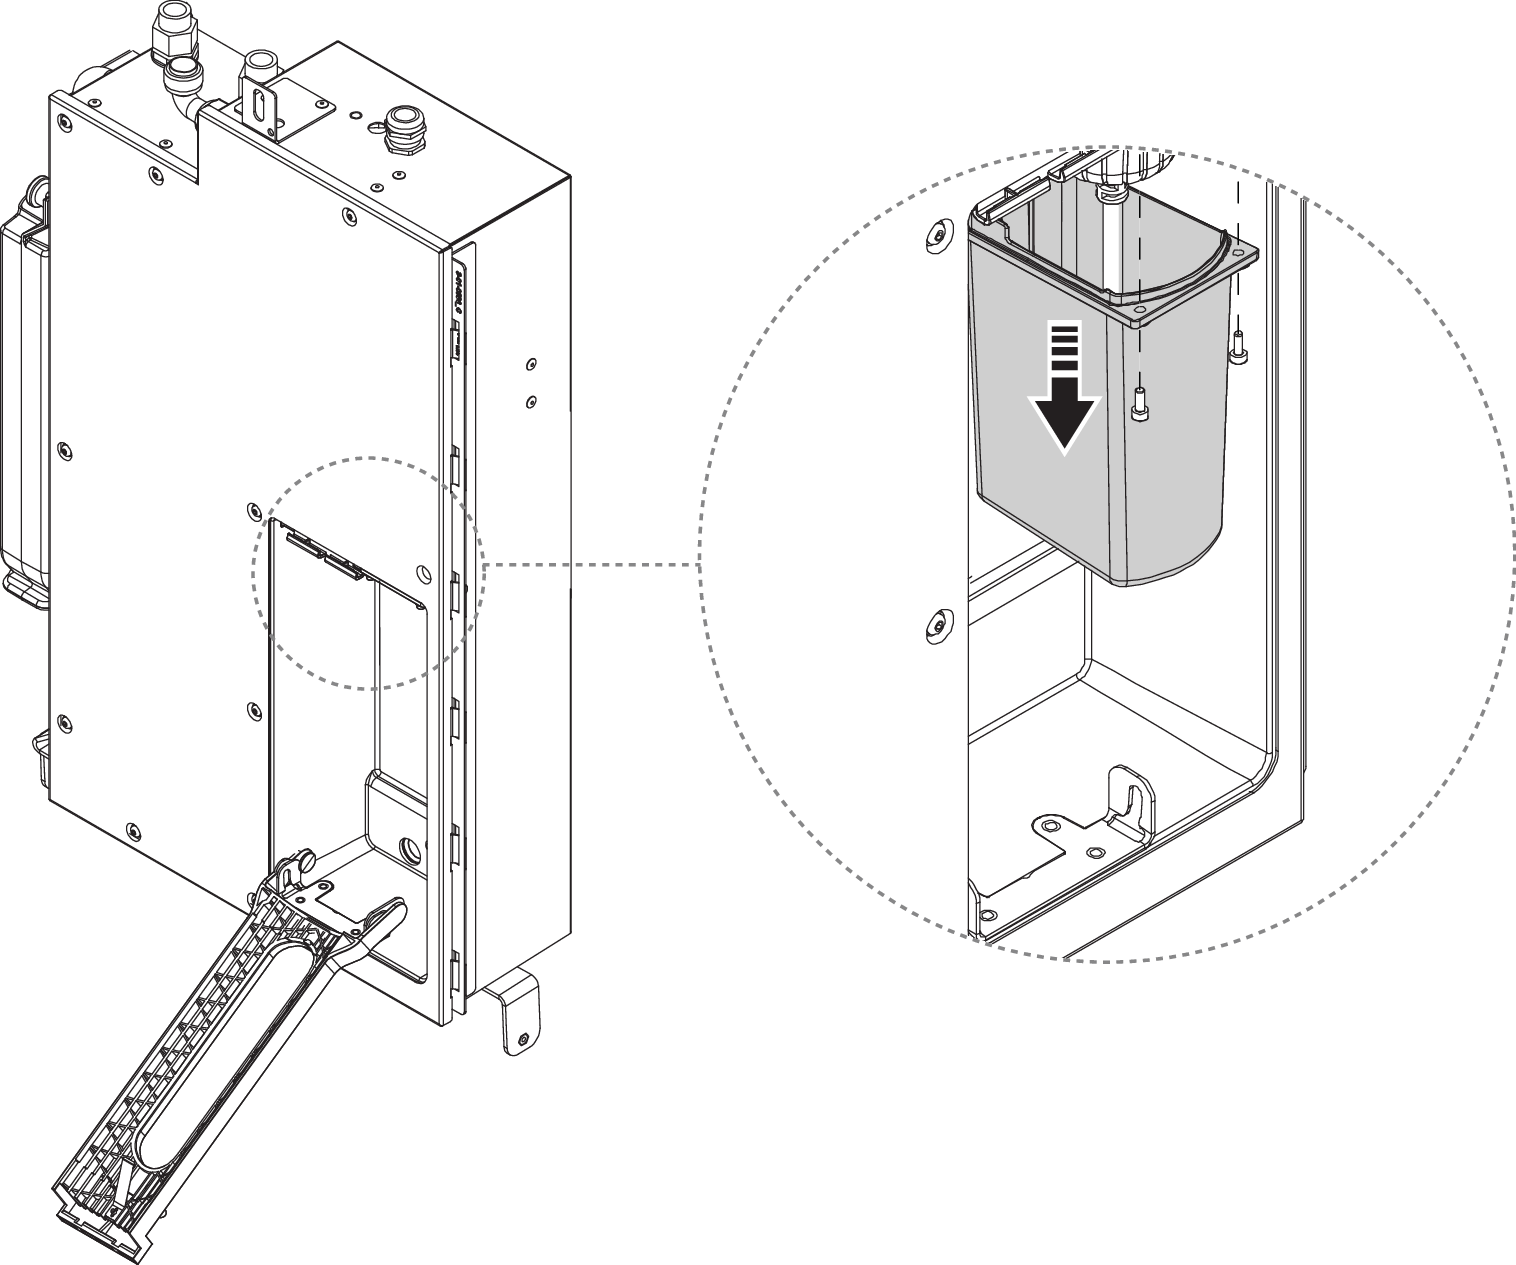
Insert a new Filter Capsule.
Caution
Ensure that the Filter Capsule is correctly inserted to avoid leakage.
Close the filter holder and the filter hatch.
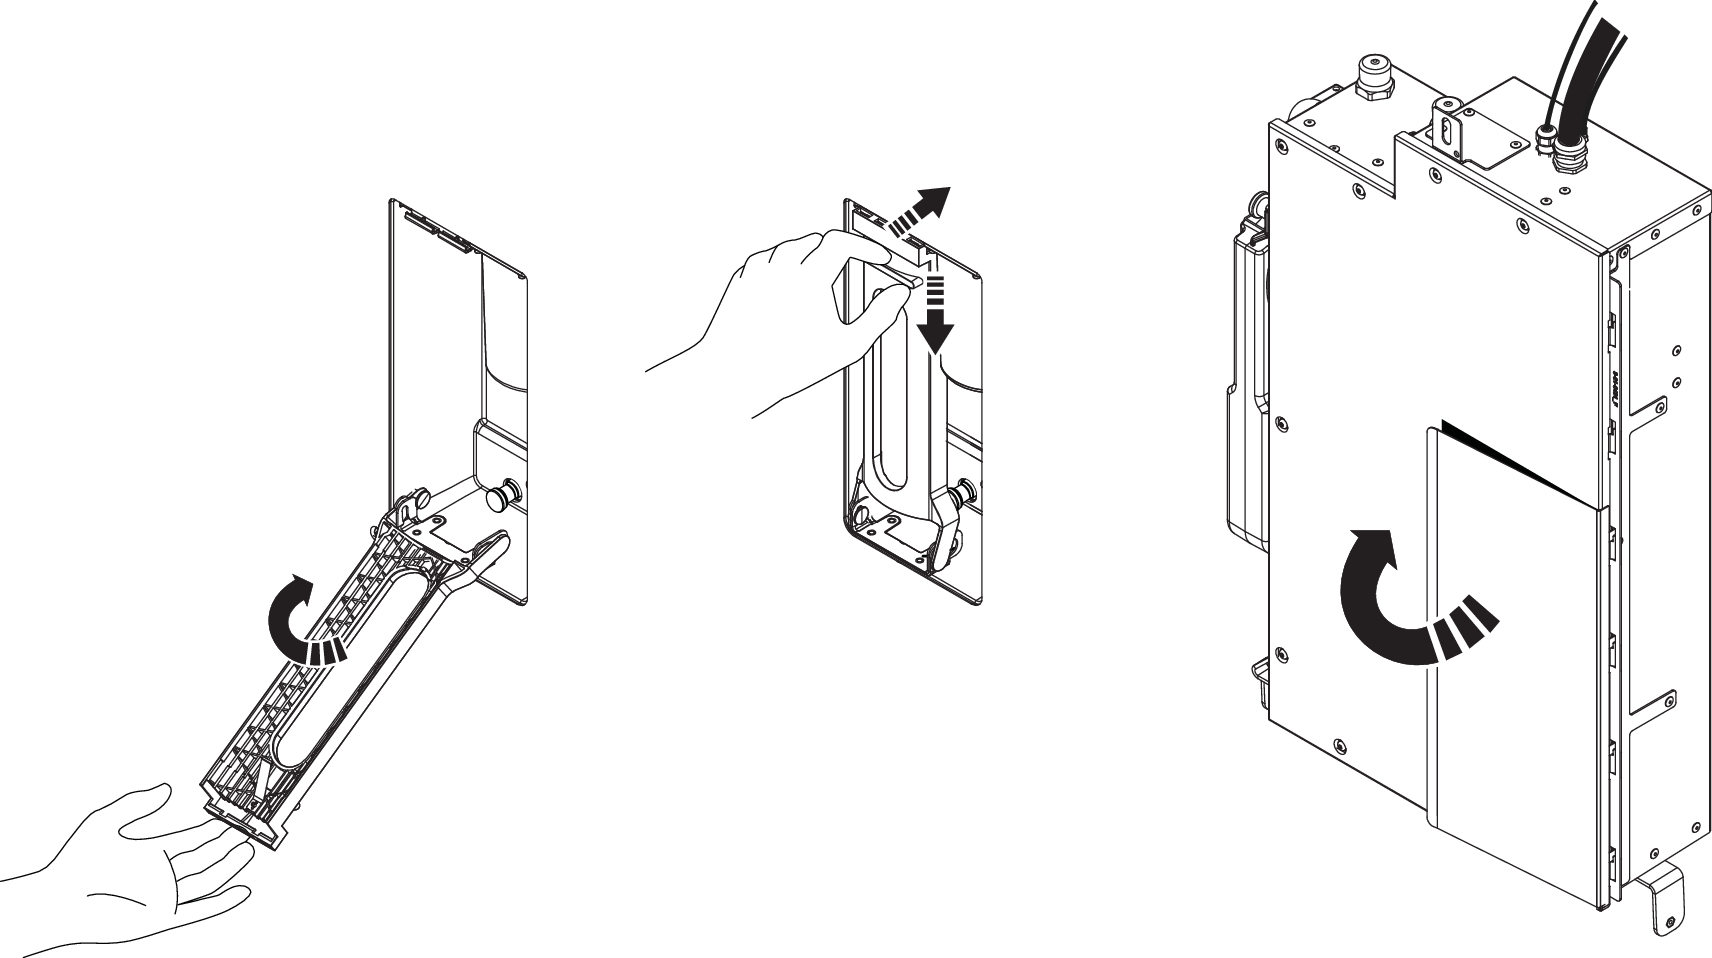
Secure the door onto the brackets, tilt it inward to close it, and press the upper left corner to lock it in place.
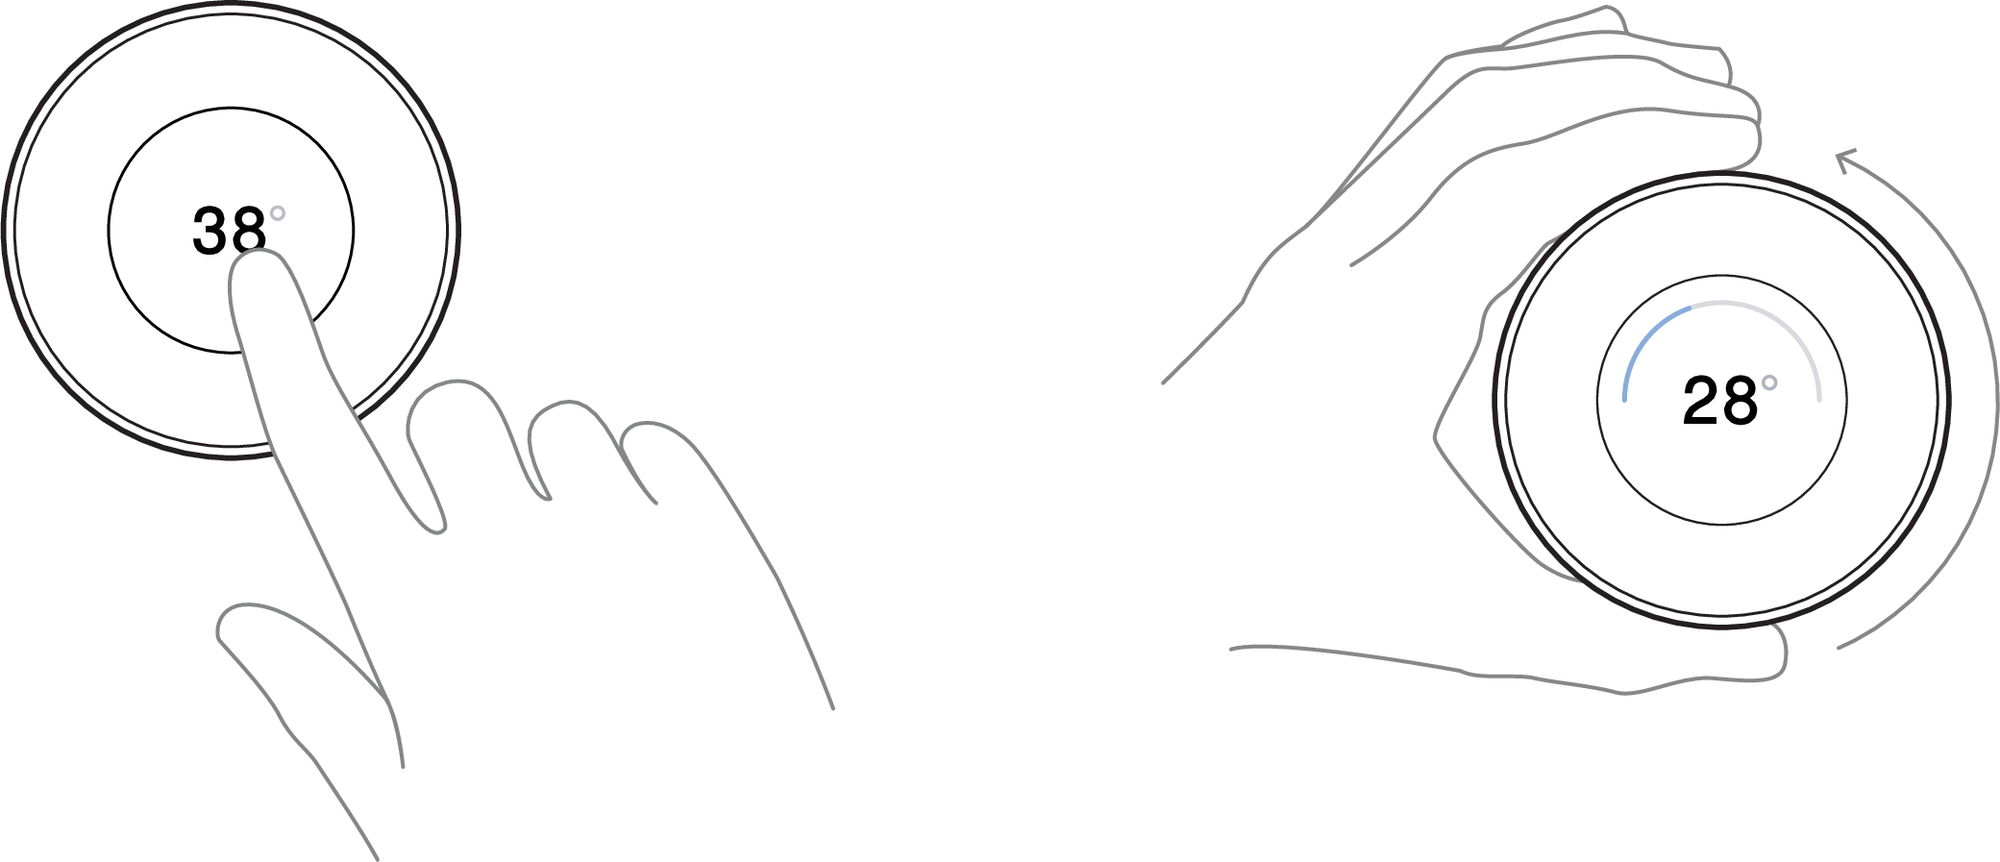
Turn on the power. It takes about 1 minute for the Core to start up.
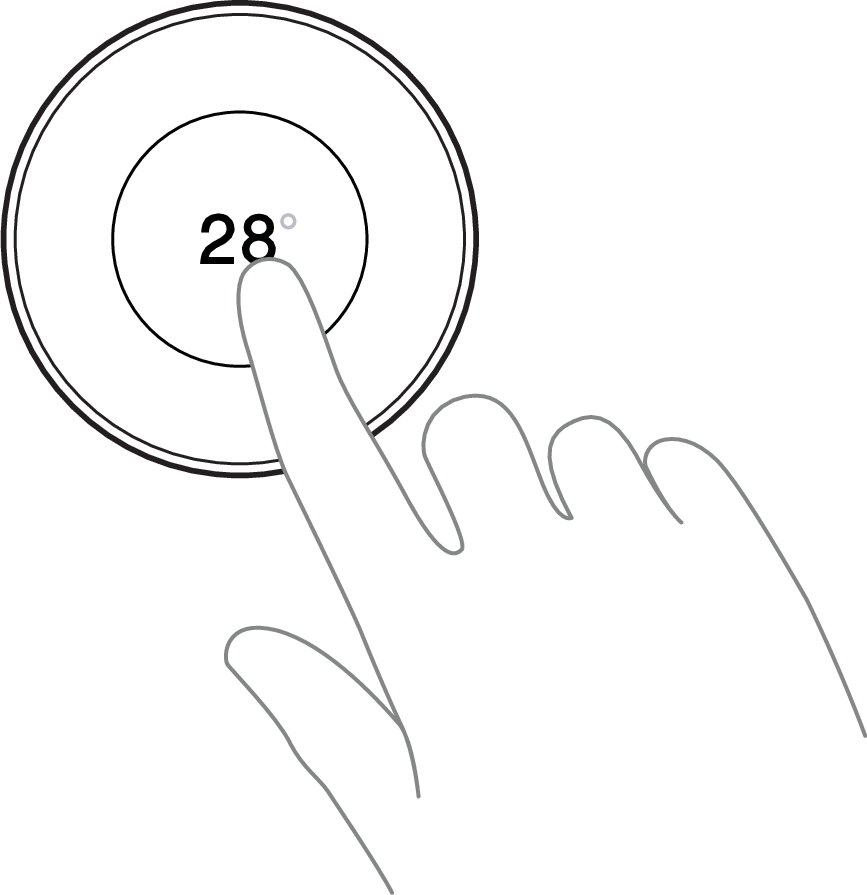
Start the shower and set the temperature to 28°C. The shower should start recycling (showing countdown on Control Dial) within 5 minutes without increased noise level.
Turn off the shower.
Complete and submit the service report (found in the service request).
Recycle the replaced components.