12. Control Dial
This instruction shows how to swap the Control Dial in a Hatch Tiled installation, where the Control Dial is installed directly on the wall. Follow the instructions in detail, and don't hesitate to reach out if you have any questions - support@orbital-systems.com.
Use the kit below to swap the Control Dial. This kit is available in several color variants.
Control Dial with fixture and screws |
Control Dial extension cable |
Disassemble Control Dial
Turn off the power.

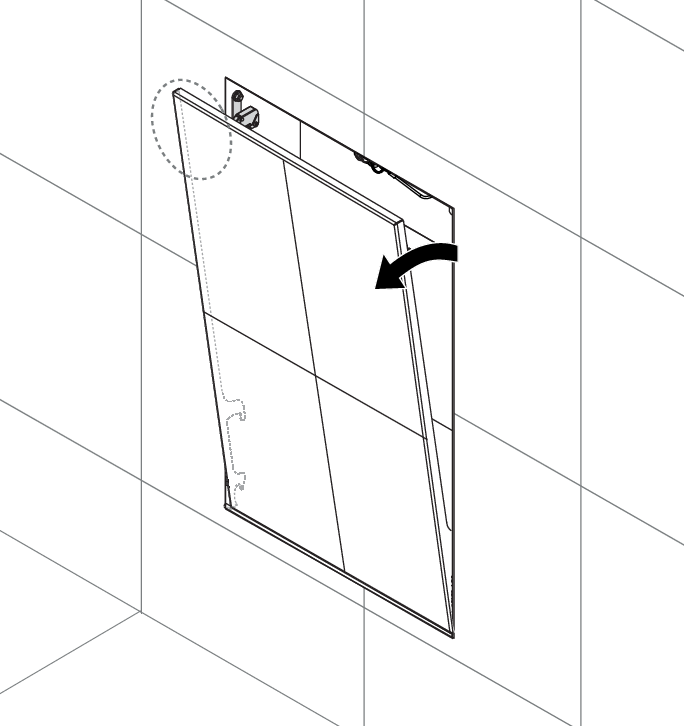
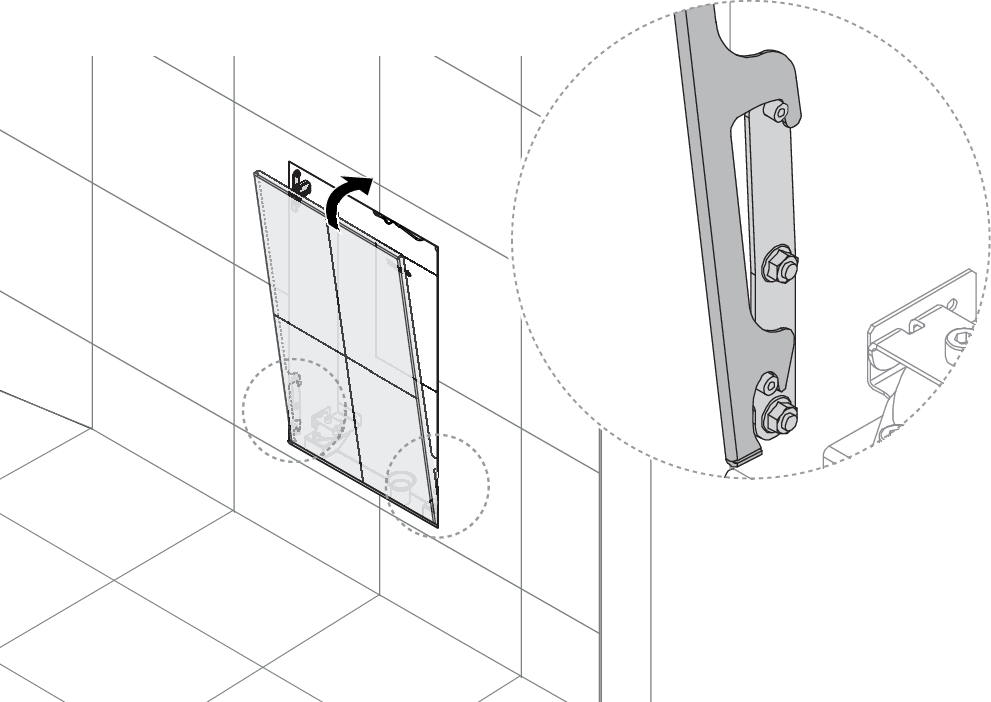
Push the top left corner to tilt the door open. Lift the door off the lower brackets. Be aware that the weight of the door is 8-12 kg, depending on the tile thickness.
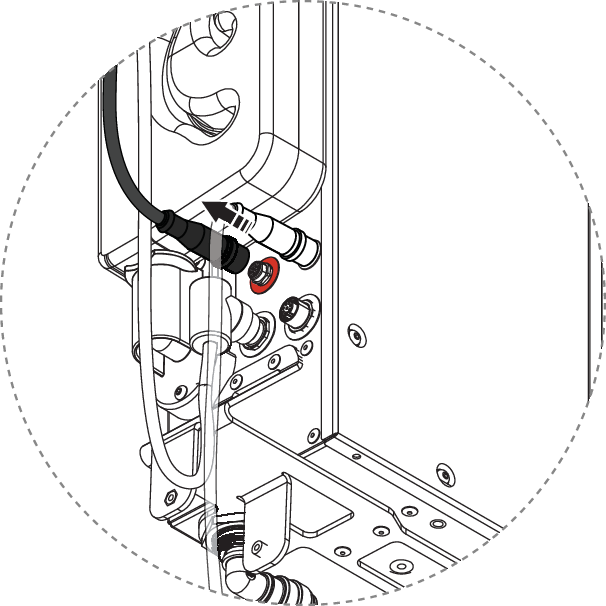
Disconnect the Control Dial from the Core (red connector).
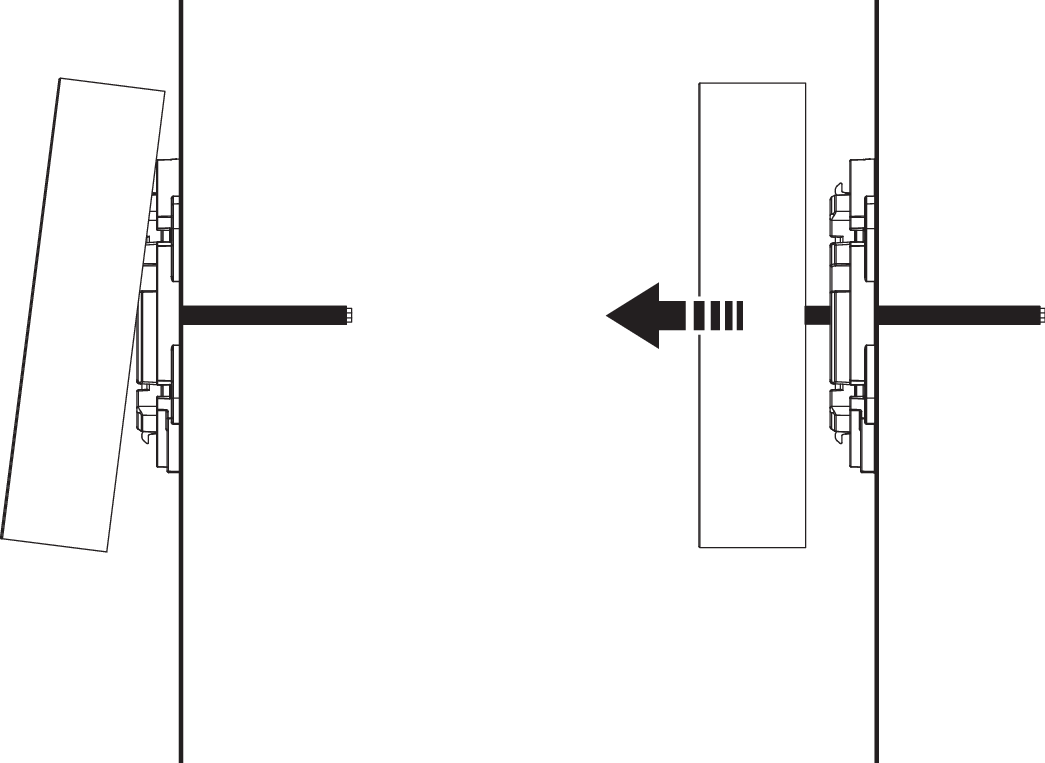
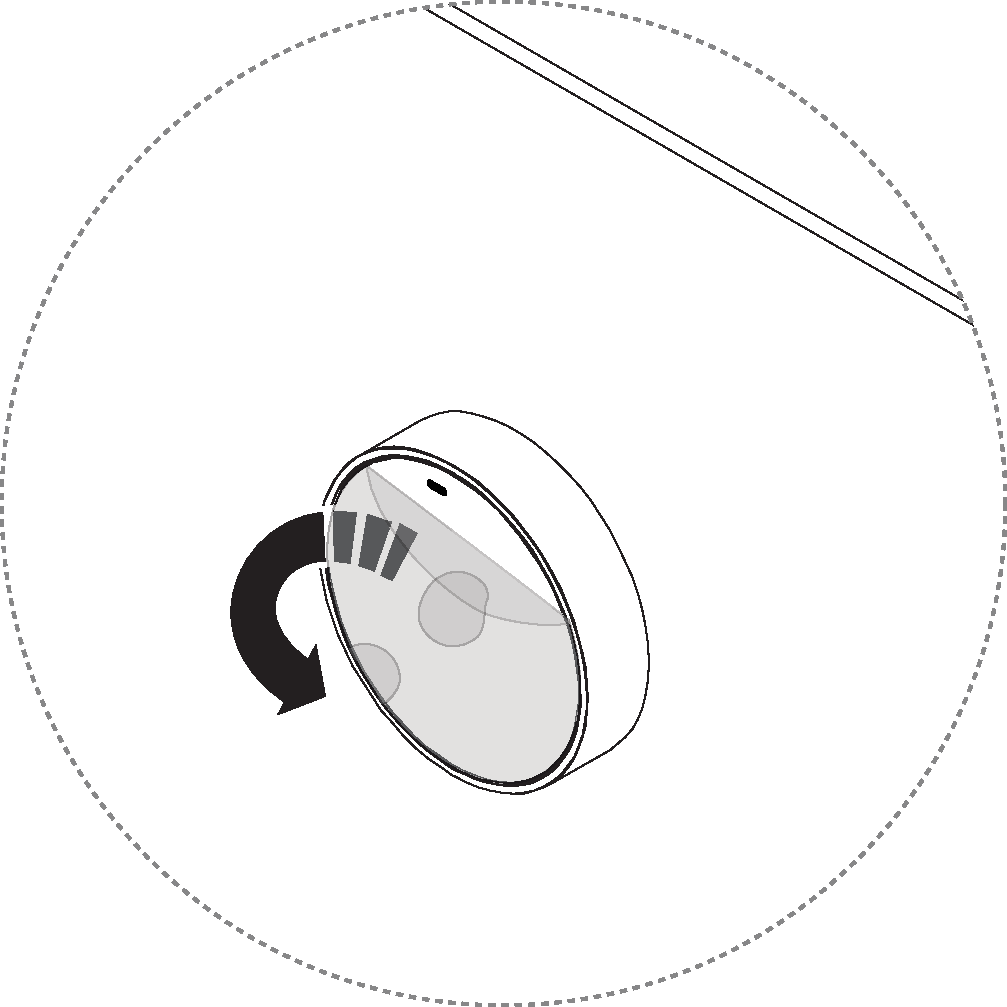
Dismantle the Control Dial by clicking the lower part. Then draw the Control Dial together with the cable.
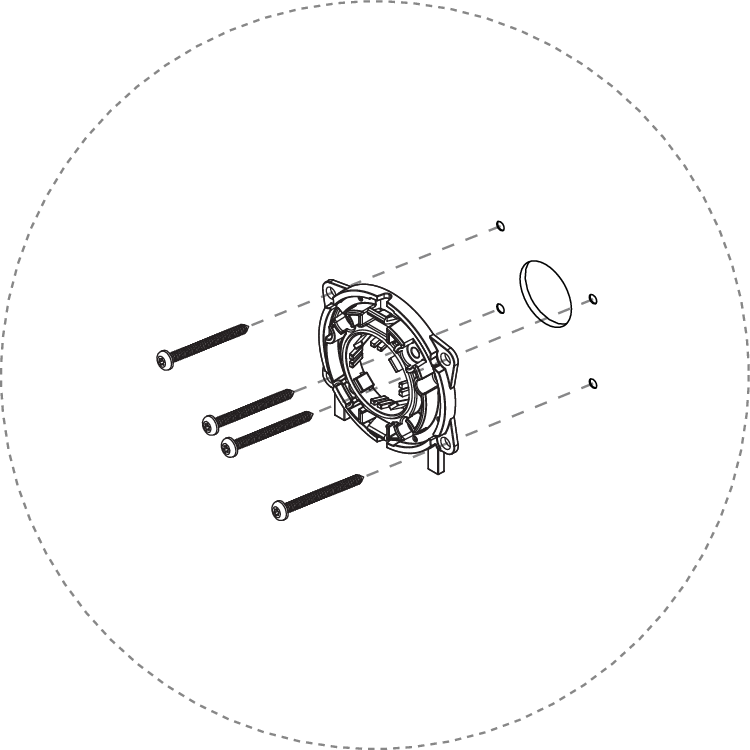
Unscrew the fixture.
Install Control Dial
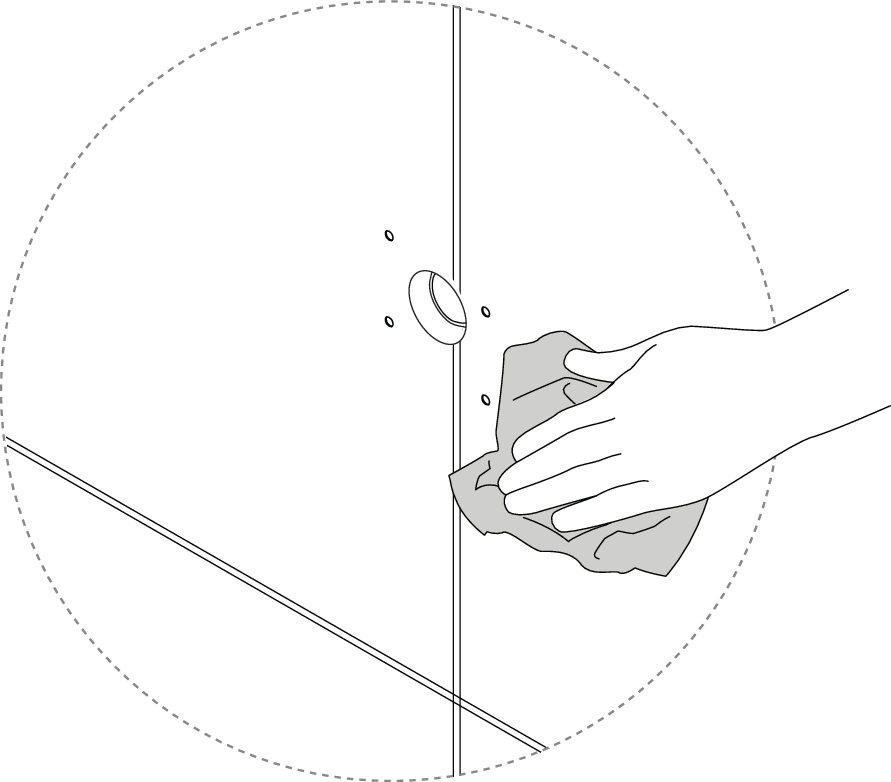
Clean the surface behind the fixture.
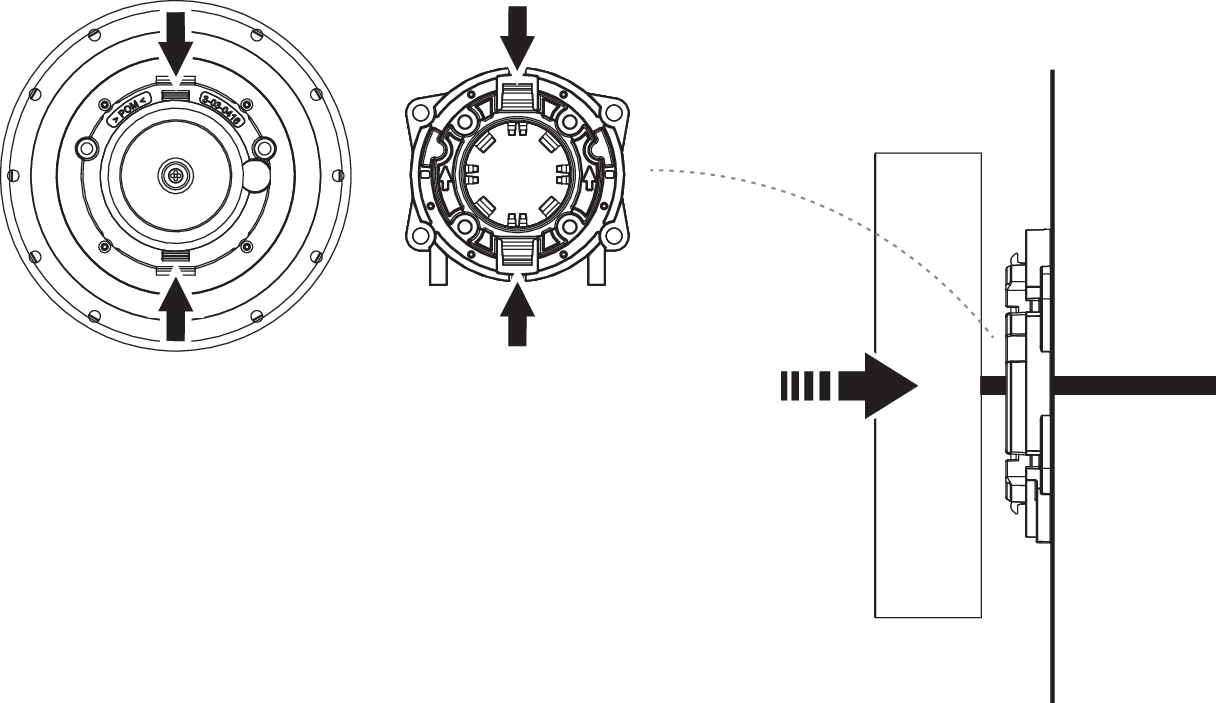
Mount the new fixture.
Pull the extension cable through the protective pipe in the wall.
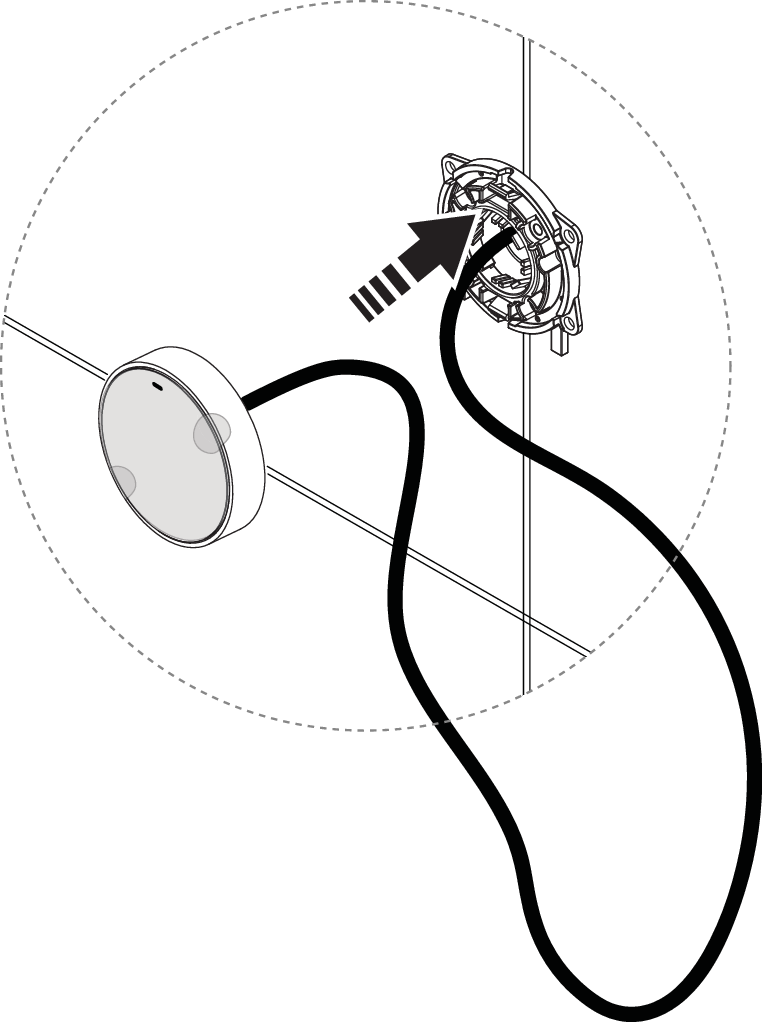
Position the Control Dial according to the “up mark” for mounting.

Attach the Control Dial by adjusting the brackets according to the arrows. Make sure it clicks when attaching.
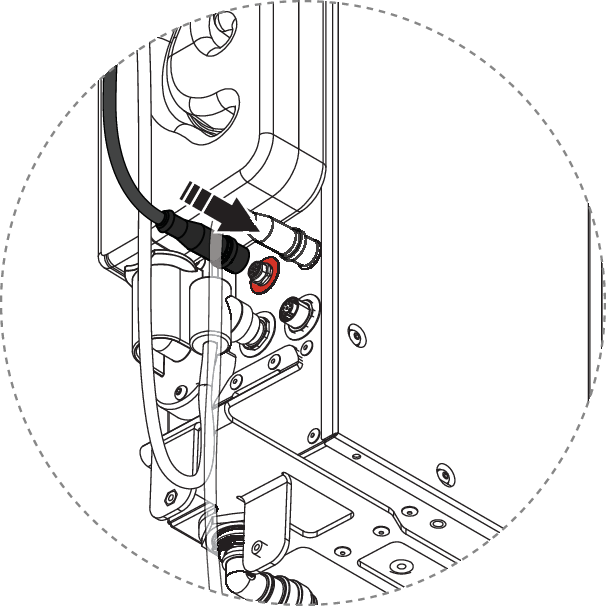
Connect the Control Dial's extension cord to the red communication port on the Core. The connector must be tightened by hand.
Caution
Ensure proper alignment between connector and communication port. This must be done with special attention to prevent damage to the pins.
Secure the door onto the brackets, tilt it inward to close it, and press the upper left corner to lock it in place.
Remove the protective film from the Control Dial.
Turn on the power. It may take up to 3 minutes for Core to start up.
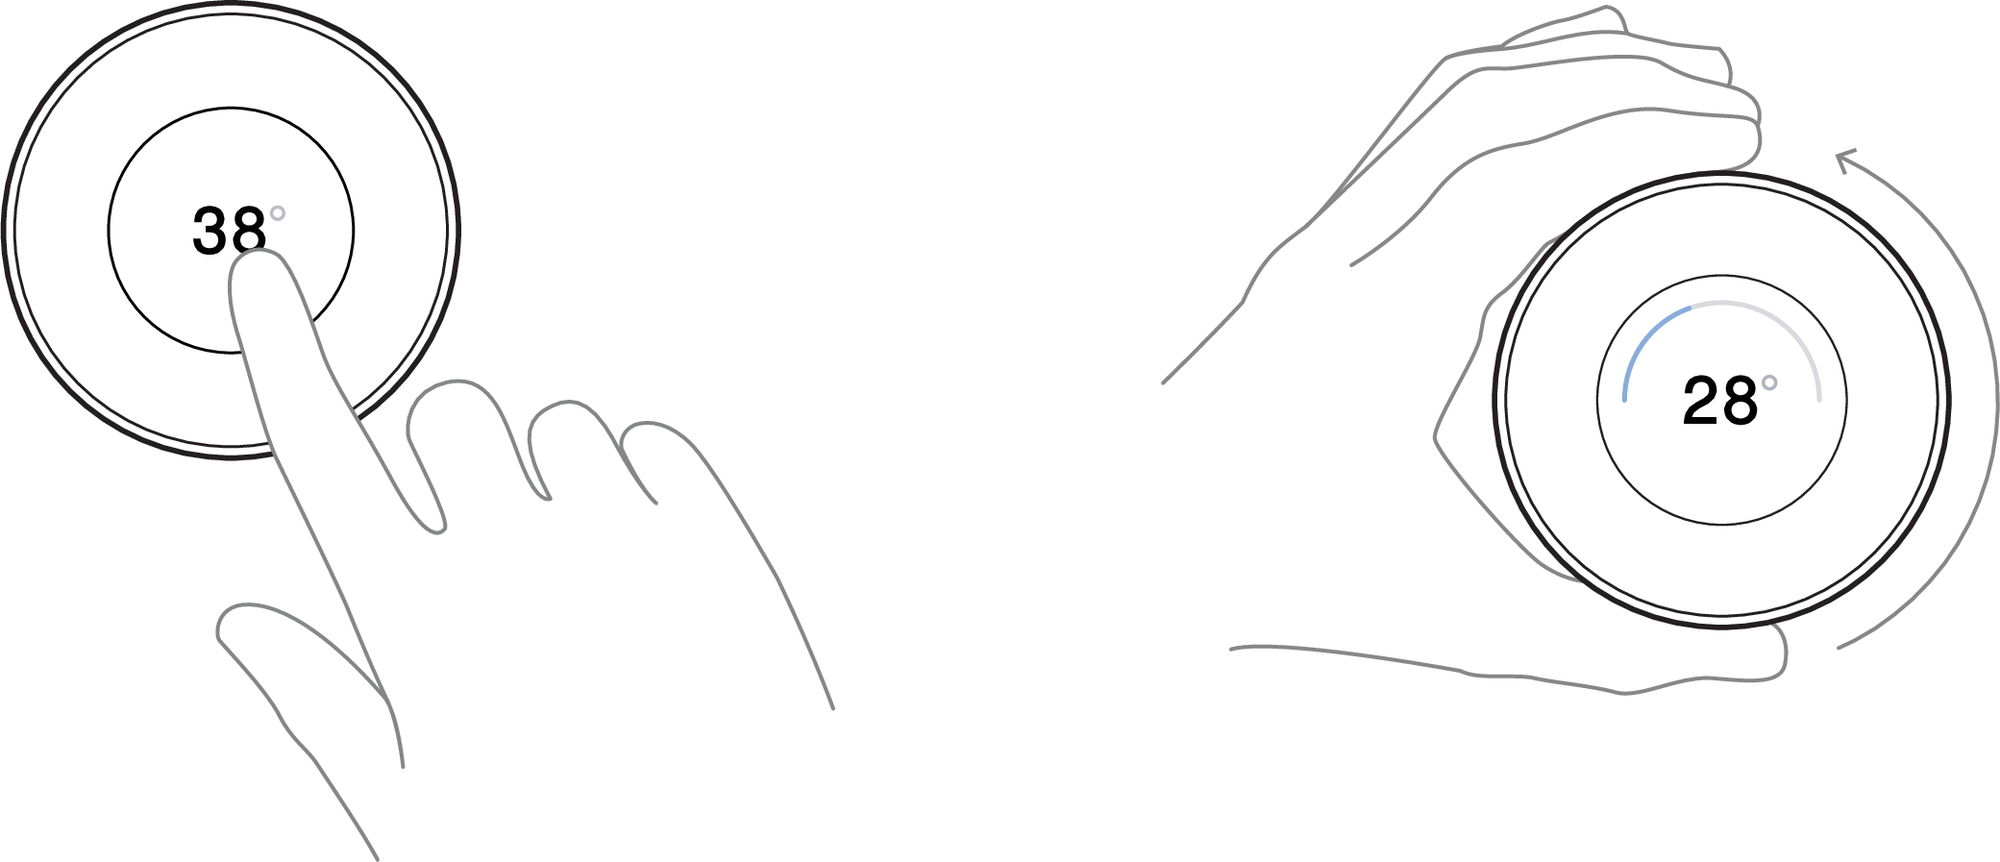
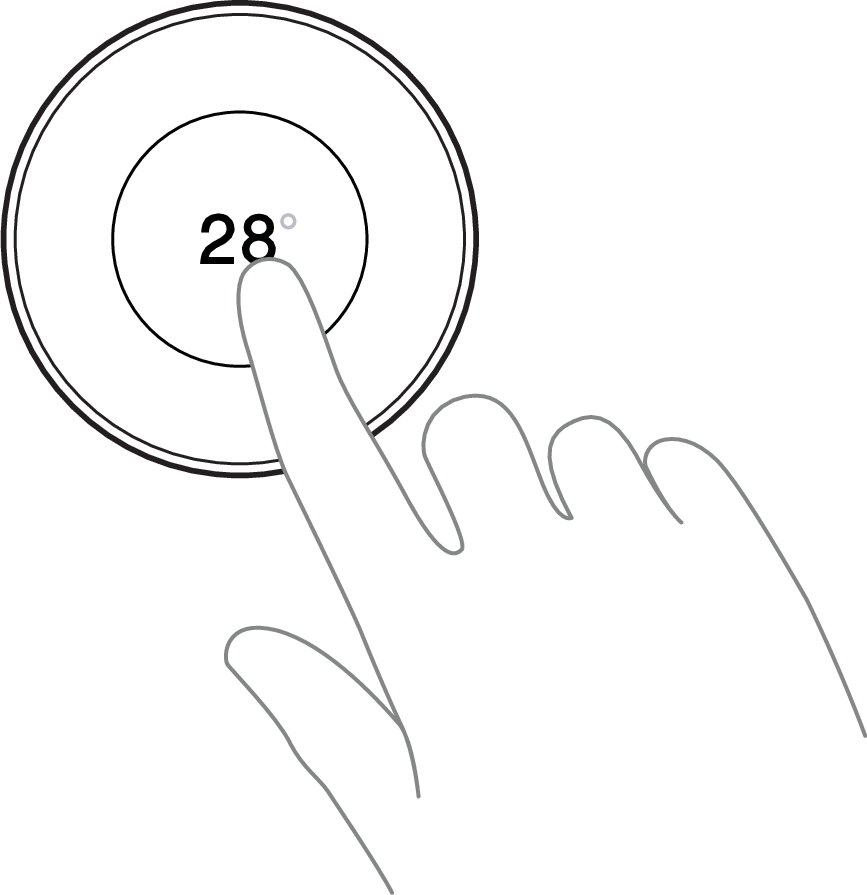
Validate the Control Dial change by starting the shower and changing the temperature. The numbers on the Control Dial should follow during the temperature change.
Turn off the shower.
Complete and submit the service report (found in the service request).
Recycle the replaced components.