Tiling
 |
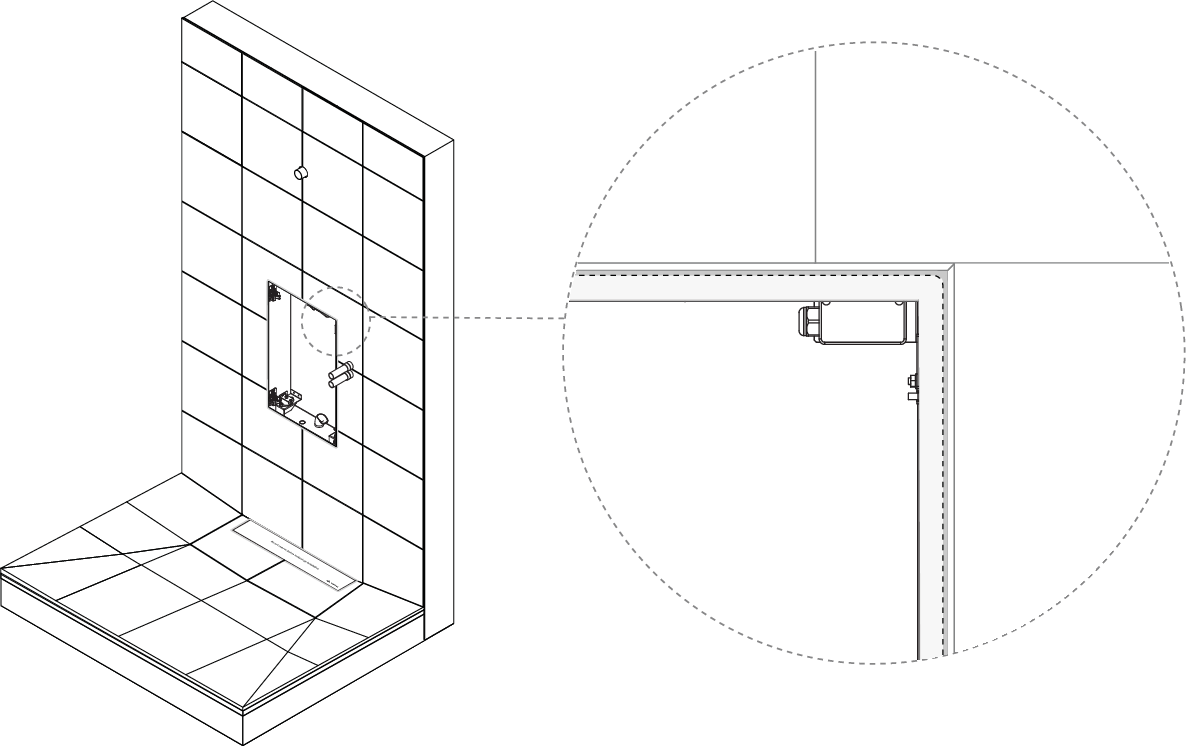
Use a tile trim (L-strip) to achieve a straight, even gap of 2.5 mm between the door panel and the tile. Use 2x2 tile trims according to the dimensions below.
Keep exactly 90 degree angles and set everything vertically/horizontally.
Do not smear fix onto the black lacquered area on the Wall Box.
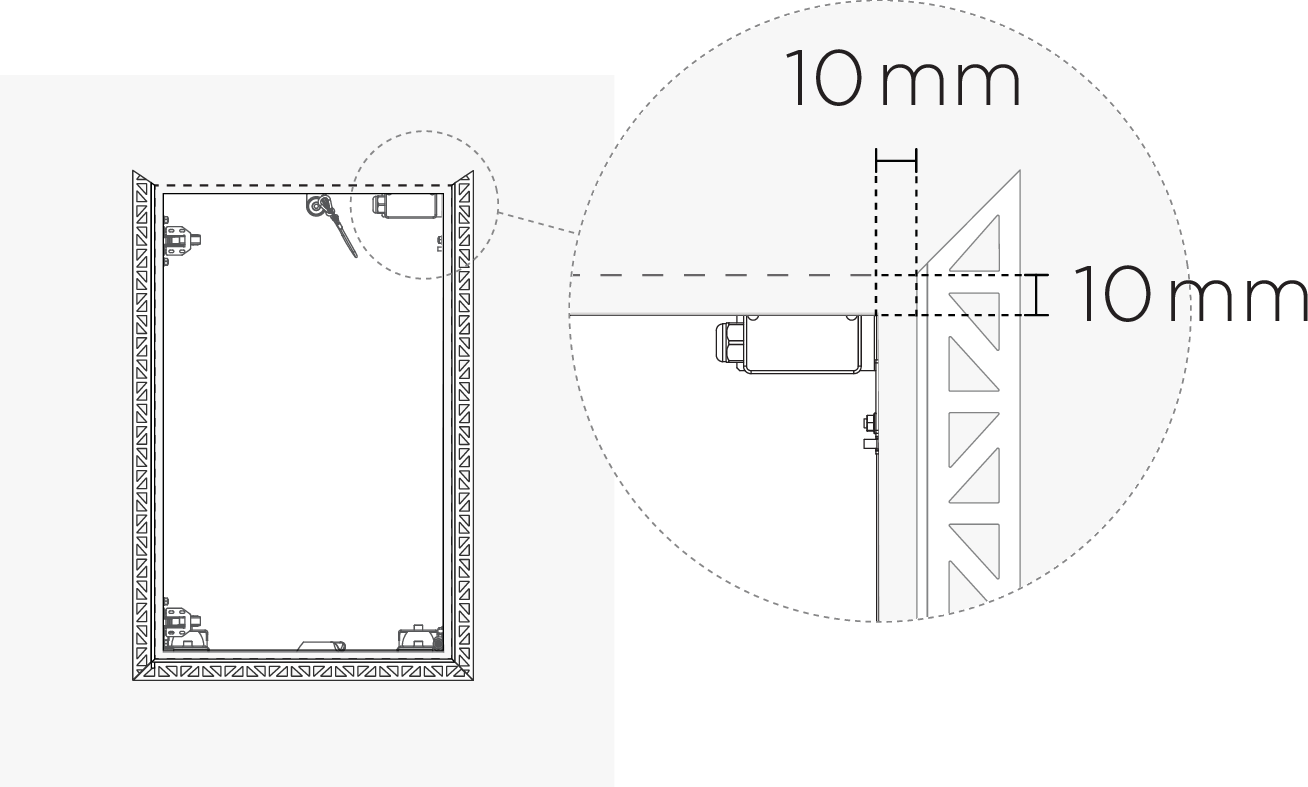
Install the tiling frame set.
Mount the tile trim 10 mm from the inside of the Wall Box on all four sides.
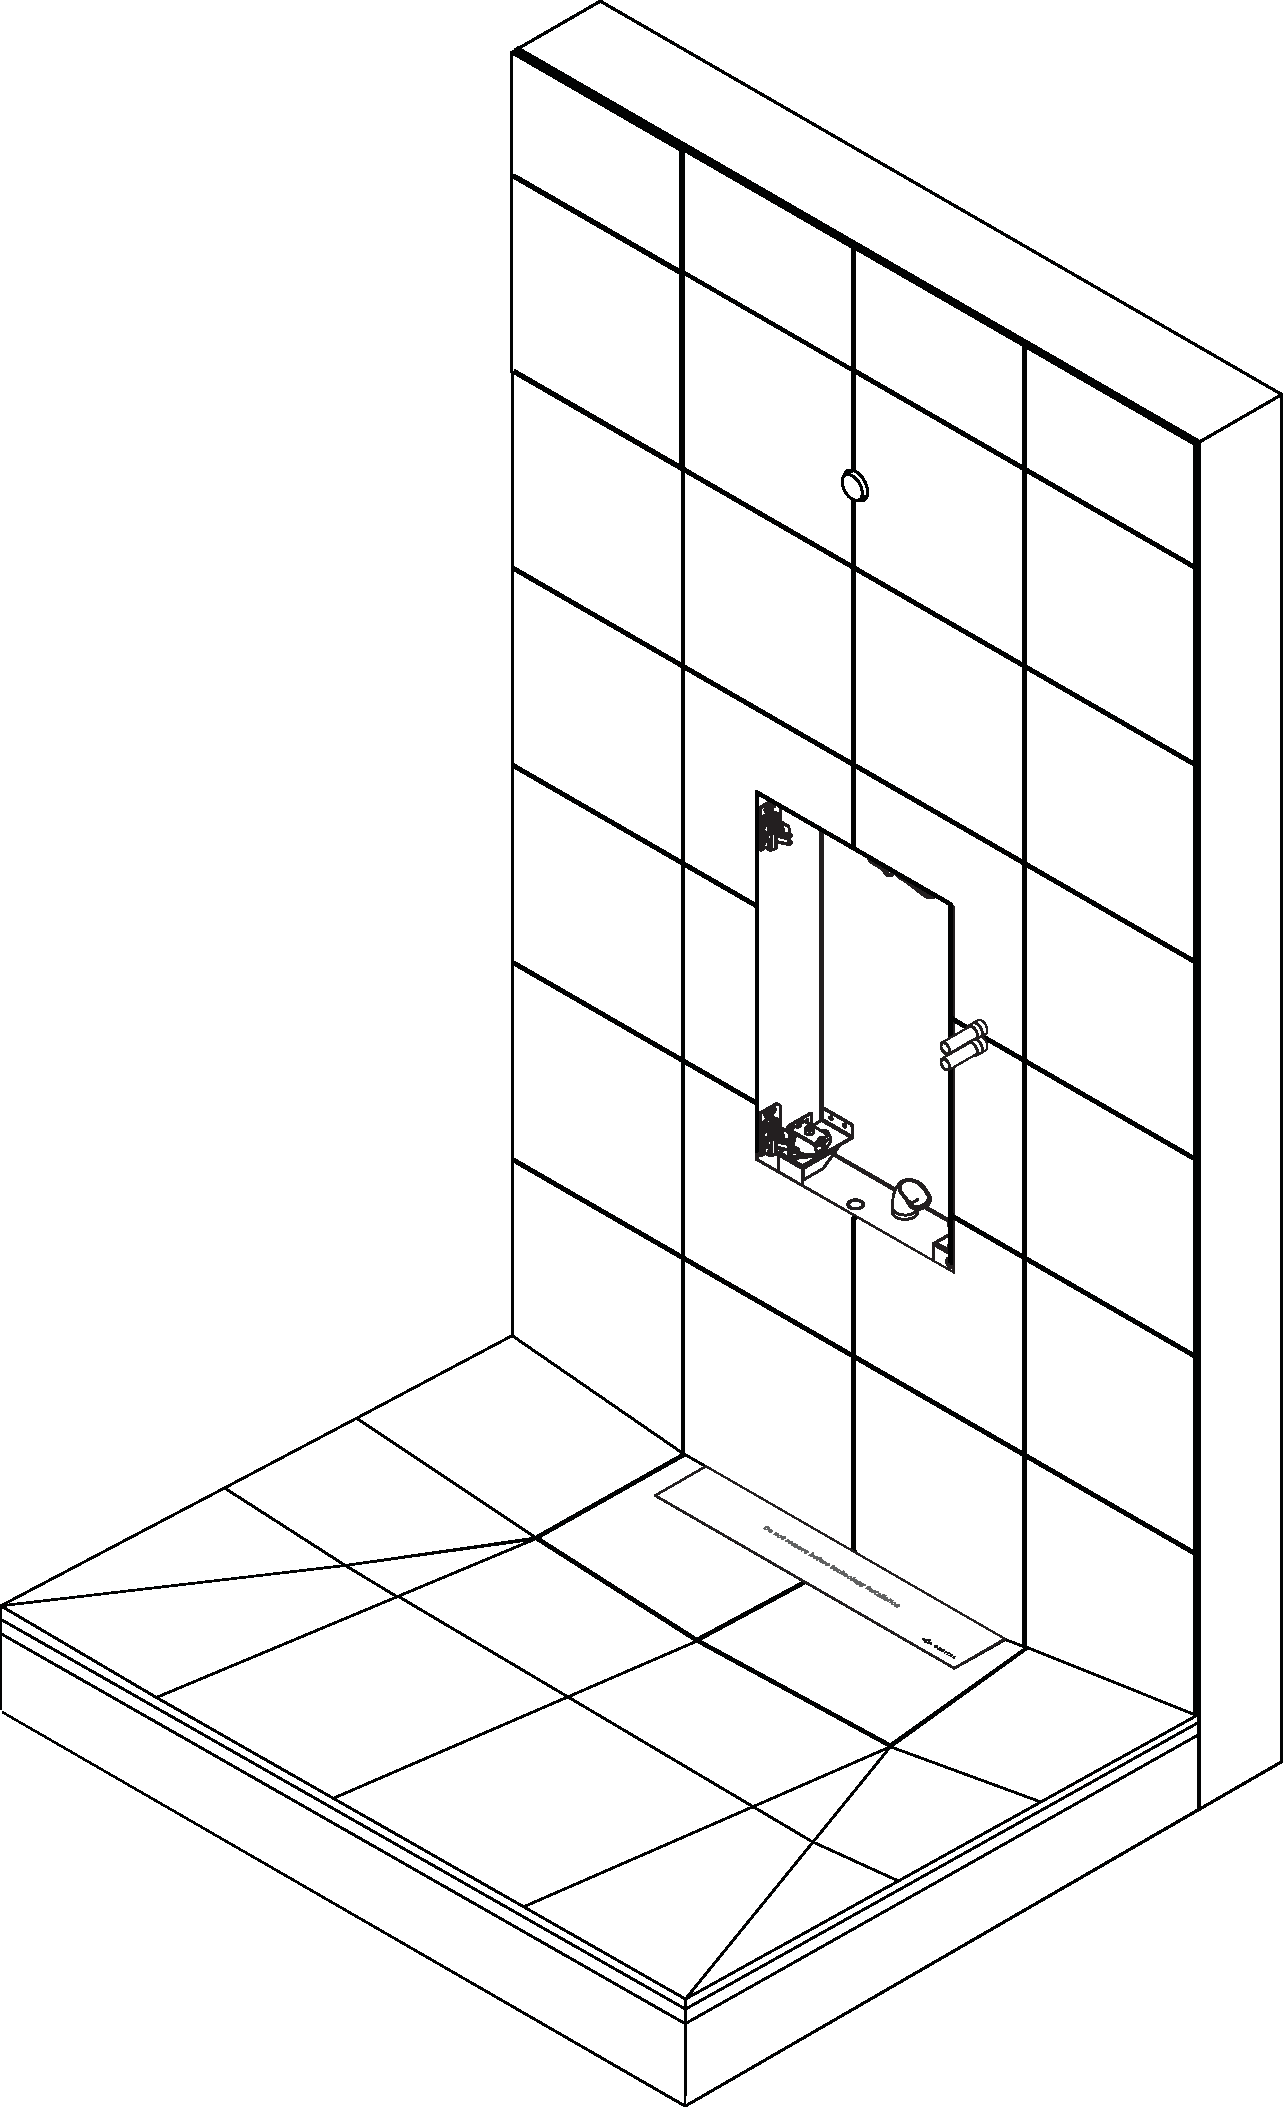
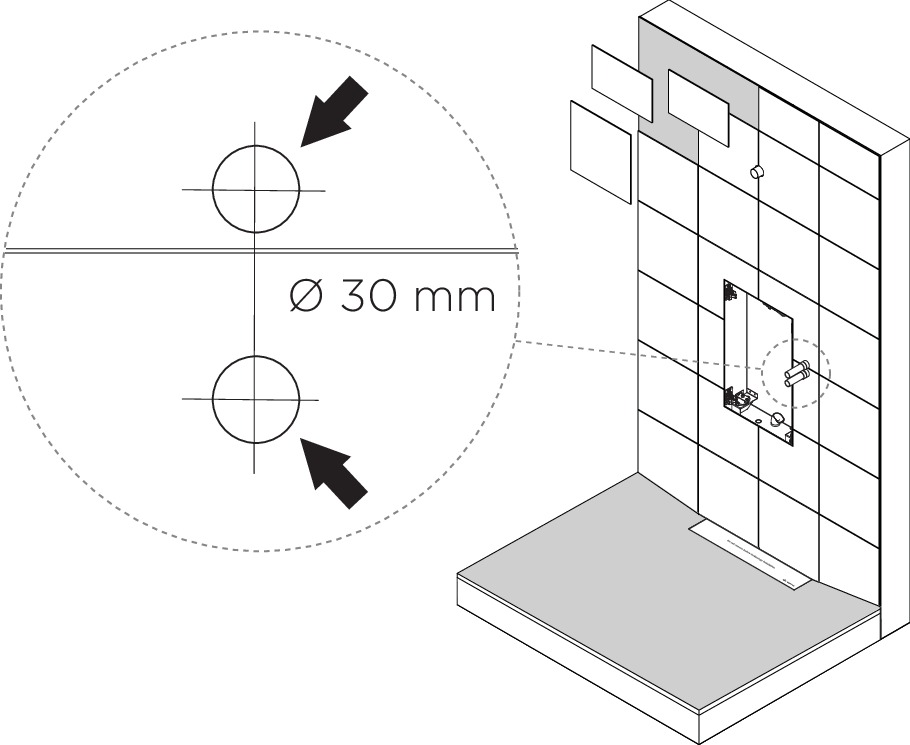
Cut holes in the tiles for water connections, and apply the tiles to the wall.
Caution
Do not cut the PEX Hoses, they need to stick out for coming installation steps.
Do not use a drill larger than 30 mm in diameter for the tiles; otherwise, the diverter will not fully cover the holes.
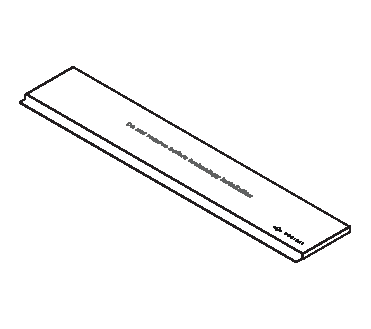
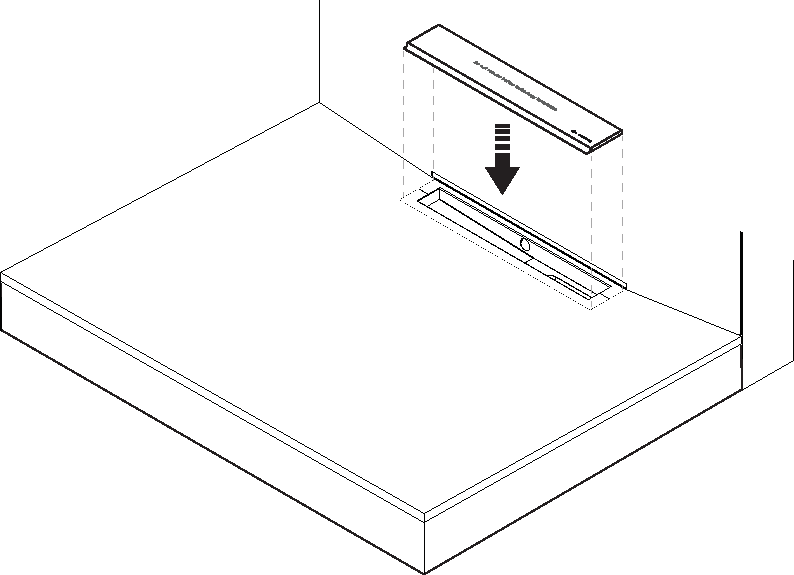
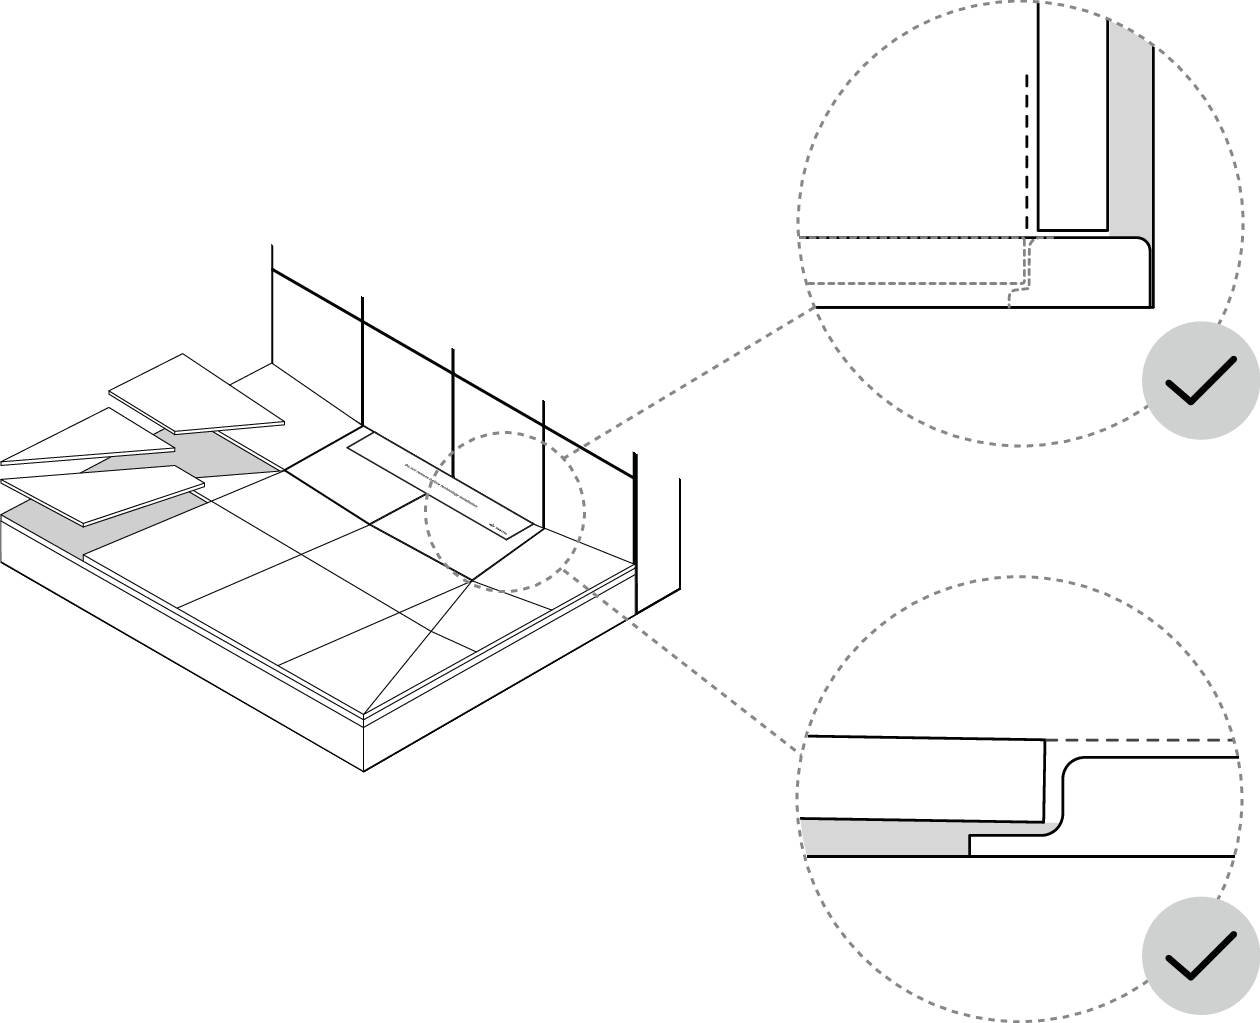
Make sure the tiles do not overlap the grating, allowing it to be removed.
Note
The floor tiles must be level with or higher than the frame. To achieve this, they must be at least 8 mm thick.
Place a thin silicone joint in the meeting with the tile strip and the Wall Box, mainly along the bottom side of the cabinet hole.
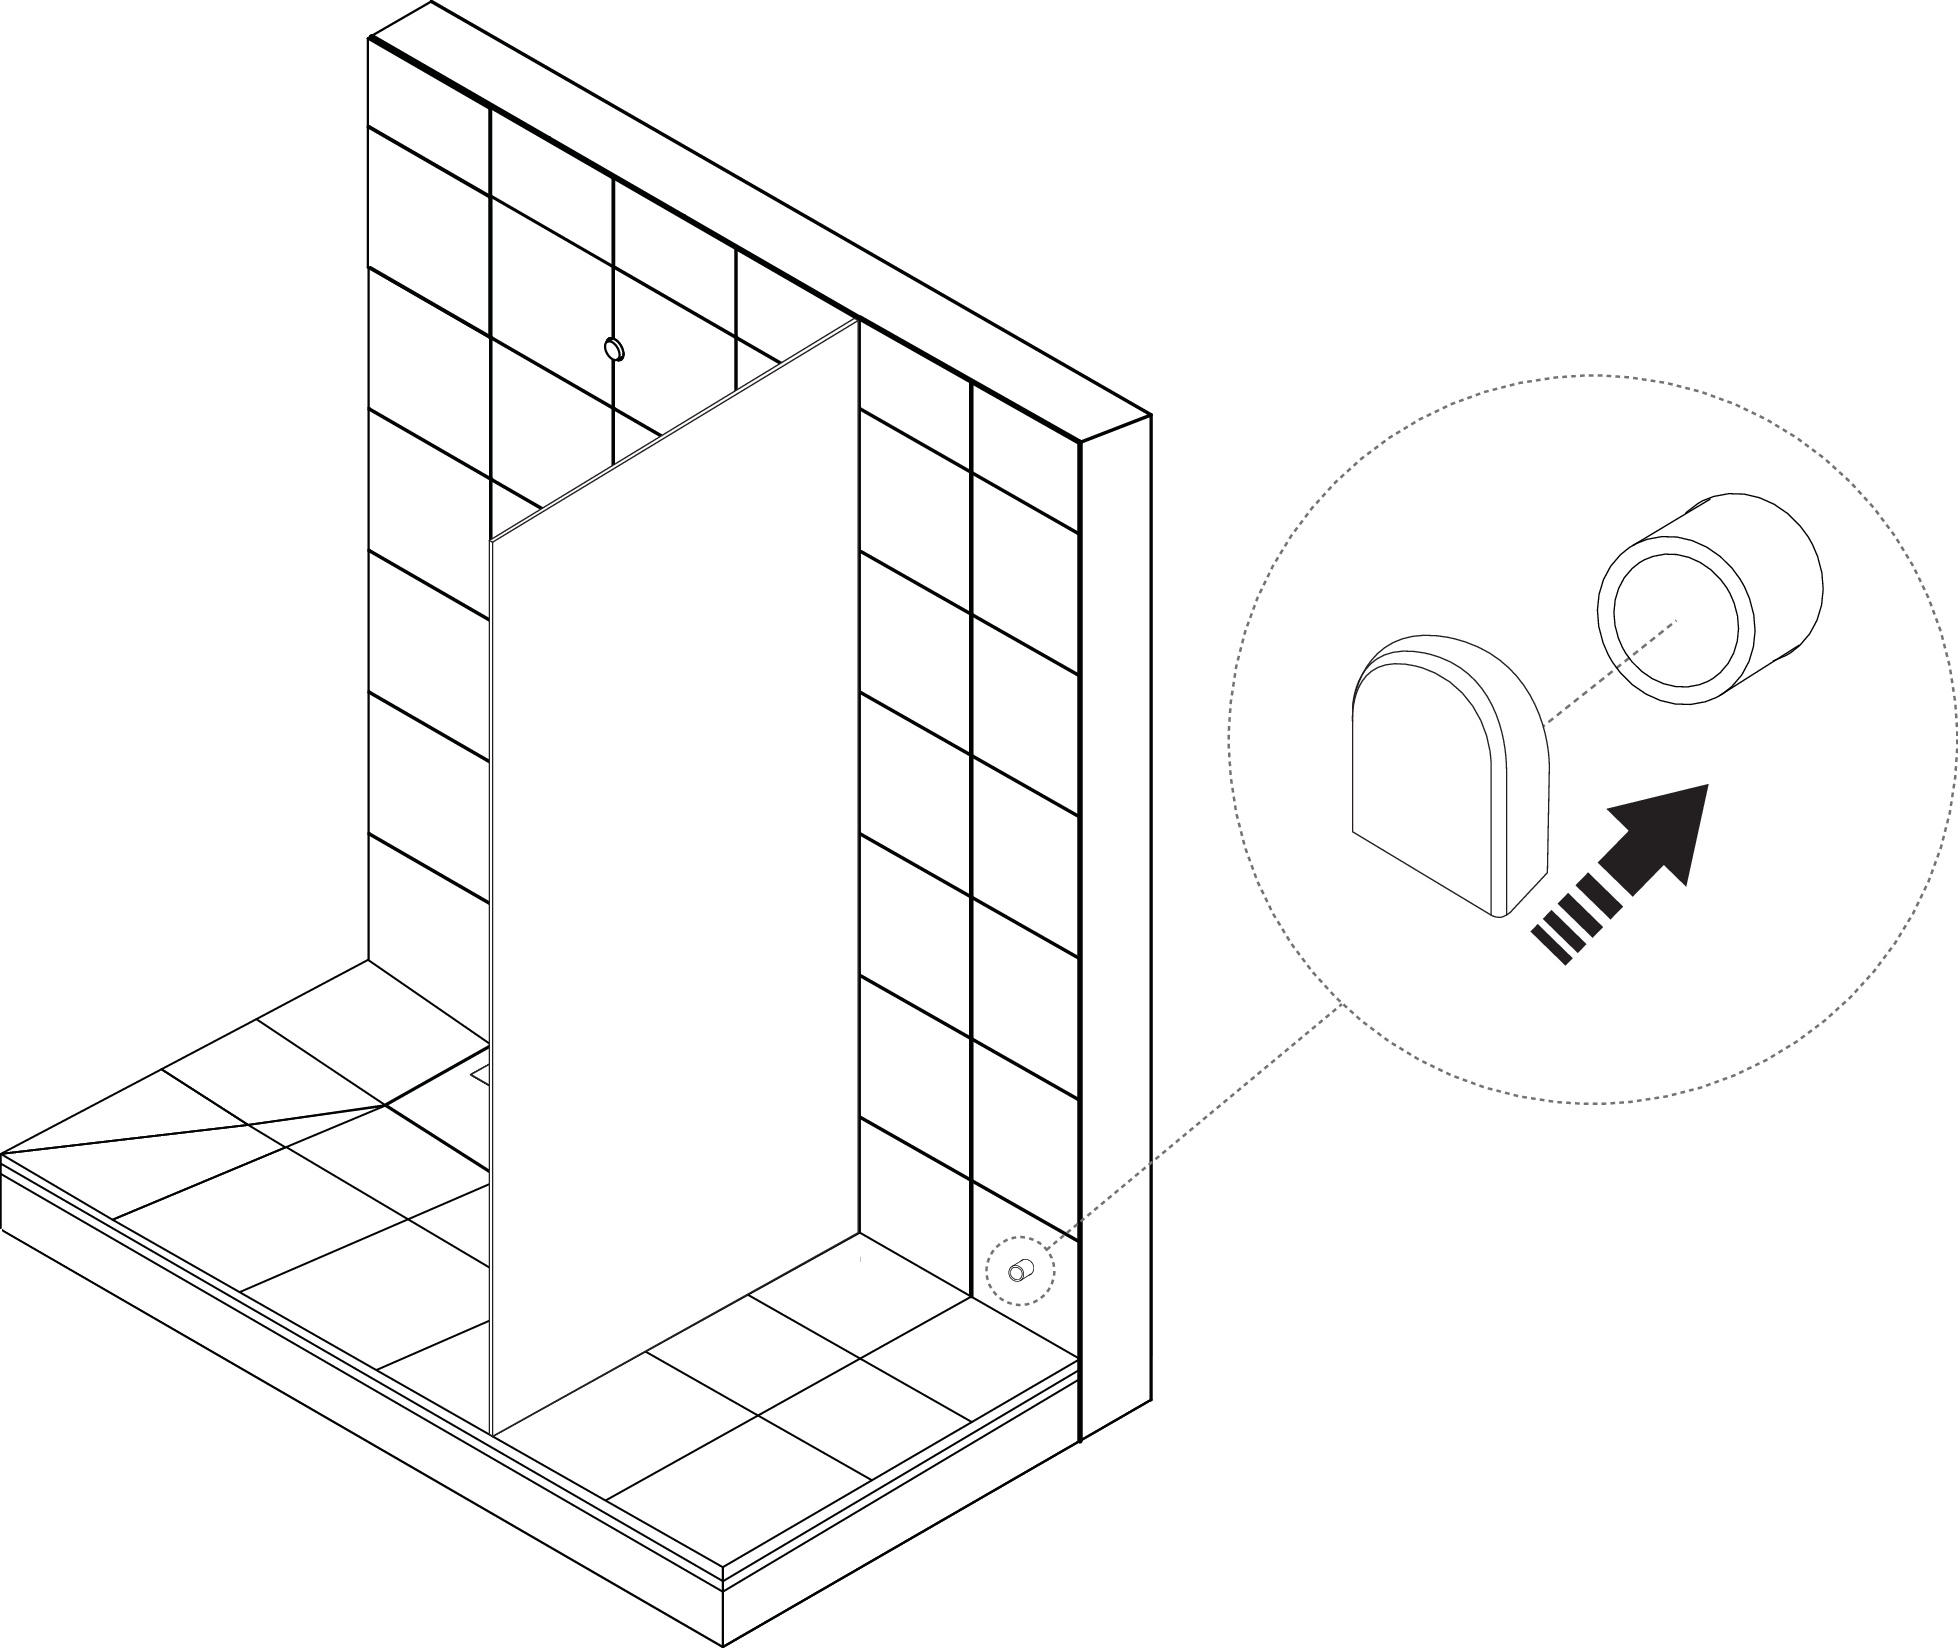
Attach outlet washer for leakage drainage.
Fixture Installation completed. Next step is to install the Orbital Shower Core, Control Dial, shower head and hand shower (including diverter and hand shower holder). See Technology Installation Manual for details.
|